Complete your first run
Once the dispatcher assigns today's run sheet on the Sendit Go Carrier Console, open the Sendit Go Carrier App to pick it up. This page walks you from signing in, to starting the route, arriving at each stop, scanning the packages, capturing proof of delivery, and closing the run.
Where to find it: Sendit Go (mobile app) → Home → your assigned route.
A successful run shows three system screens in order:
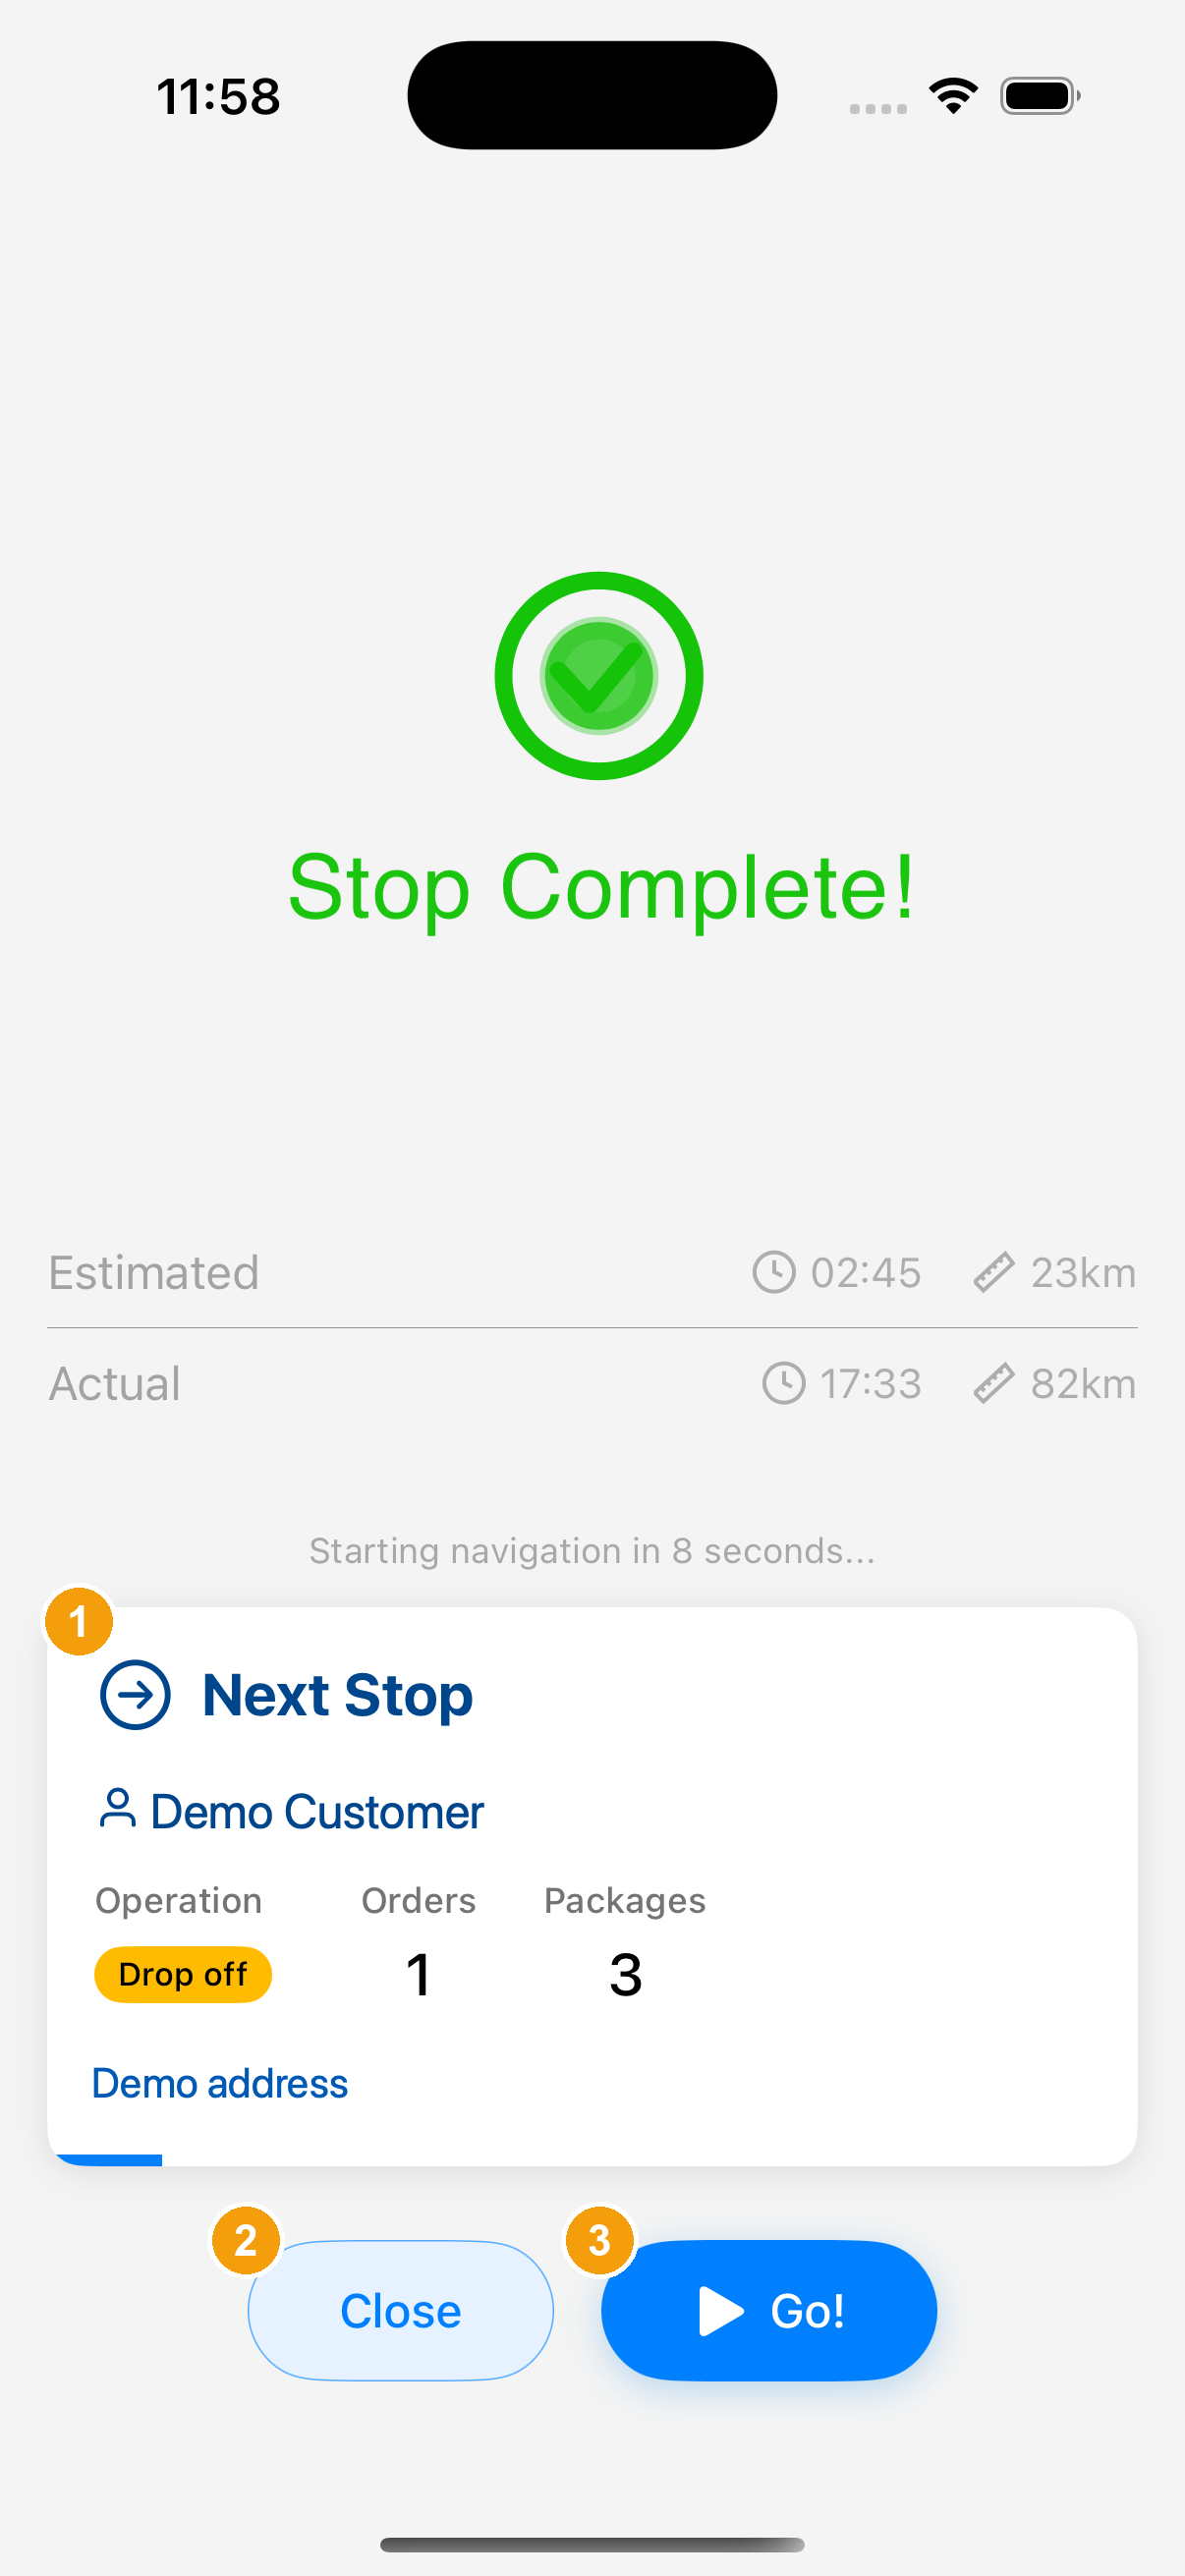
- Stop Complete! – appears after you finish everything the stop requires; that stop has been delivered.
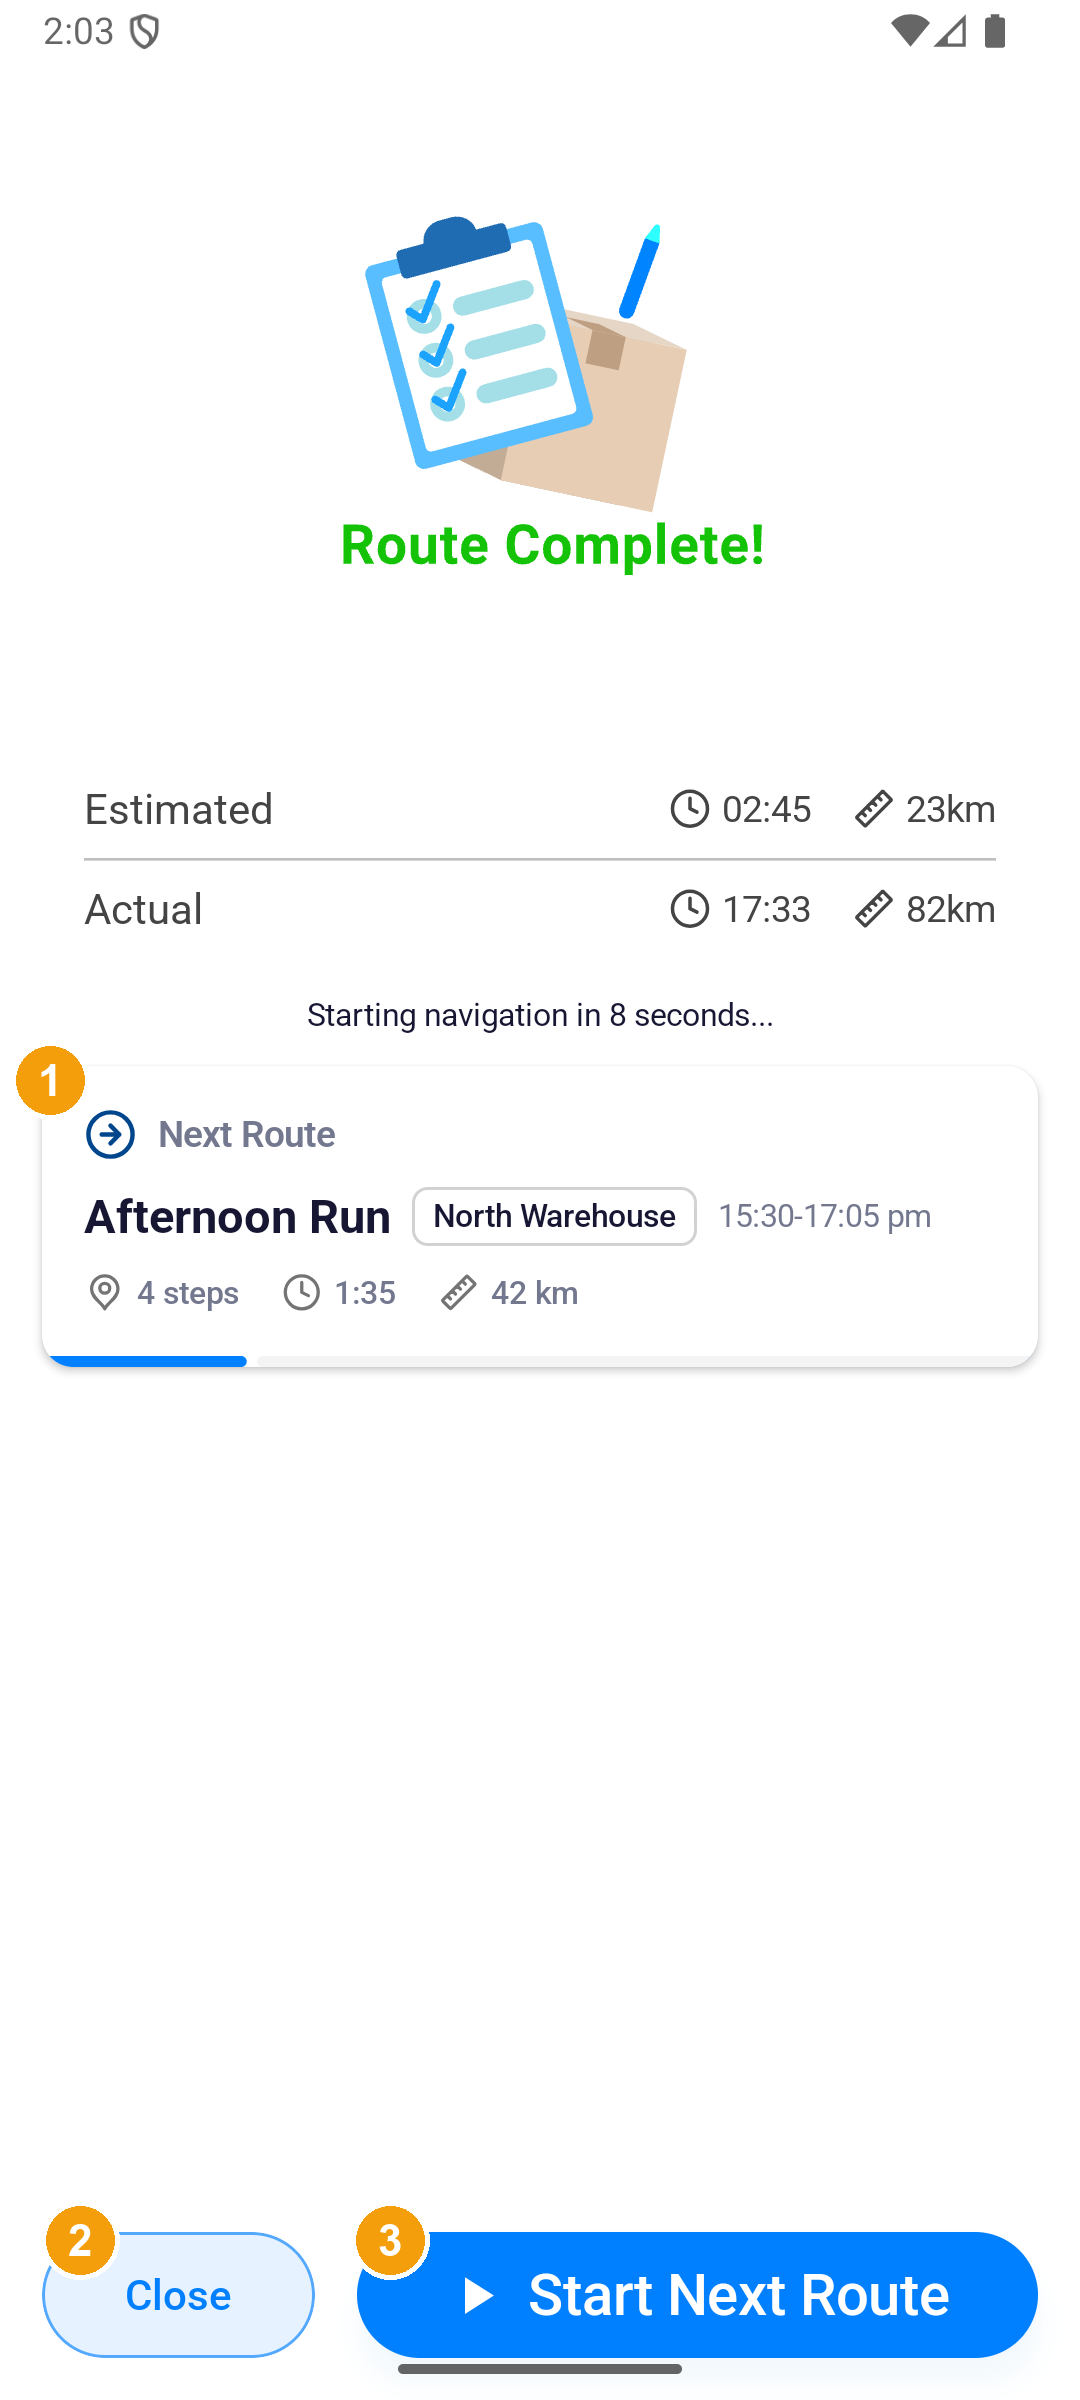
- Route Complete! – appears after the last stop of the route; today's run sheet is done.
- Waiting to sync – if you finish offline, the data stays on the phone and uploads when you reconnect.
Stop Complete! and Route Complete! mean the actions are done; Waiting to sync means keep the app on and do not reinstall.
Before you start
Before you head out, check these on your phone:
- Sendit Go is installed on your phone and your account has been approved by the fleet admin.
- You have the mobile number you registered with, ready to receive the one-time SMS code (OTP).
- The dispatcher has assigned today's run sheet to your account.
What you do at each stop
A regular stop follows this order; whether you need to scan, take a photo, or capture a signature depends on what the stop shows:
Navigate → Confirm arrival → Scan packages → Report exceptions if needed → Submit proof of delivery → Stop Complete!
The sections below walk through this order. Open a linked page only when you need the detail of a specific screen.
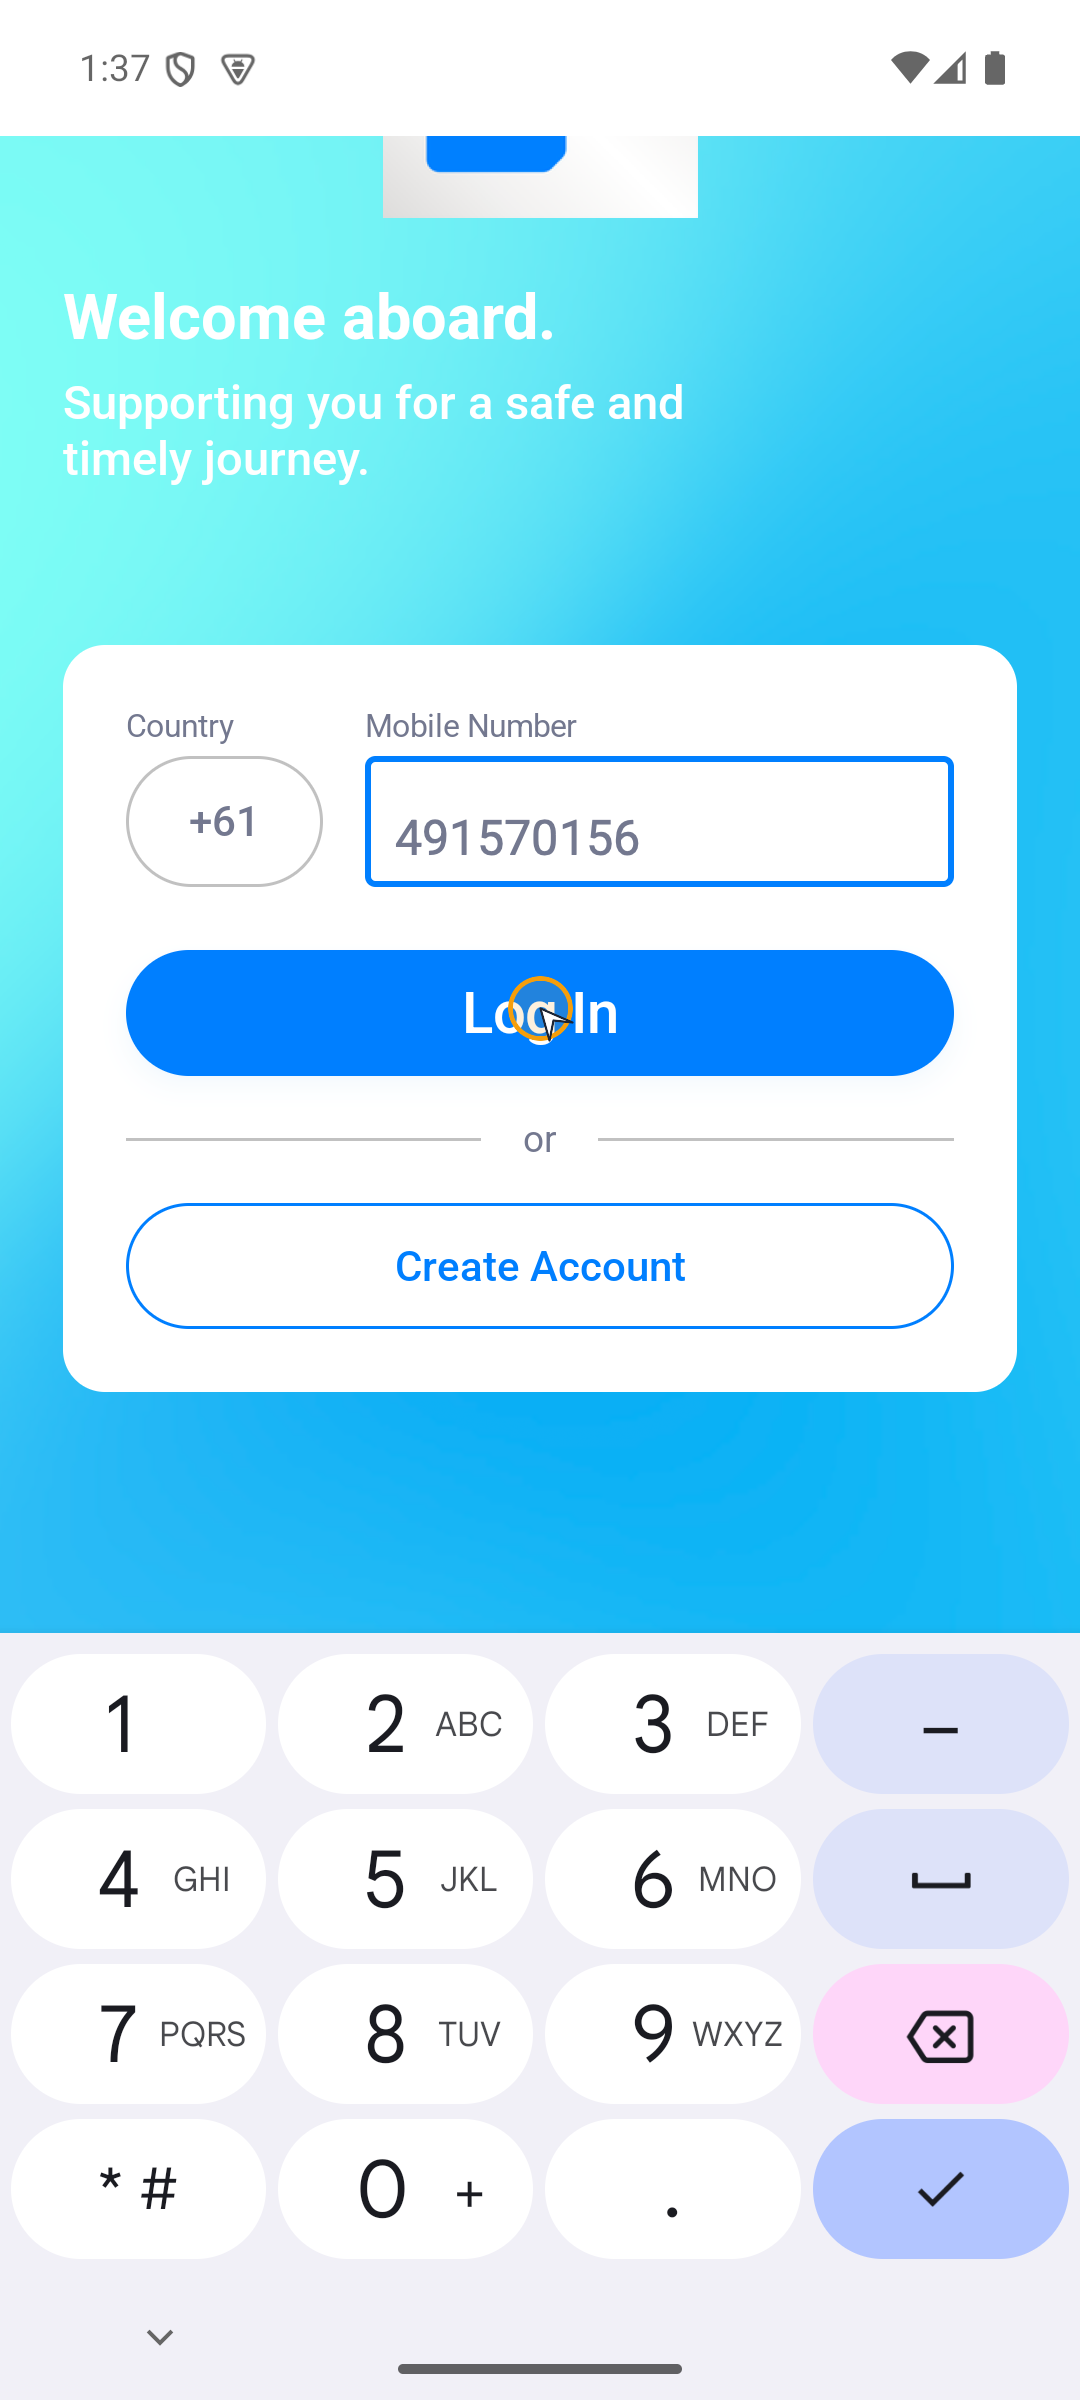
Step 1: Sign in with your mobile number
- Open the app to the sign-in screen and pick the correct country code.
- Type your local mobile number.
- Tap Log In.
- Type the 6-digit code; the app moves on once all six digits are in.
Full details: for account pending approval, missing OTP, or already signed in on another device, see Log in with your mobile number.
Step 2: Start or resume today's route
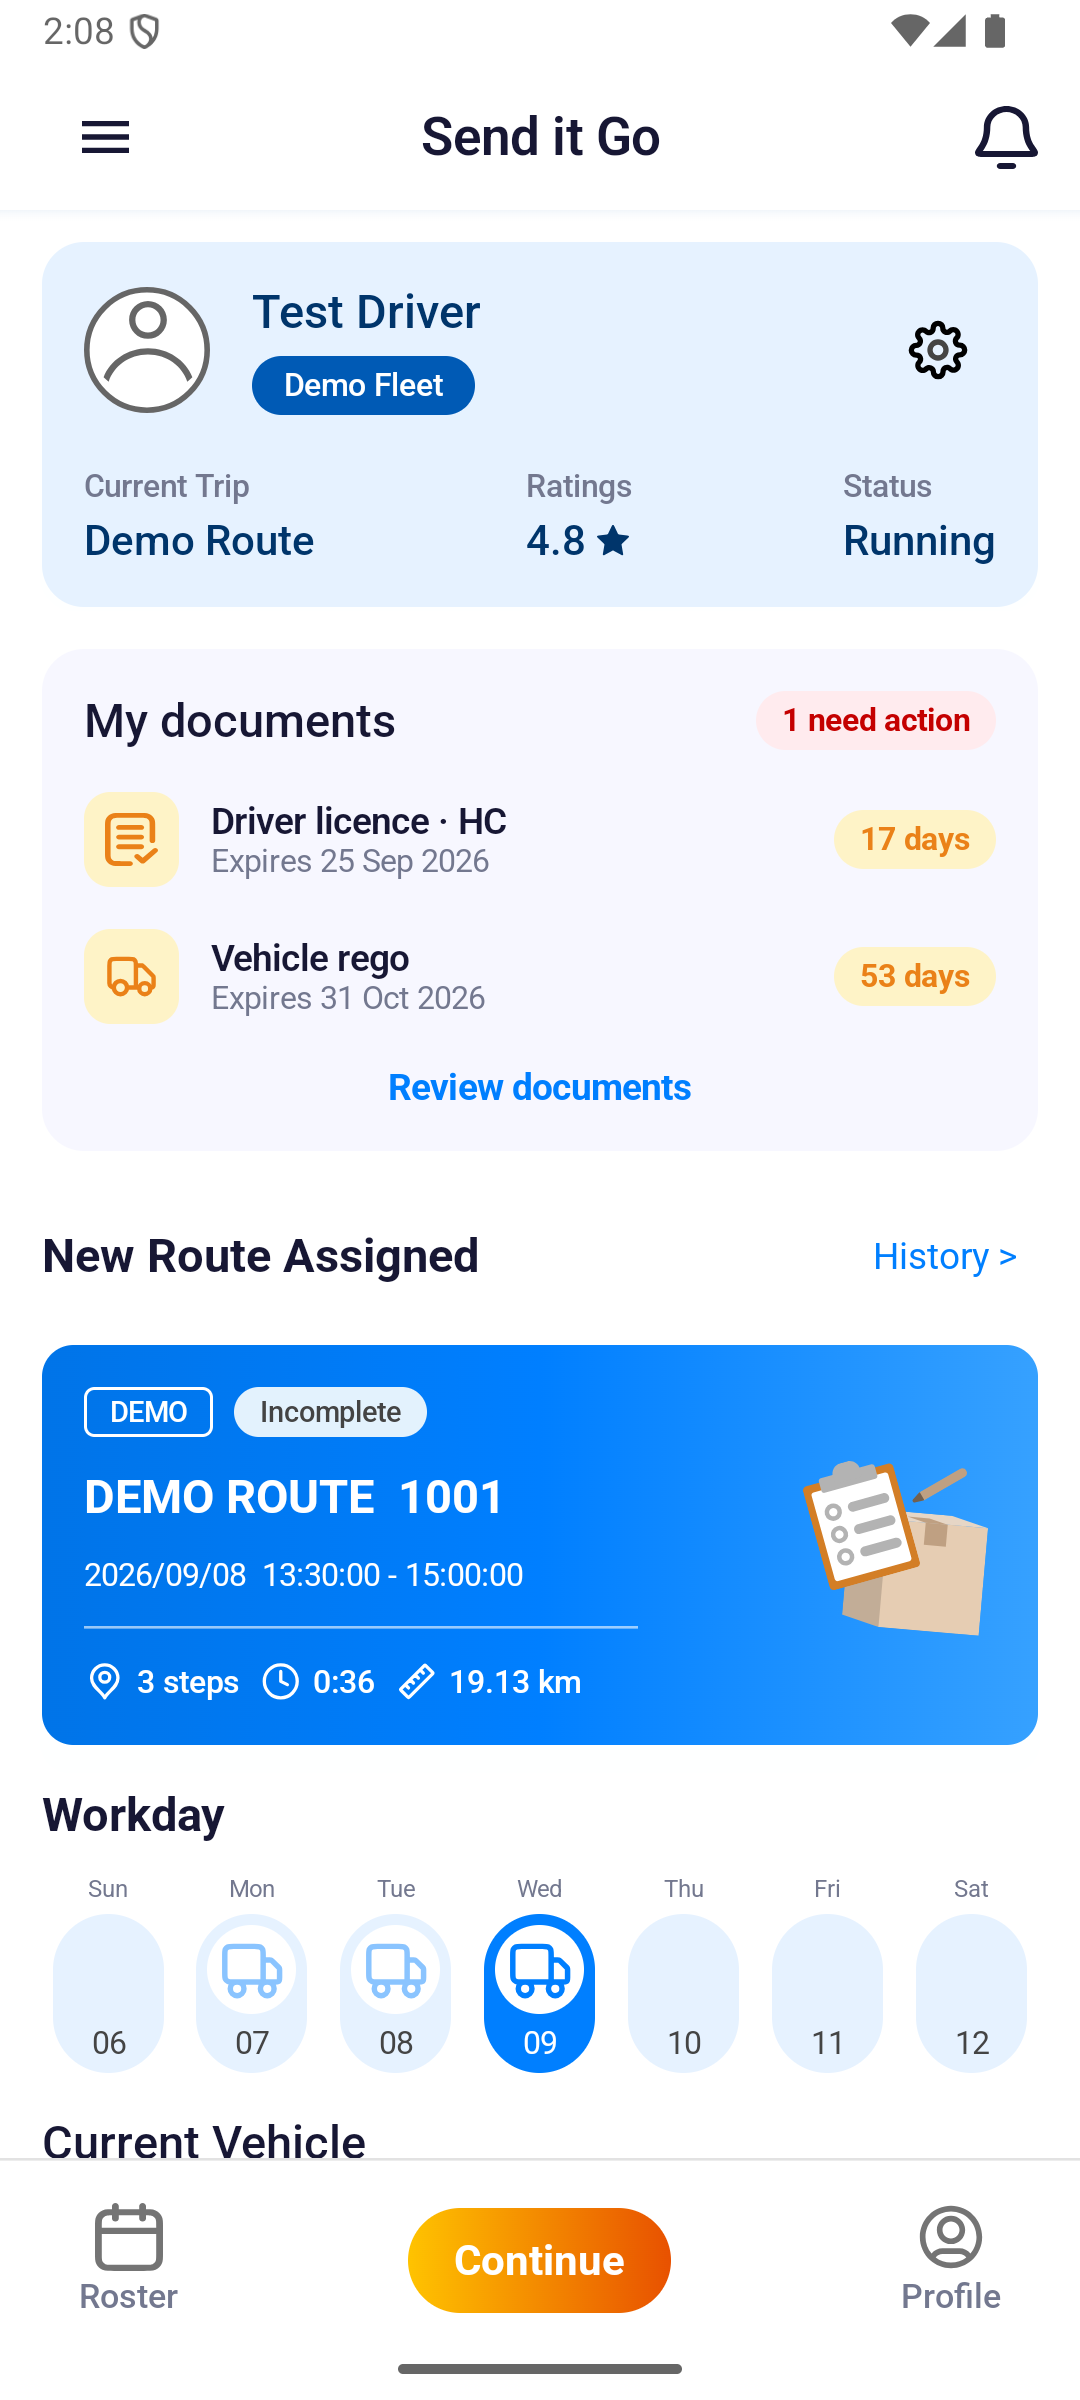
The bottom nav is Roster | Go! or Continue | Profile. Tap the route card on the app home screen to review the stop order, then tap Go! to start; if a route is already in progress, tap Continue to resume.
If the home screen reads No Route Available, refresh after the dispatcher confirms the assignment; do not start a route that has not been assigned to you.
Full details: for the route cards on the home screen, roster switching, and closing yesterday's route, see See today's route.
Step 3: Follow the stops and scan the packages
- On the app home screen, open the route and expand the planned stop order.
- Tap Go! or Continue to start navigation.
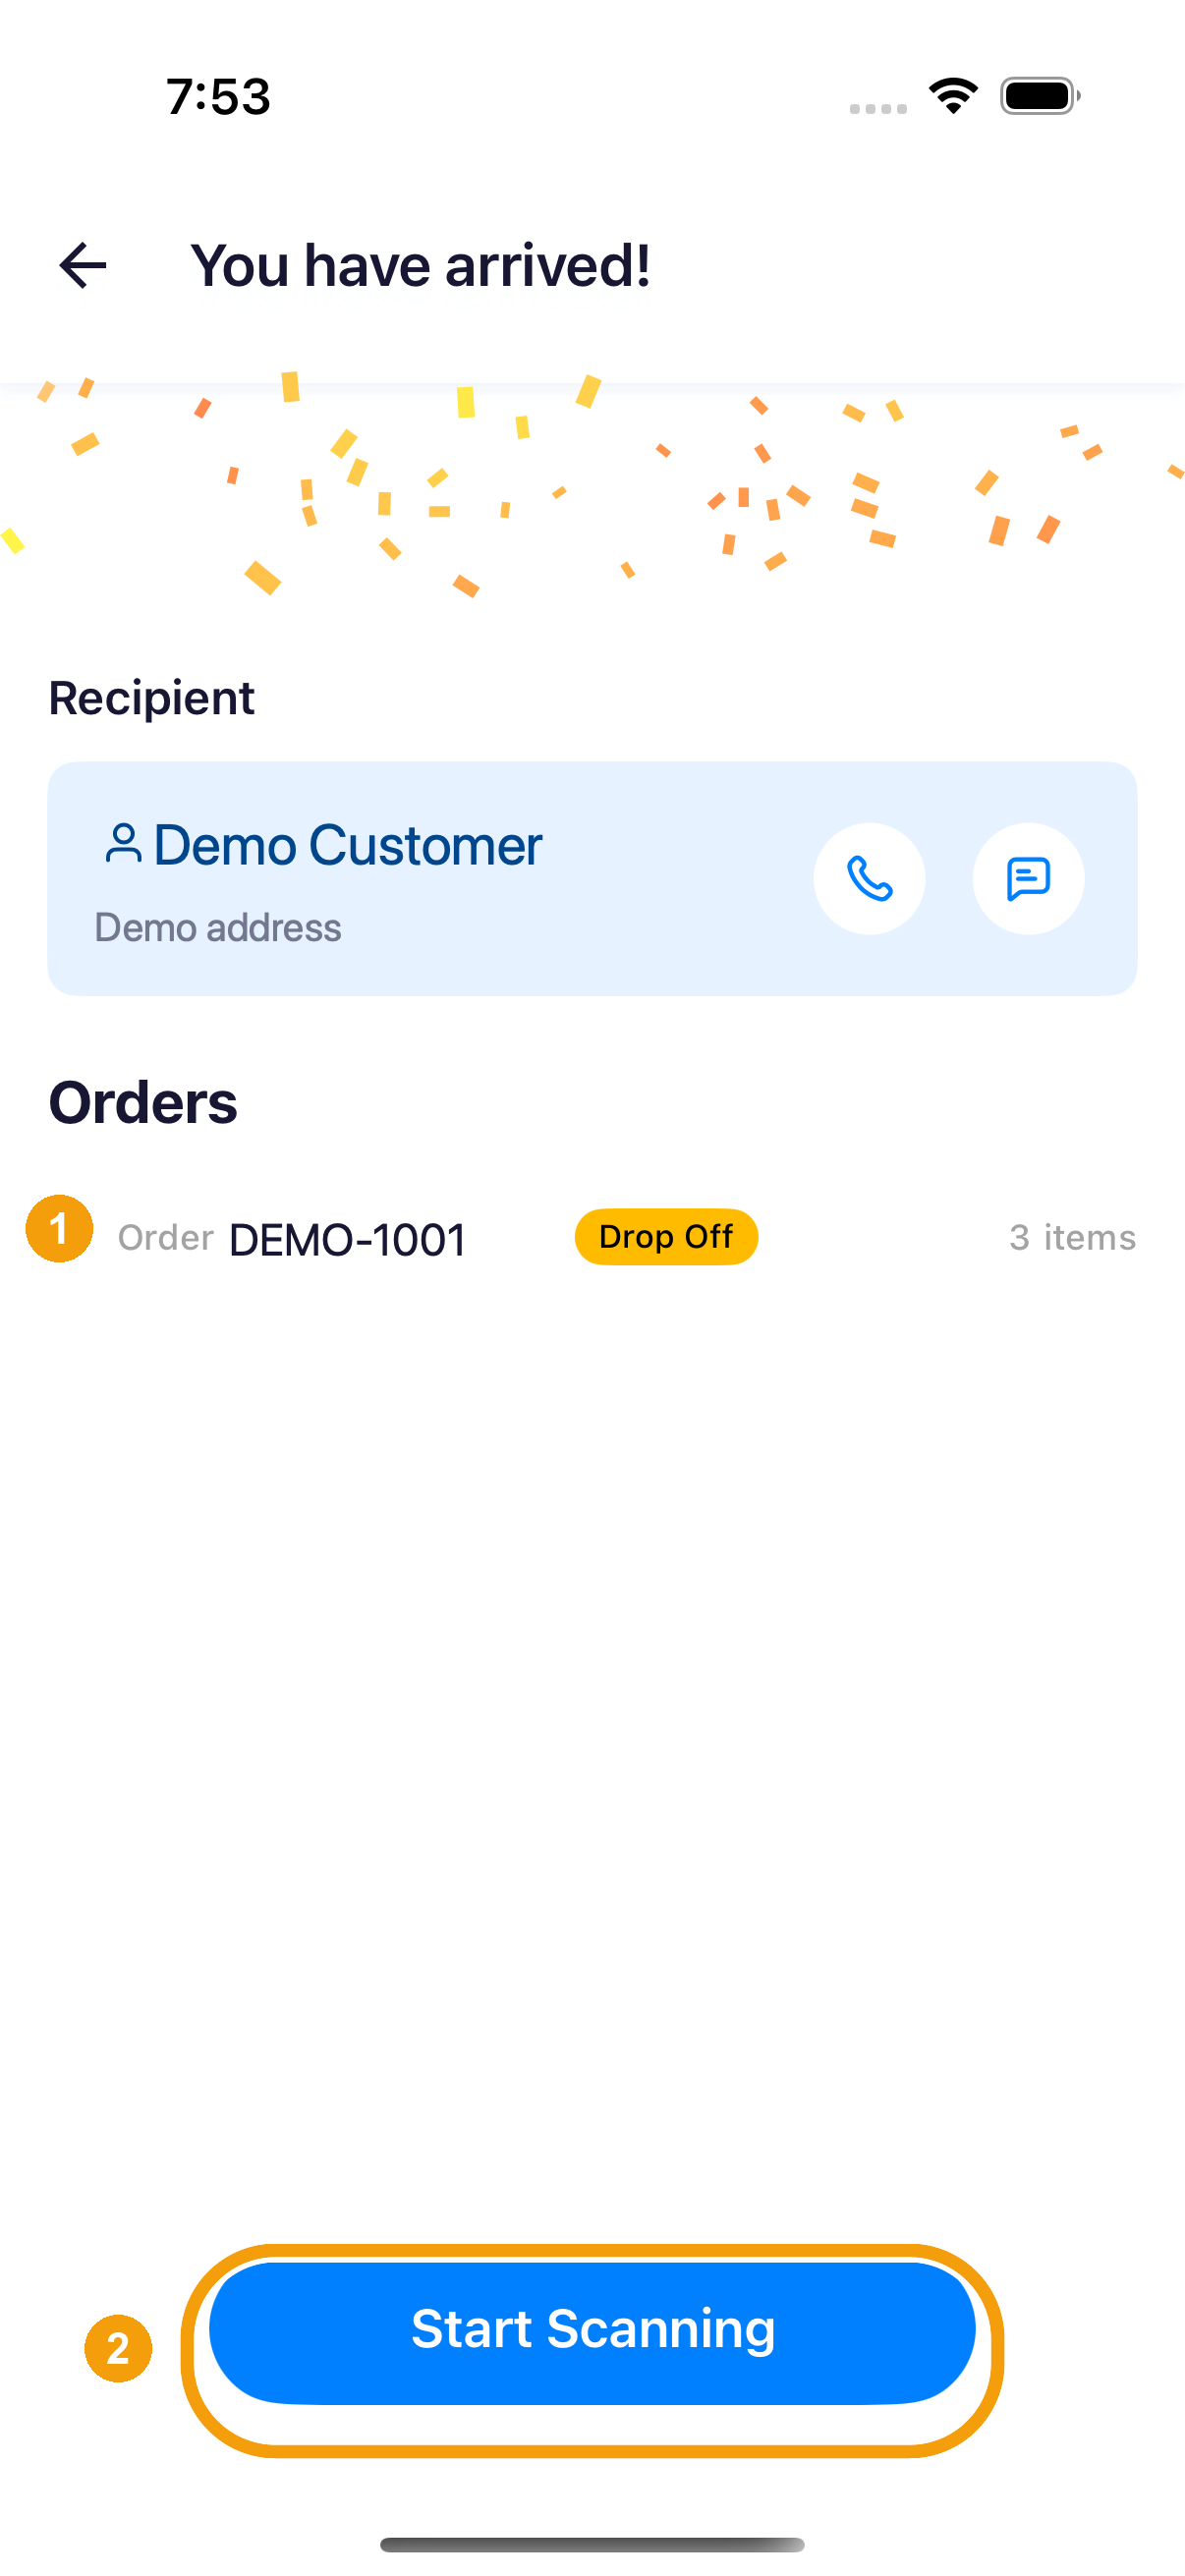
- Confirm arrival at the stop. The You have arrived! screen shows the stop's recipient and orders.
- Tap Start Scanning if the stop needs a package check – the Scan screen opens – or tap Continue if it does not.
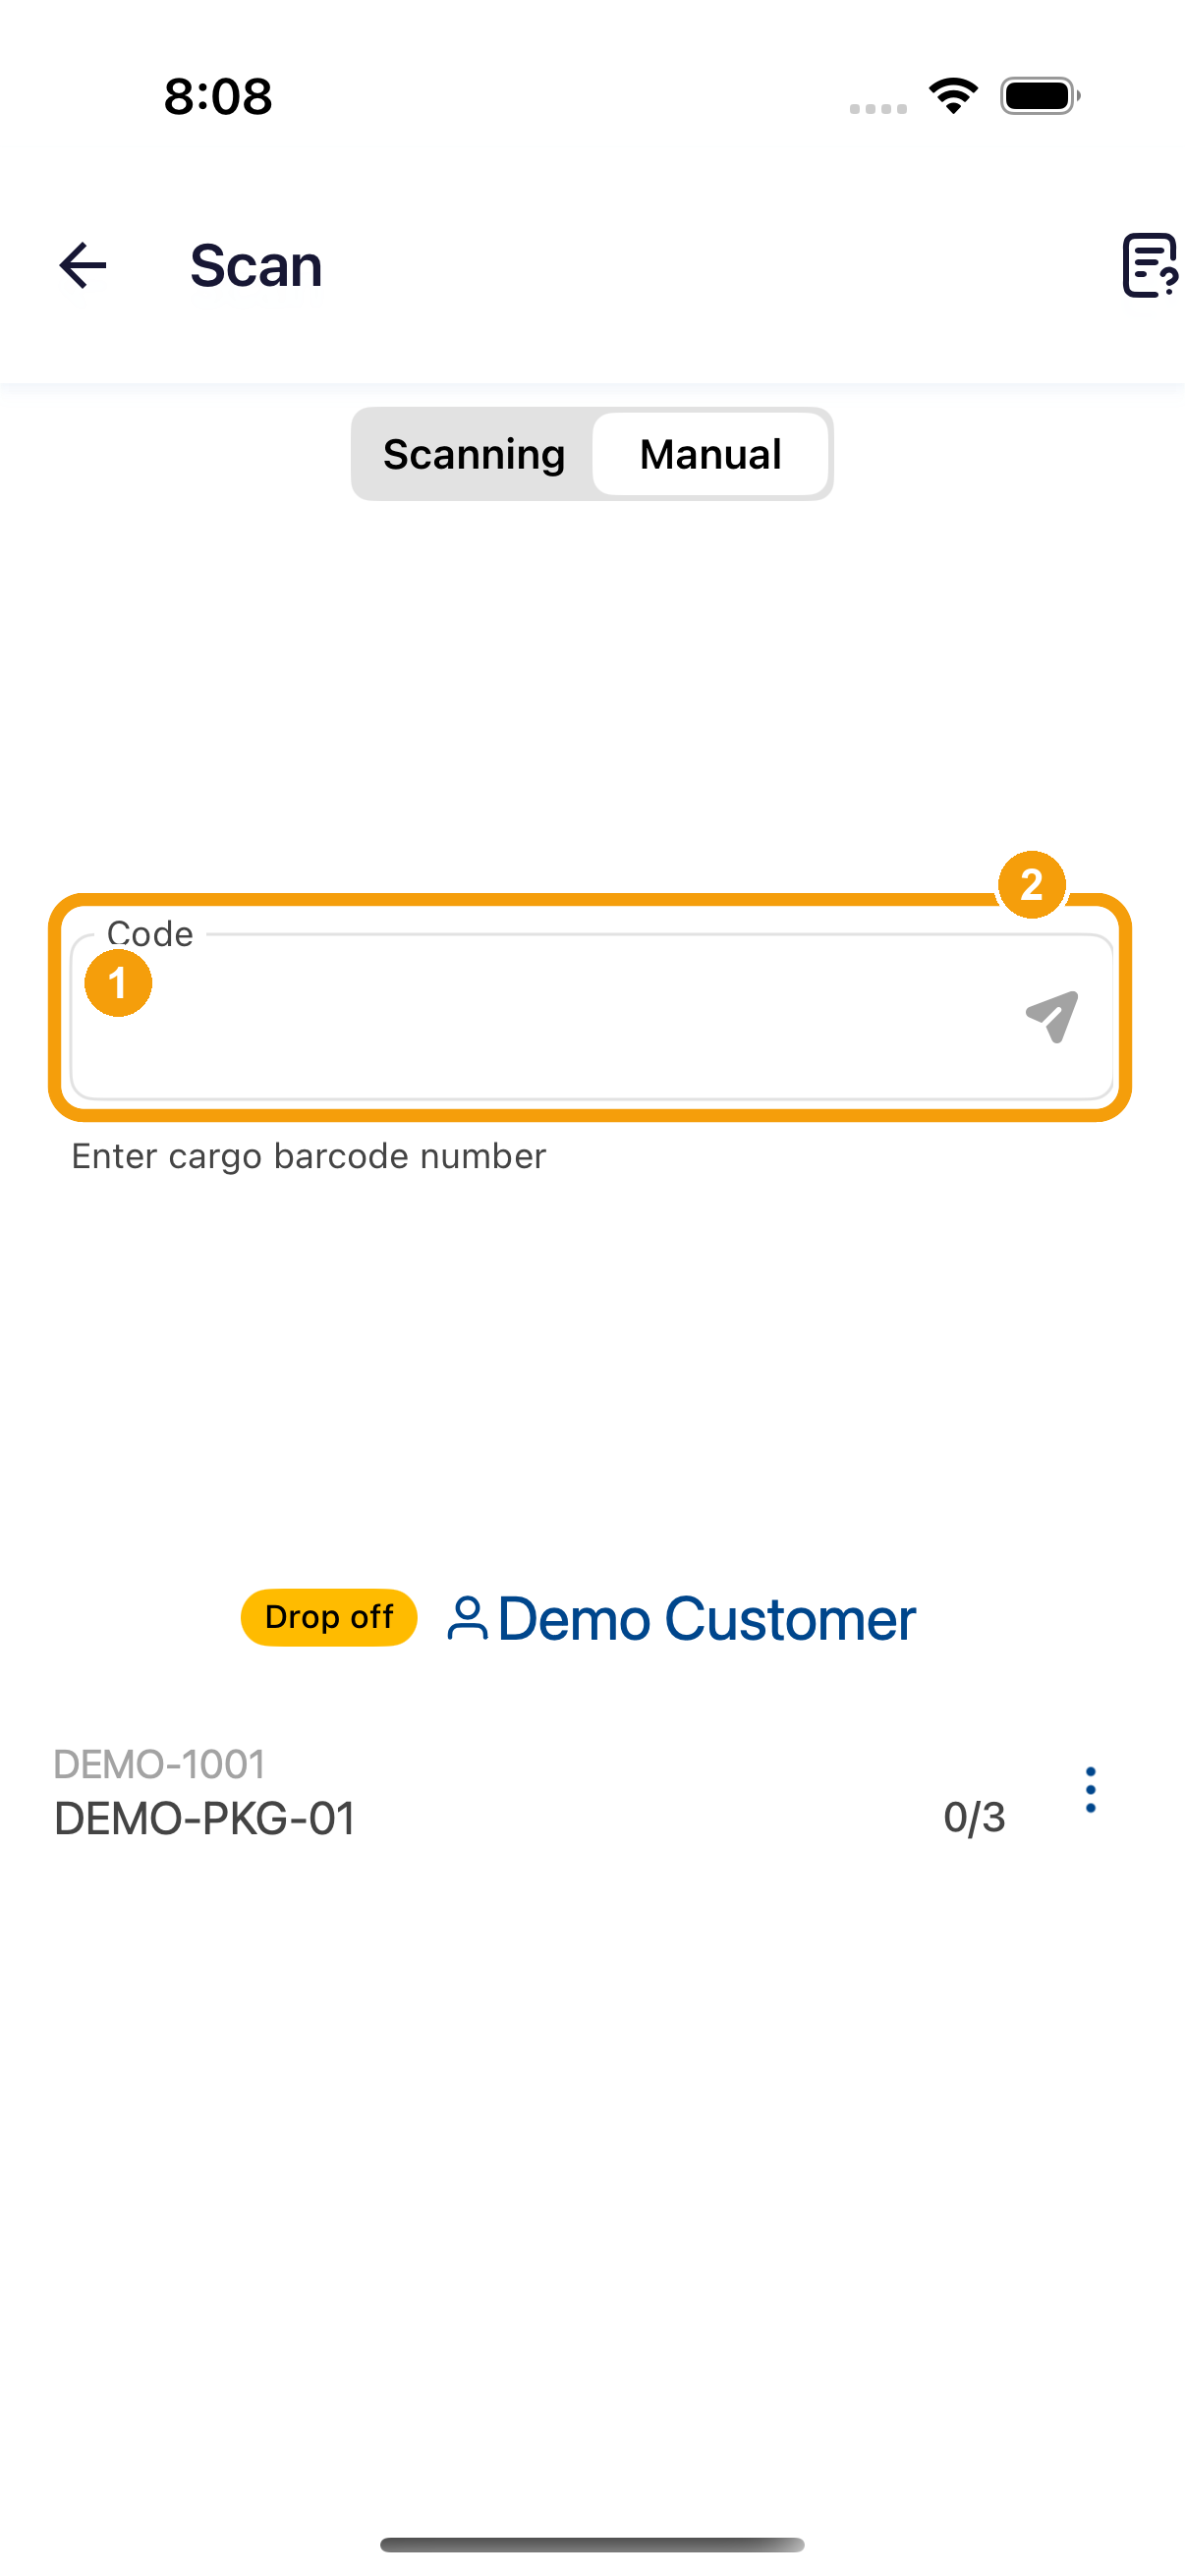
- Scan each package; if a barcode will not read, tap Manual to enter the code by hand. Once the required count is confirmed, the app moves on.
Full details: for expanding the route, adjusting the stop order and navigation behaviour, see Start the route and navigate; for the scan screen fields, manual entry, count checks and exception marking, see Arrive and scan packages.
Step 4: Capture proof of delivery (POD)
Once scanning is done, the Proof of Delivery screen opens. After the packages change hands, this step captures proof of delivery (POD) as the record of the drop. Follow what the stop shows and pick one of the two methods:
- Electronic Signature – the recipient signs in the signature box; check it and tap Submit. This is the most common way to sign off.
- No Contact – use this when no one is there to sign. Take a photo of where the package is left as proof of the drop, then submit.
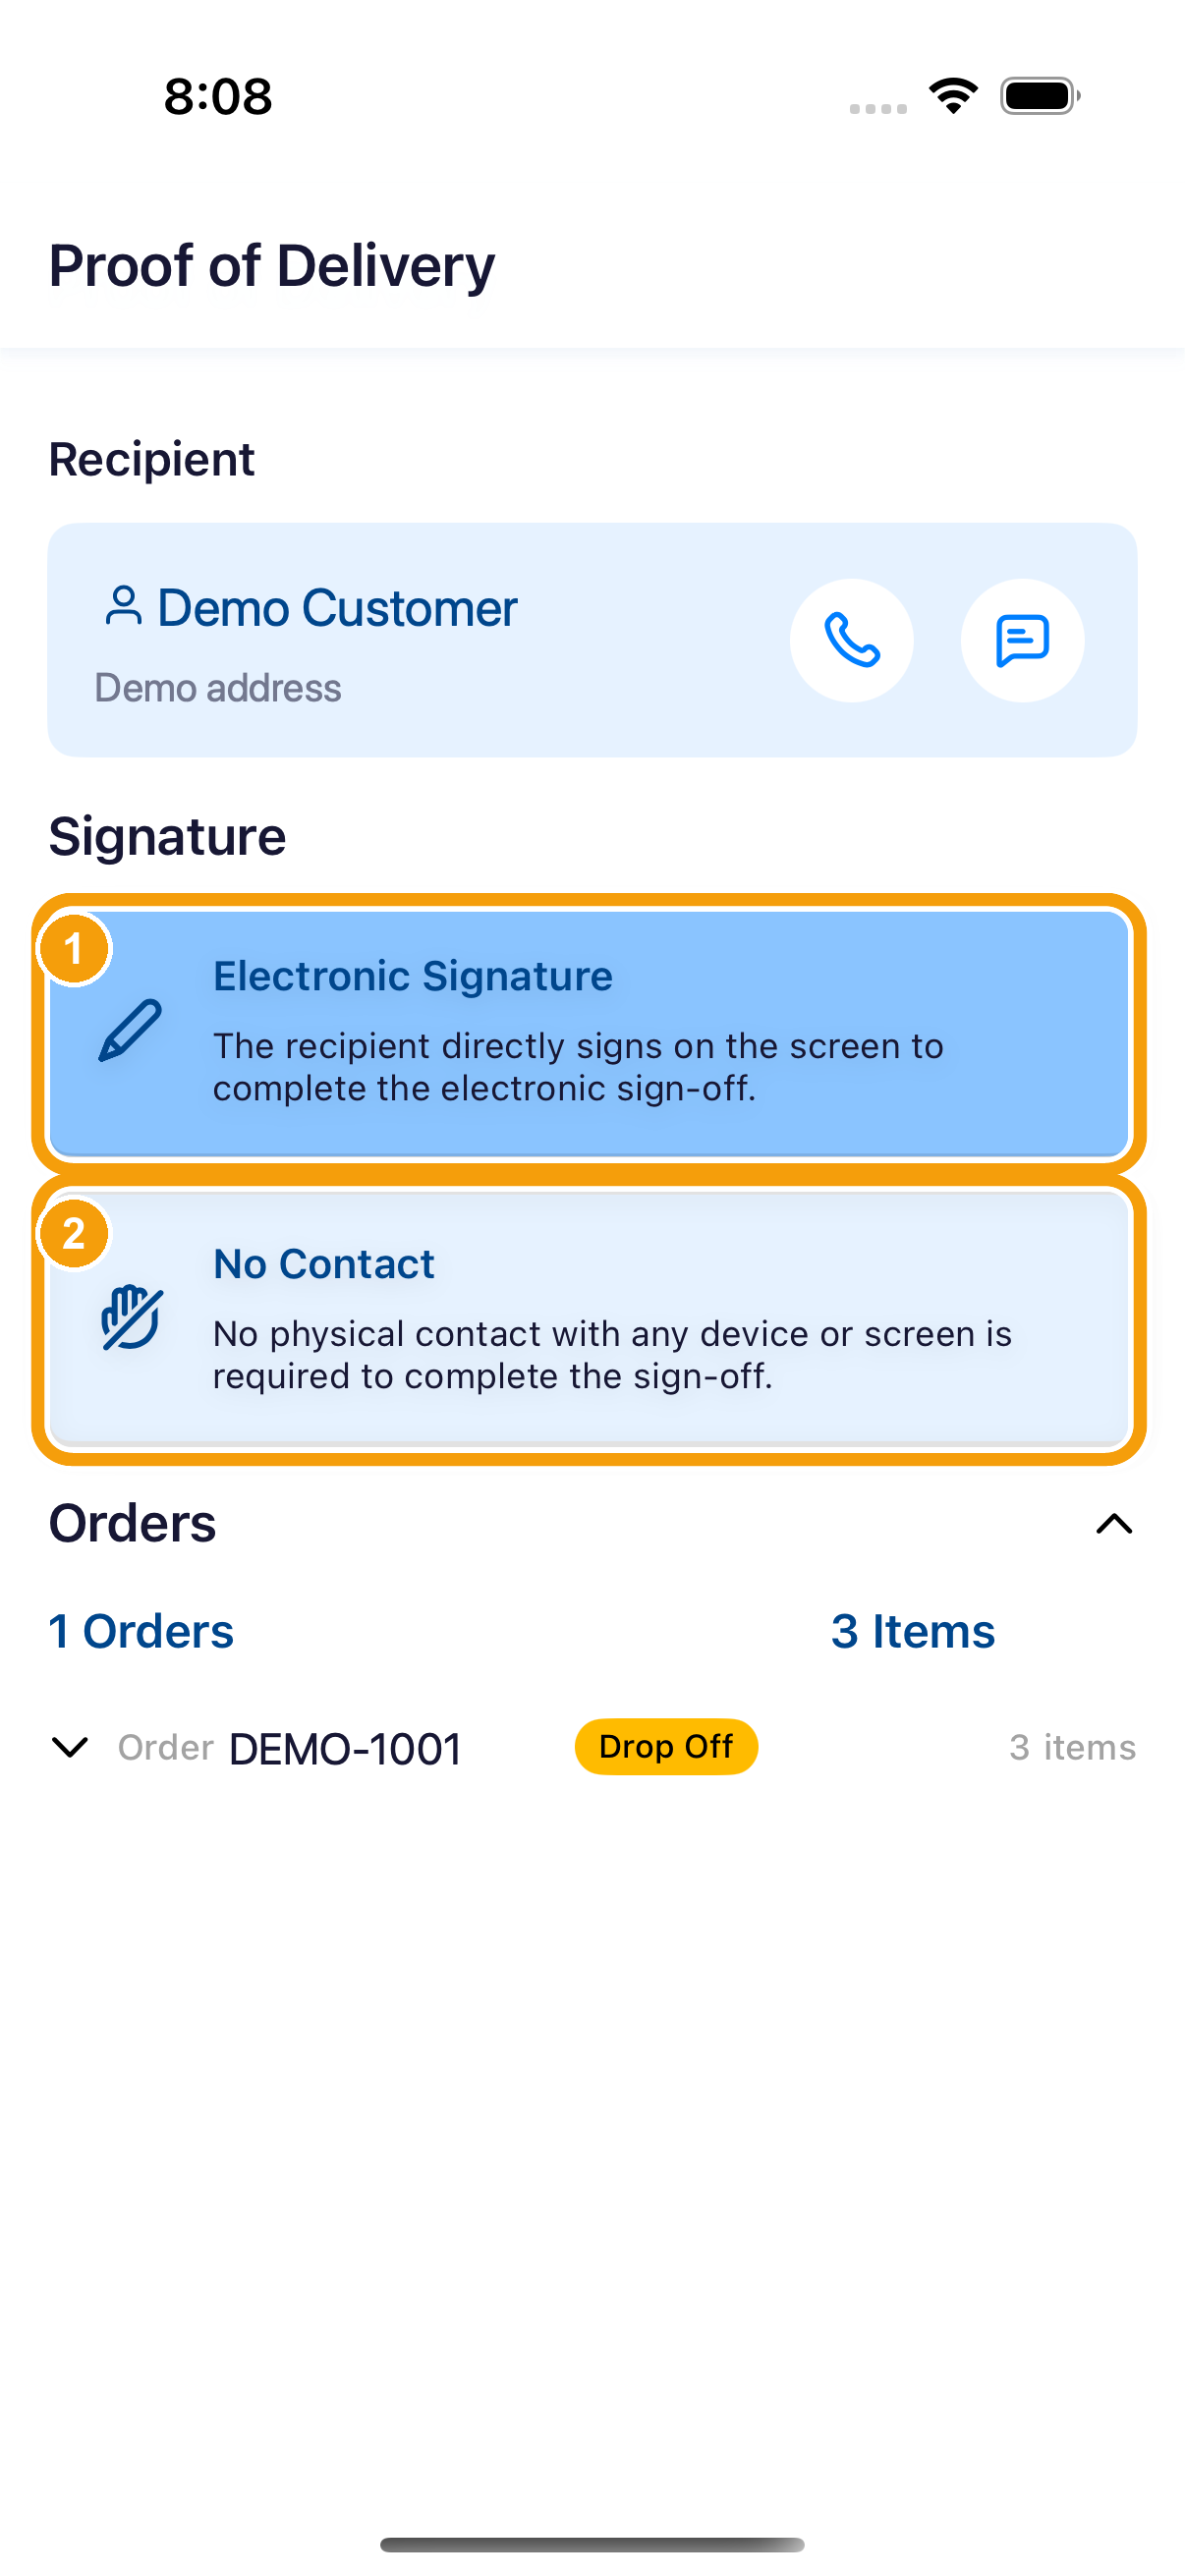
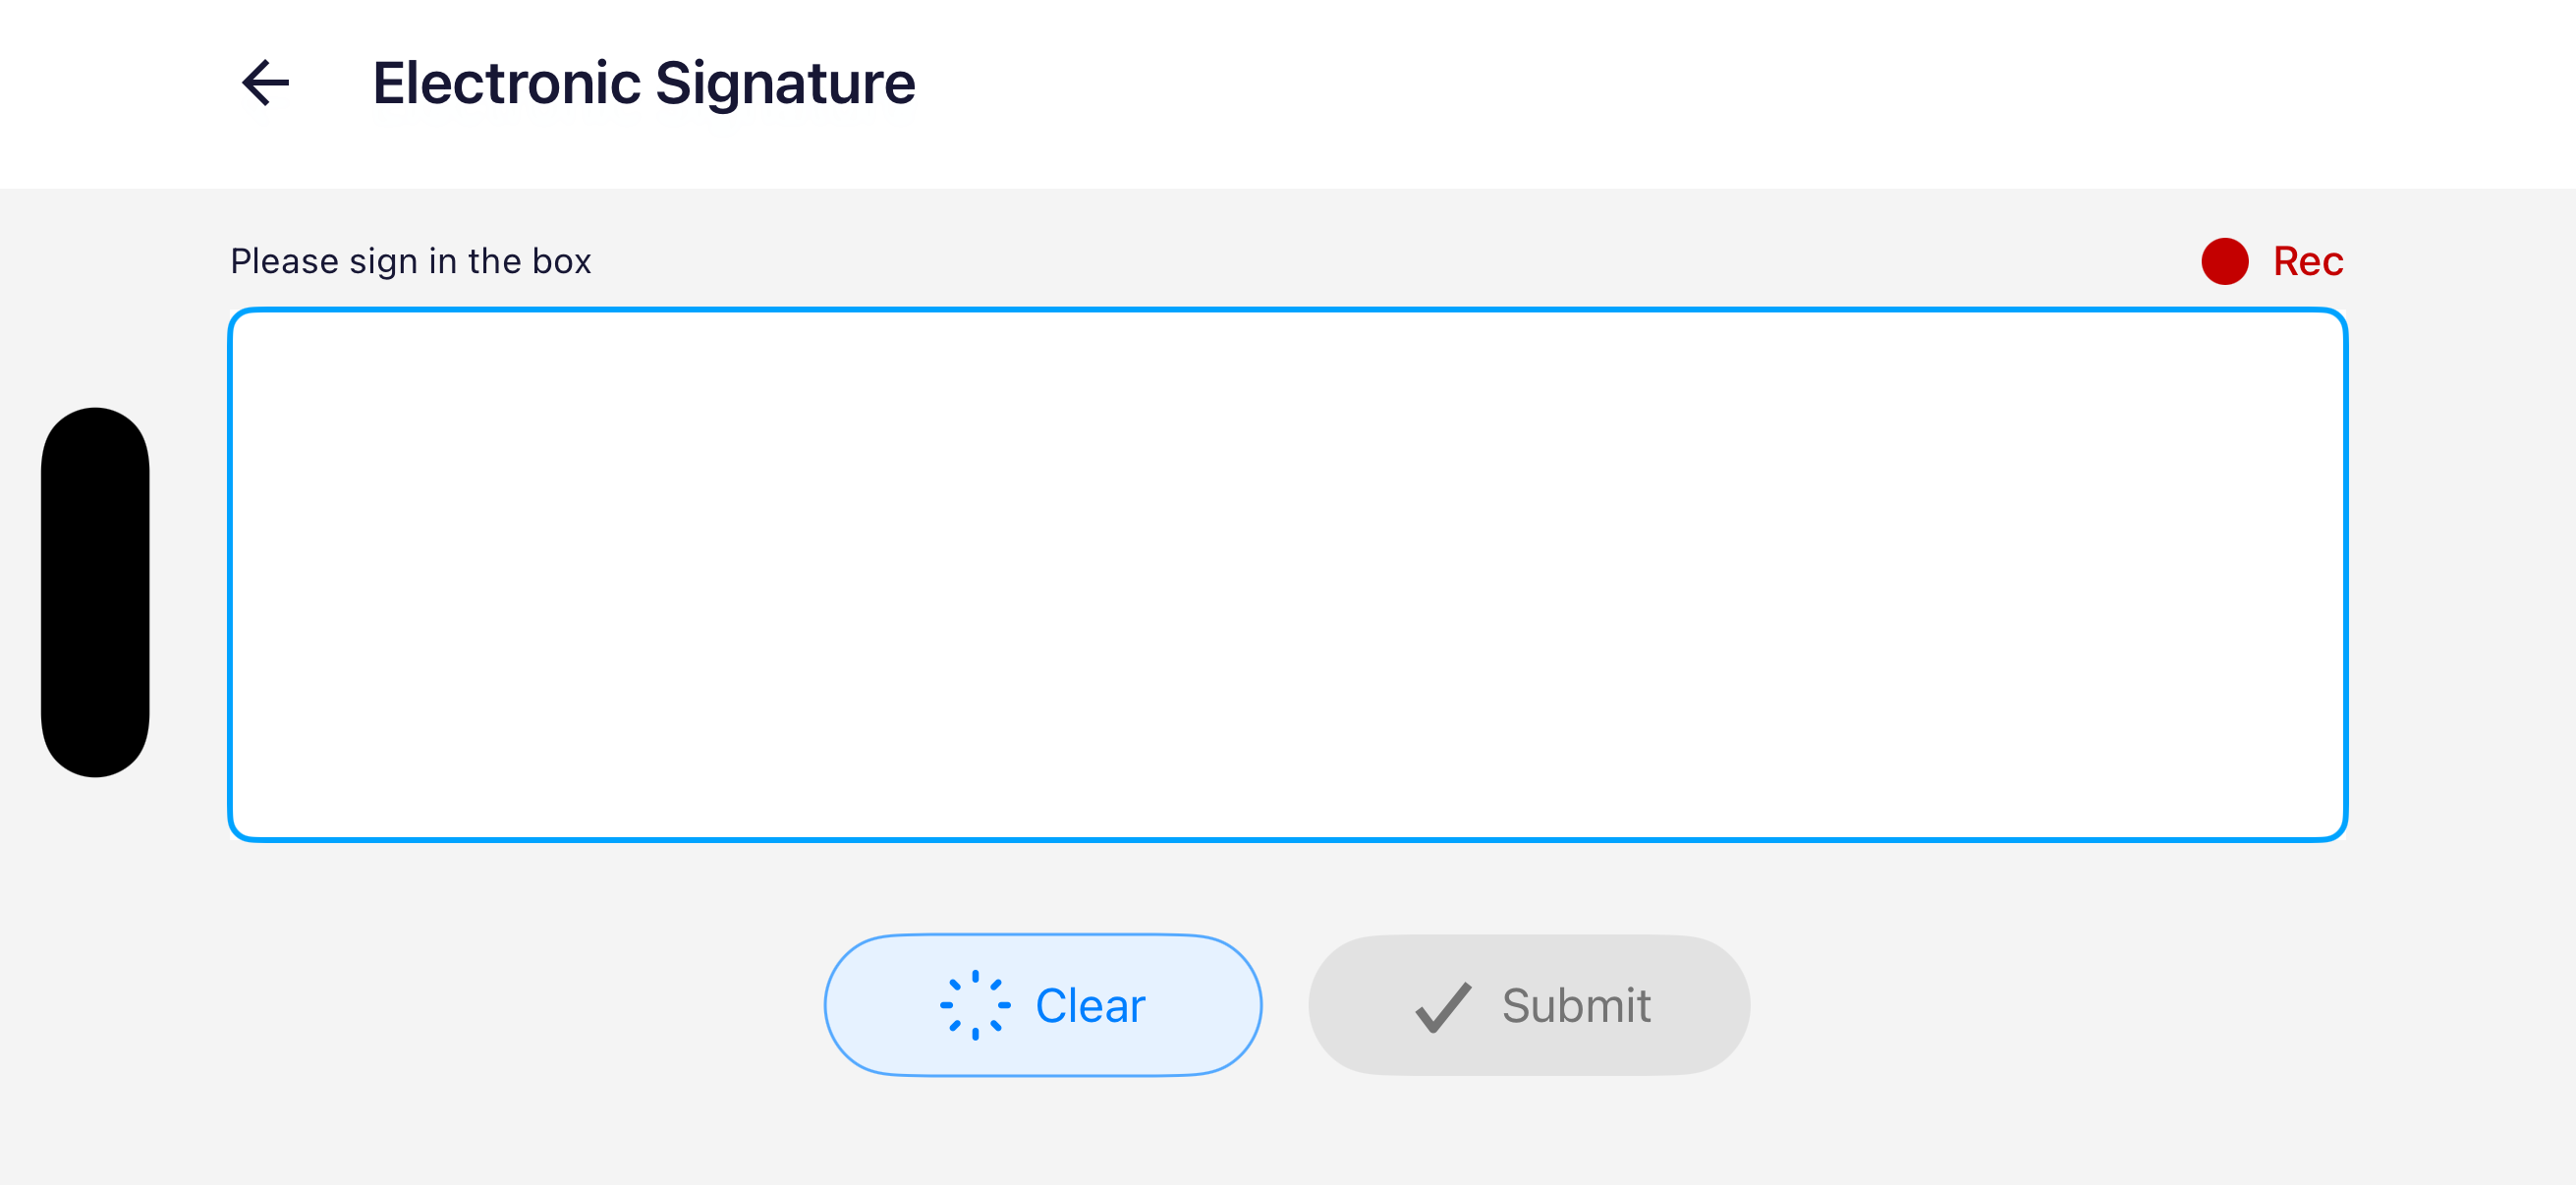
The signature screen in this sample shows Submit. It was not tapped. Stop Complete! and Route Complete! are separate pictures. This pass did not produce them by tapping Submit.
Full details: for each POD method, the conditions under which it can be submitted, and how the phone handles offline capture, see Proof of delivery; for exception categories, photo requirements and follow-up, see Report a package exception.
Step 5: Finish the stop and move on
Once you have submitted proof of delivery, the completion screen appears and reads Stop Complete!. Tap Go! or wait for the countdown to move on to the next stop; if you are not ready to leave, tap Close before the countdown ends to pause. Repeat until Route Complete! appears. If there is another route, the completion screen may also count down into the next one; tap Close to hold if you need a break.
After the last stop of the route, the screen changes to Route Complete! – every stop on today's run sheet has been delivered.
Full details: for the close-out flow, the countdown and offline upload recovery, see Complete a stop and the whole route.
If the route changes mid-run or the network drops, keep the app on – do not reinstall – and follow Route updates in-flight or Failed uploads and offline recovery.
How to confirm each stop was done right
Before you leave each stop, check these five points in order. All five pass means the stop is truly done:
- Pre-shift: the right account is signed in, today's route and vehicle match the assignment, and any document reminders are handled.
- On arrival: the stop matches the real location, and you have seen what to deliver or pick up at this stop.
- Packages: every required count is confirmed and any exception is filed under its actual reason.
- Proof of delivery: the signature, photo or No Contact for this stop is done – both sets when there is both a delivery and a pickup.
- Done: Stop Complete! or Route Complete! appears, and you have checked the next stop or next route.
Finishing the screen and syncing the data are two things. Stay connected after the shift ends and follow the prompts to clear any pending upload.
The Route Complete! picture is a separate frame. Submit on the signature screen was not tapped in this sample, so this pass did not produce that picture.
Next steps
- Complete a stop and the whole route – the detail of each stop and the end-of-day close.
- Proof of delivery – electronic signature, No Contact, and offline handling in full.
- Report a package exception – the workflow for lost, damaged and wrong-delivery cases.
- Take a break or work without internet
- Work a run sheet – how the Sendit Go Carrier Console reviews the delivered results.