Create an account
Create a driver account, link it to the correct fleet, and submit your licence, vehicle, and insurance details for review. The screens below show the same registration flow on iPhone and Android; spacing may differ slightly between platforms.
Where to find it: SendItGo › Welcome aboard. › Create Account.
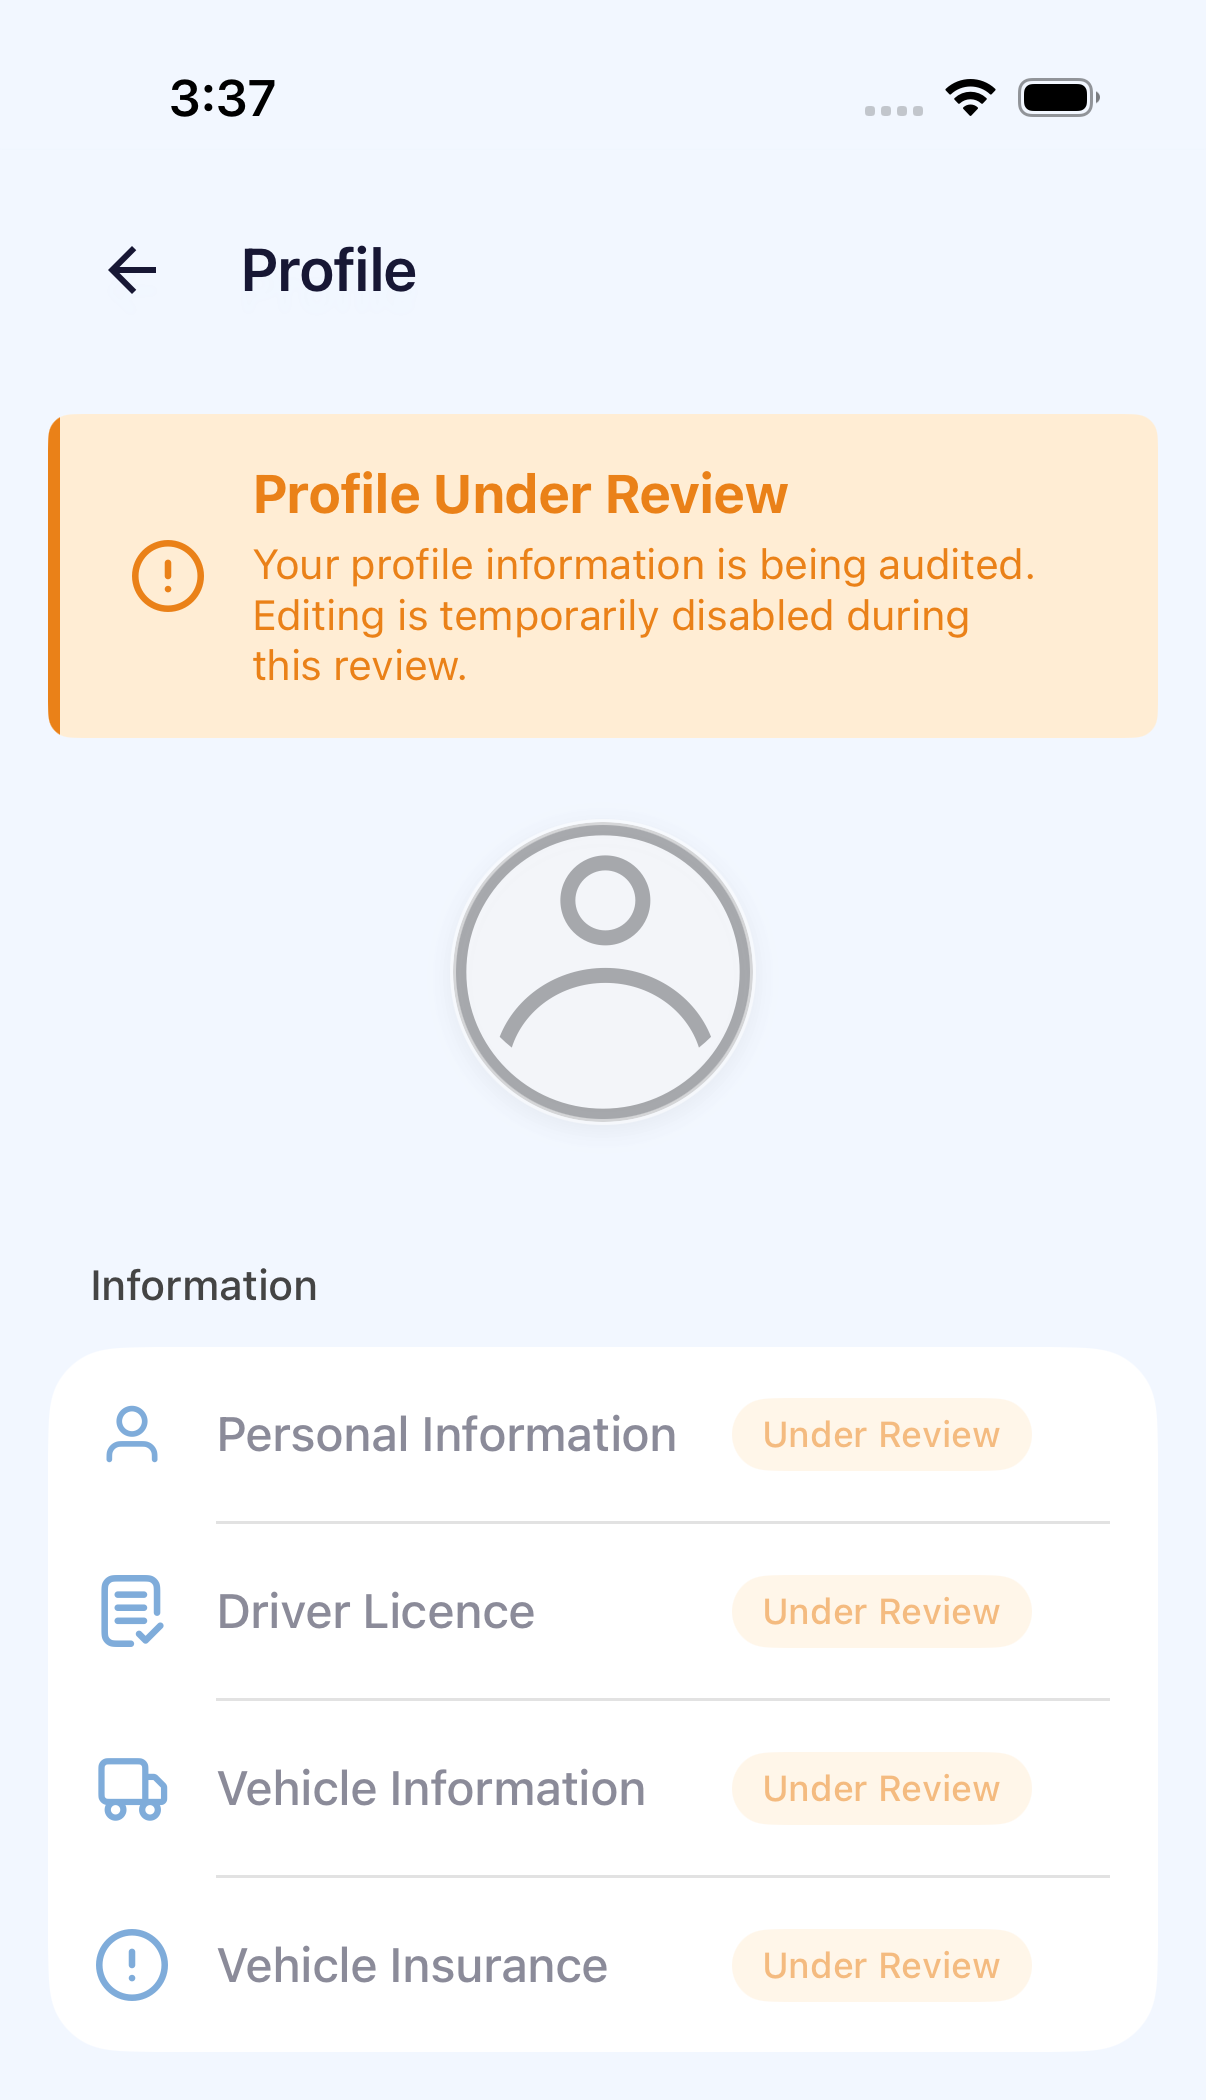
The app shows Verification in Progress and Your details are being reviewed.
Before you start
- Ask your fleet for its current Fleet Code.
- Make sure you can receive codes on the mobile number and email address you will register.
- Prepare your driver licence, a clear profile photo, vehicle registration details and photos, and current insurance documents.
- Use a stable connection while verifying your contact details and uploading documents.
1. Verify your mobile number
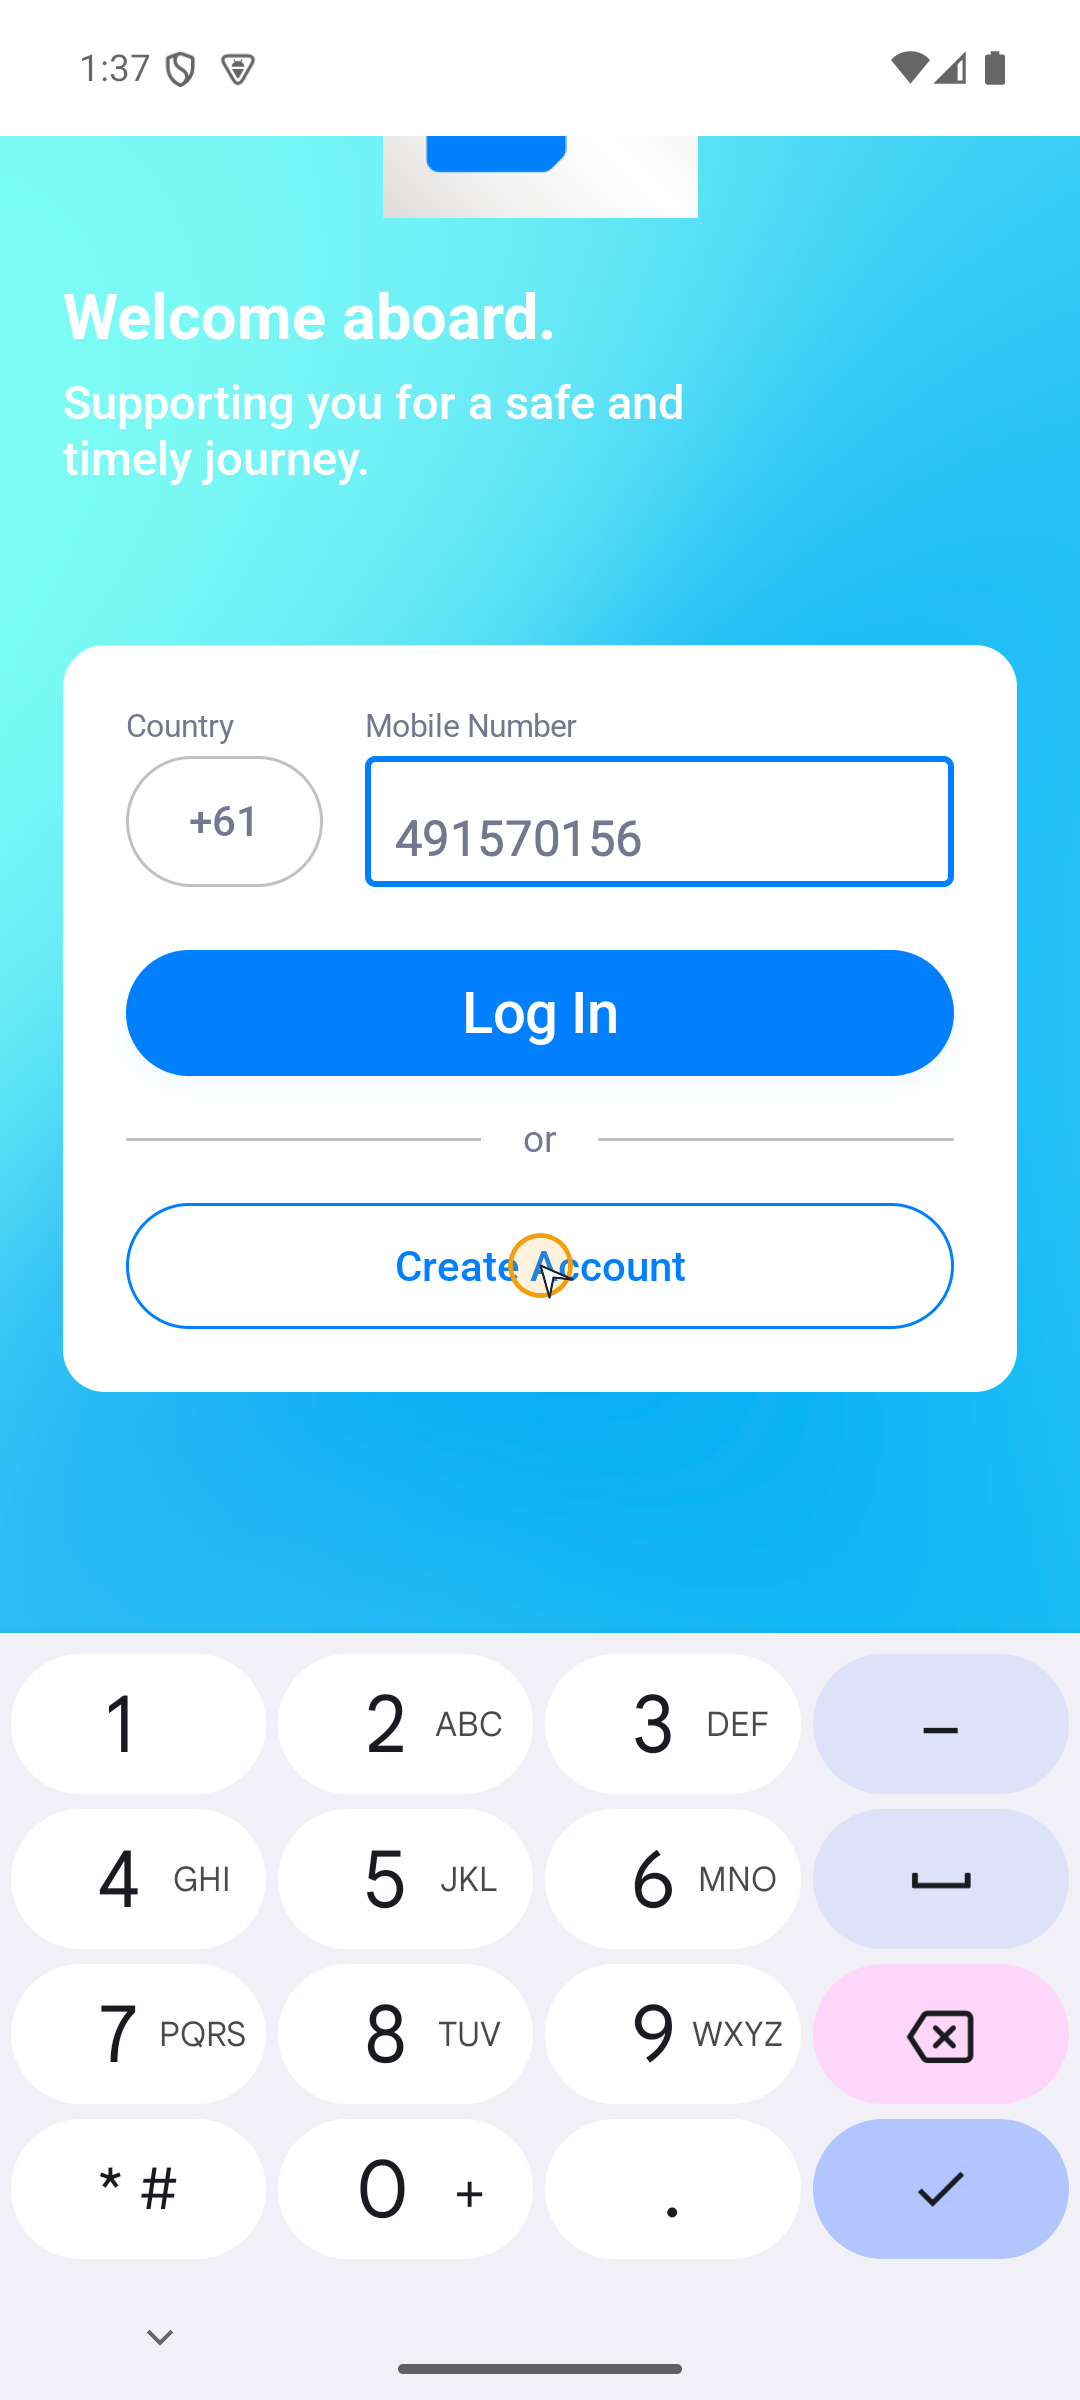
- Choose the correct country code and enter your local mobile number.
- Tap Create Account.
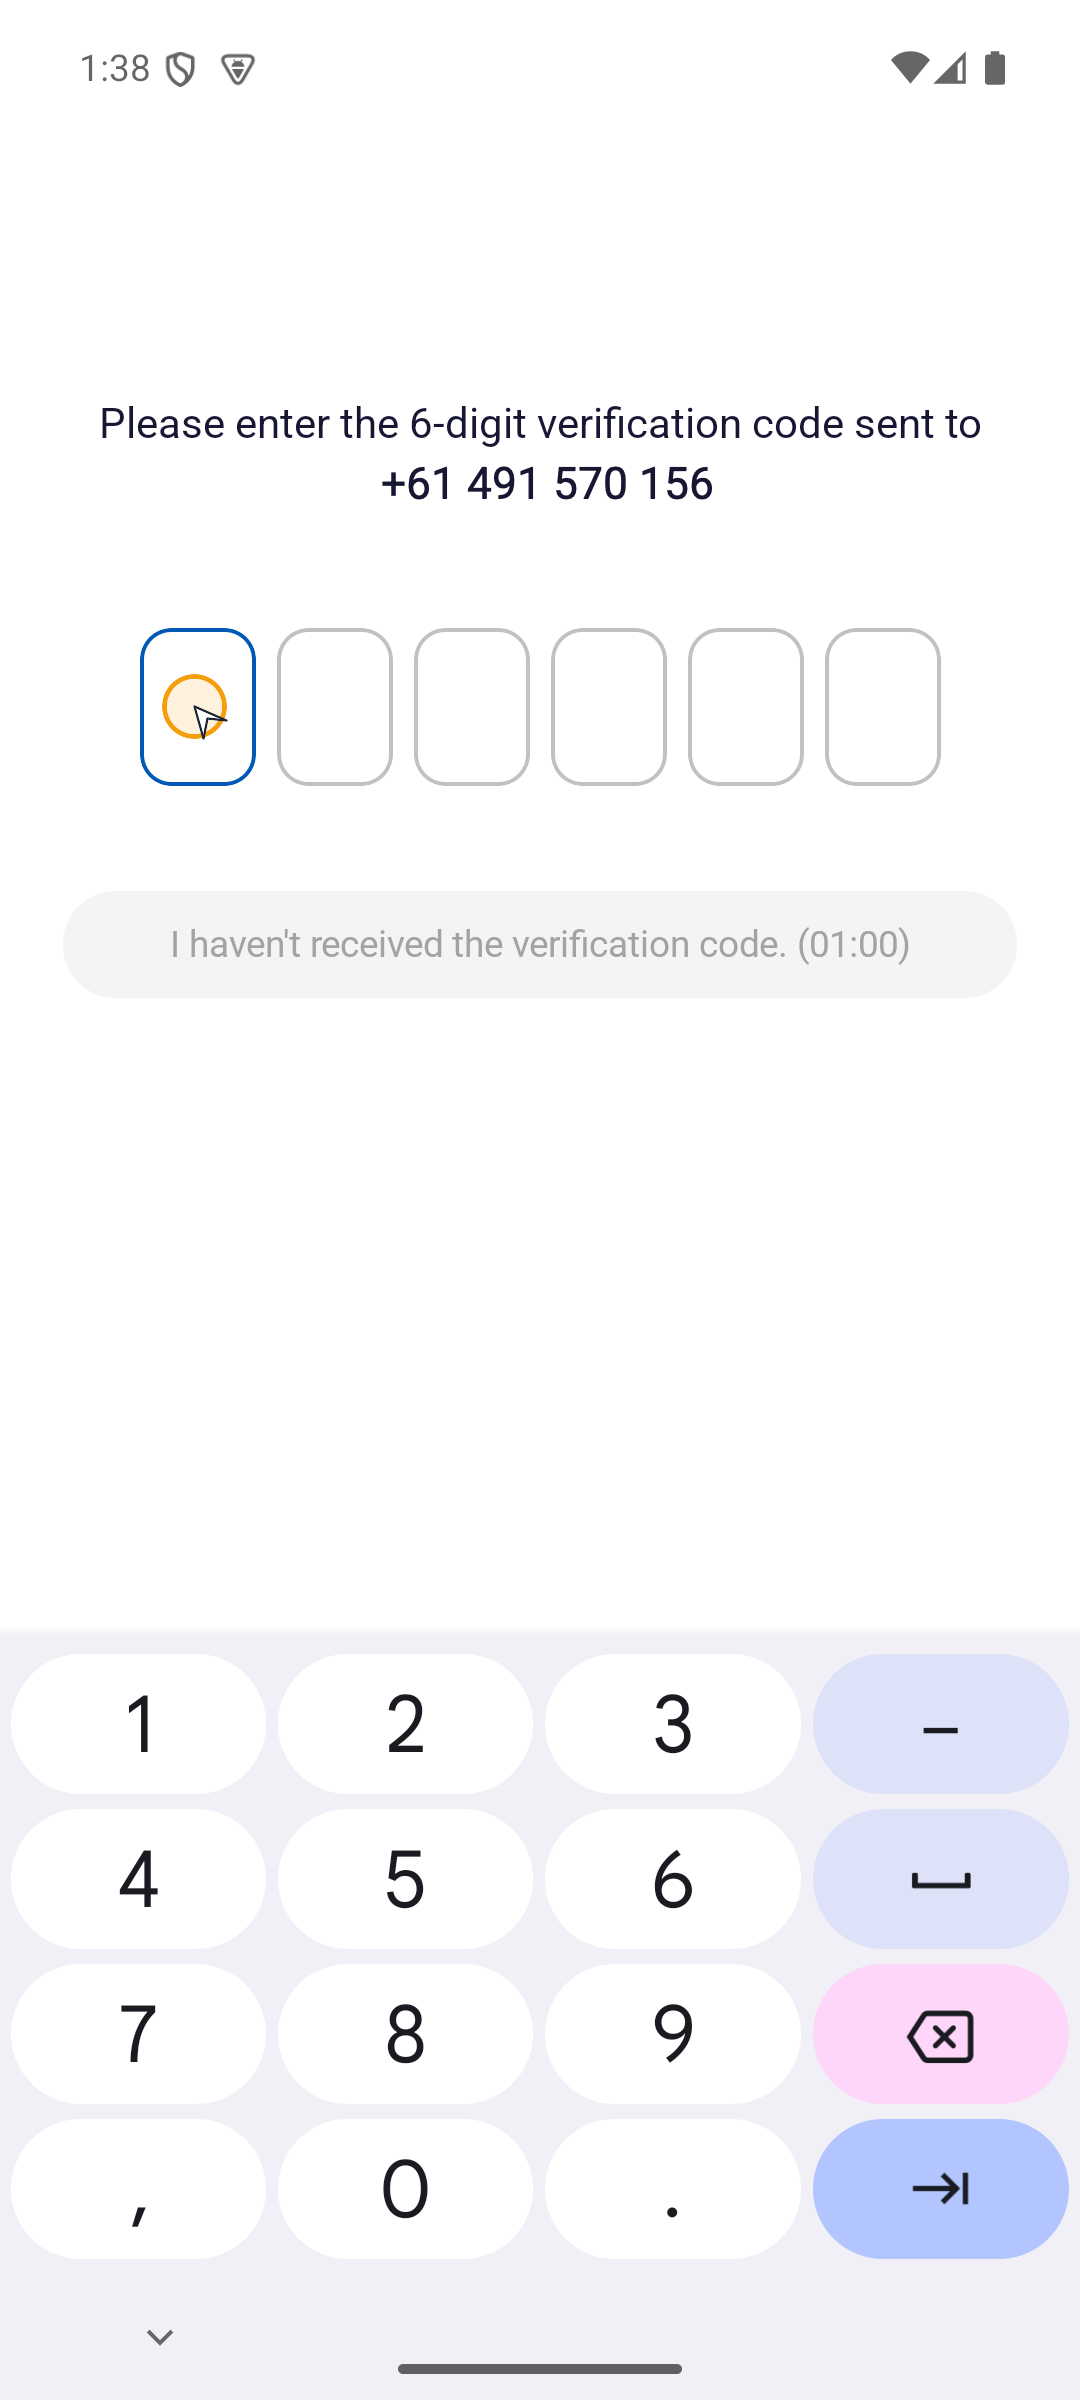
- Enter the 6-digit code sent to that number. The app continues when all six digits are filled.
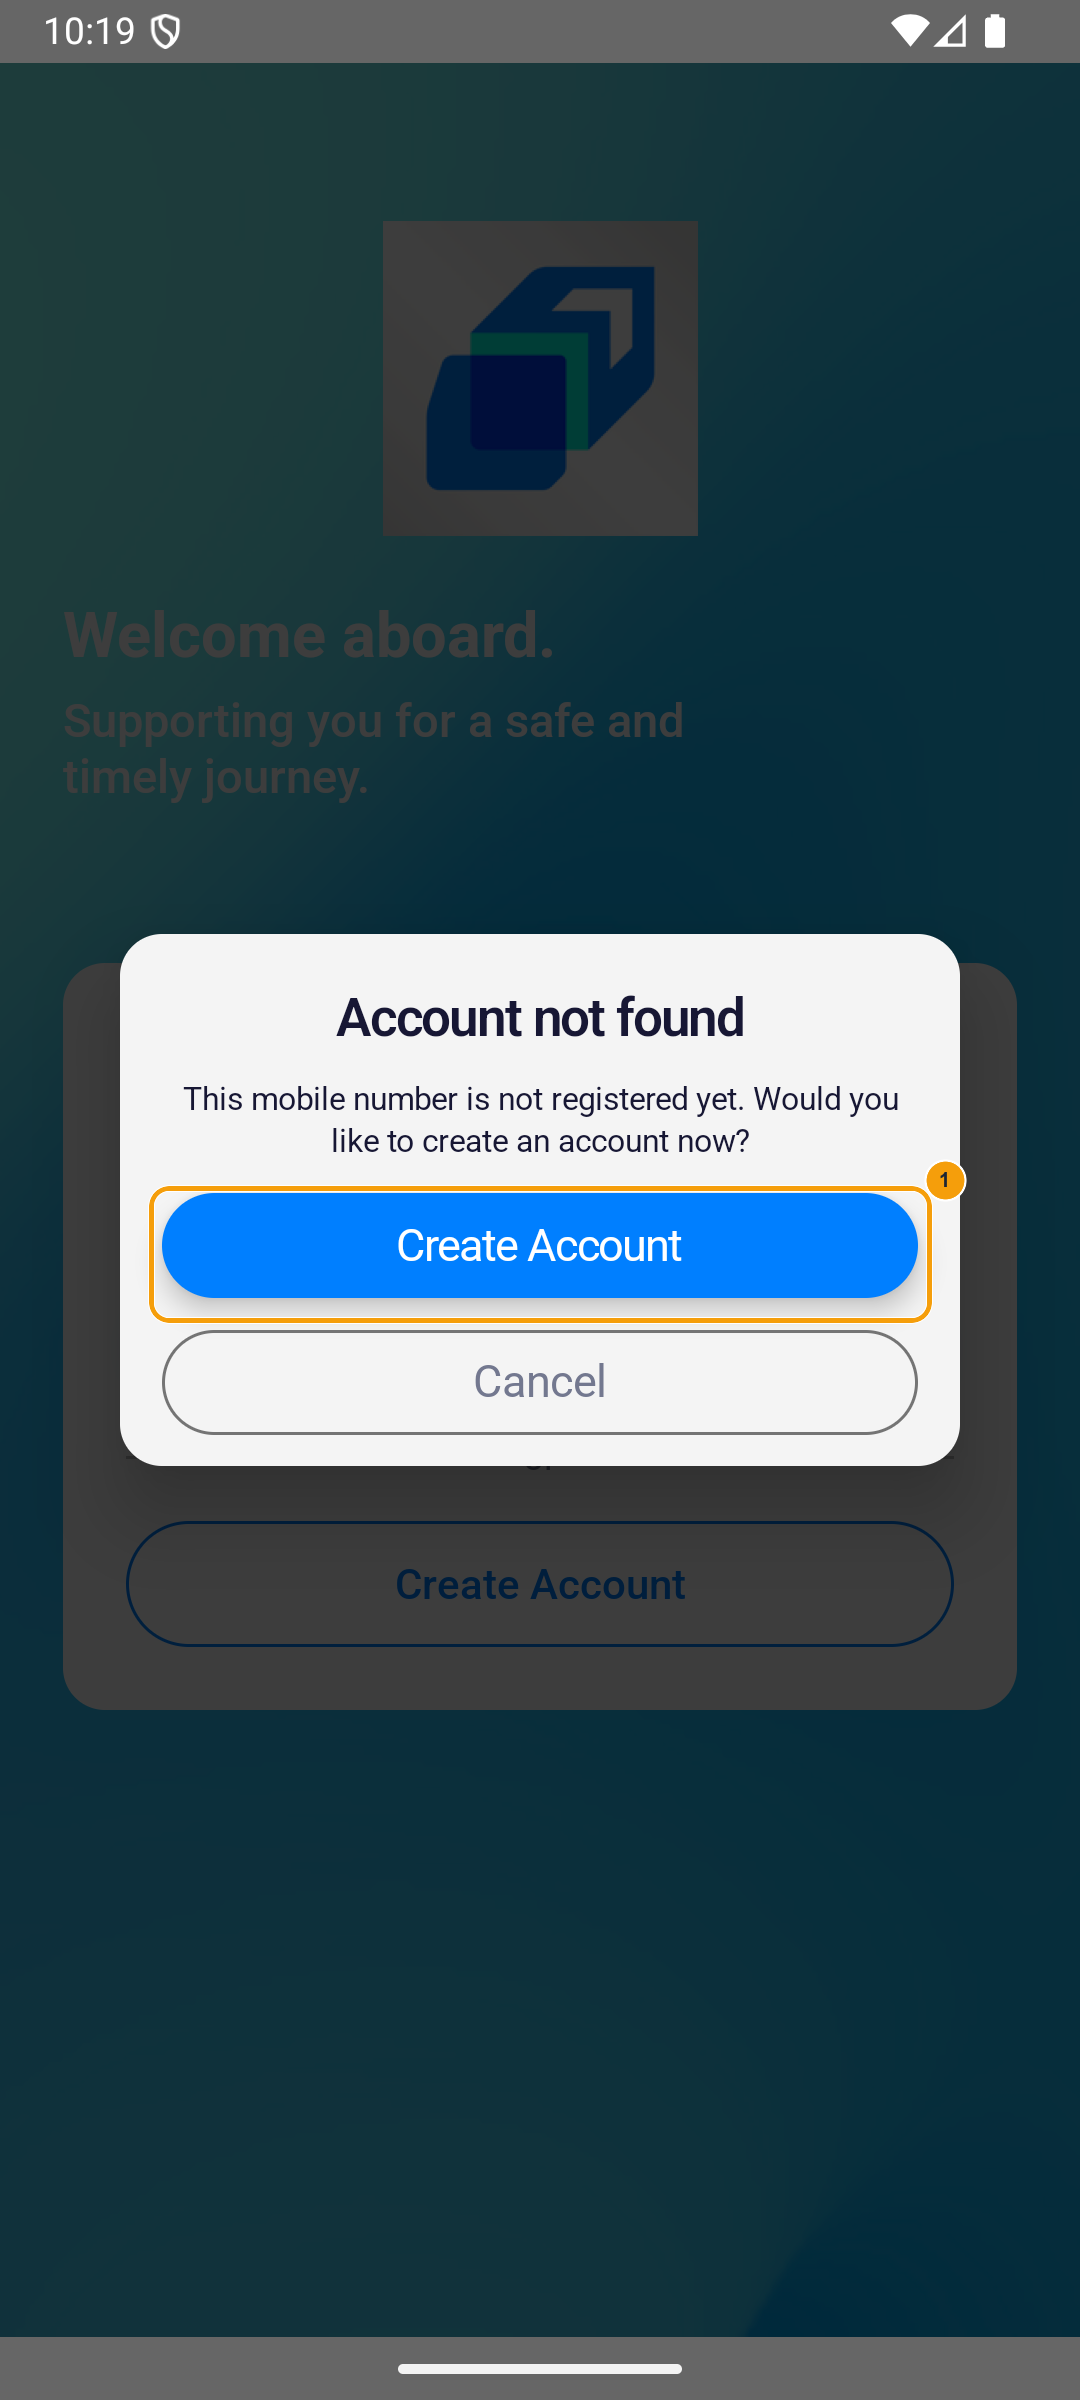
- If Account not found appears, tap Create Account in the dialog to begin a new registration.
If the code does not arrive, check the country code and mobile number, then wait for the resend action. Do not create a second registration.
2. Link your fleet
- On Driver Type, choose the available driver type. For fleet registration, tap I belong to a Fleet / Company.
- On Link to Fleet, enter the Fleet Code supplied by your fleet.
- Tap the arrow at the right of the field to search.
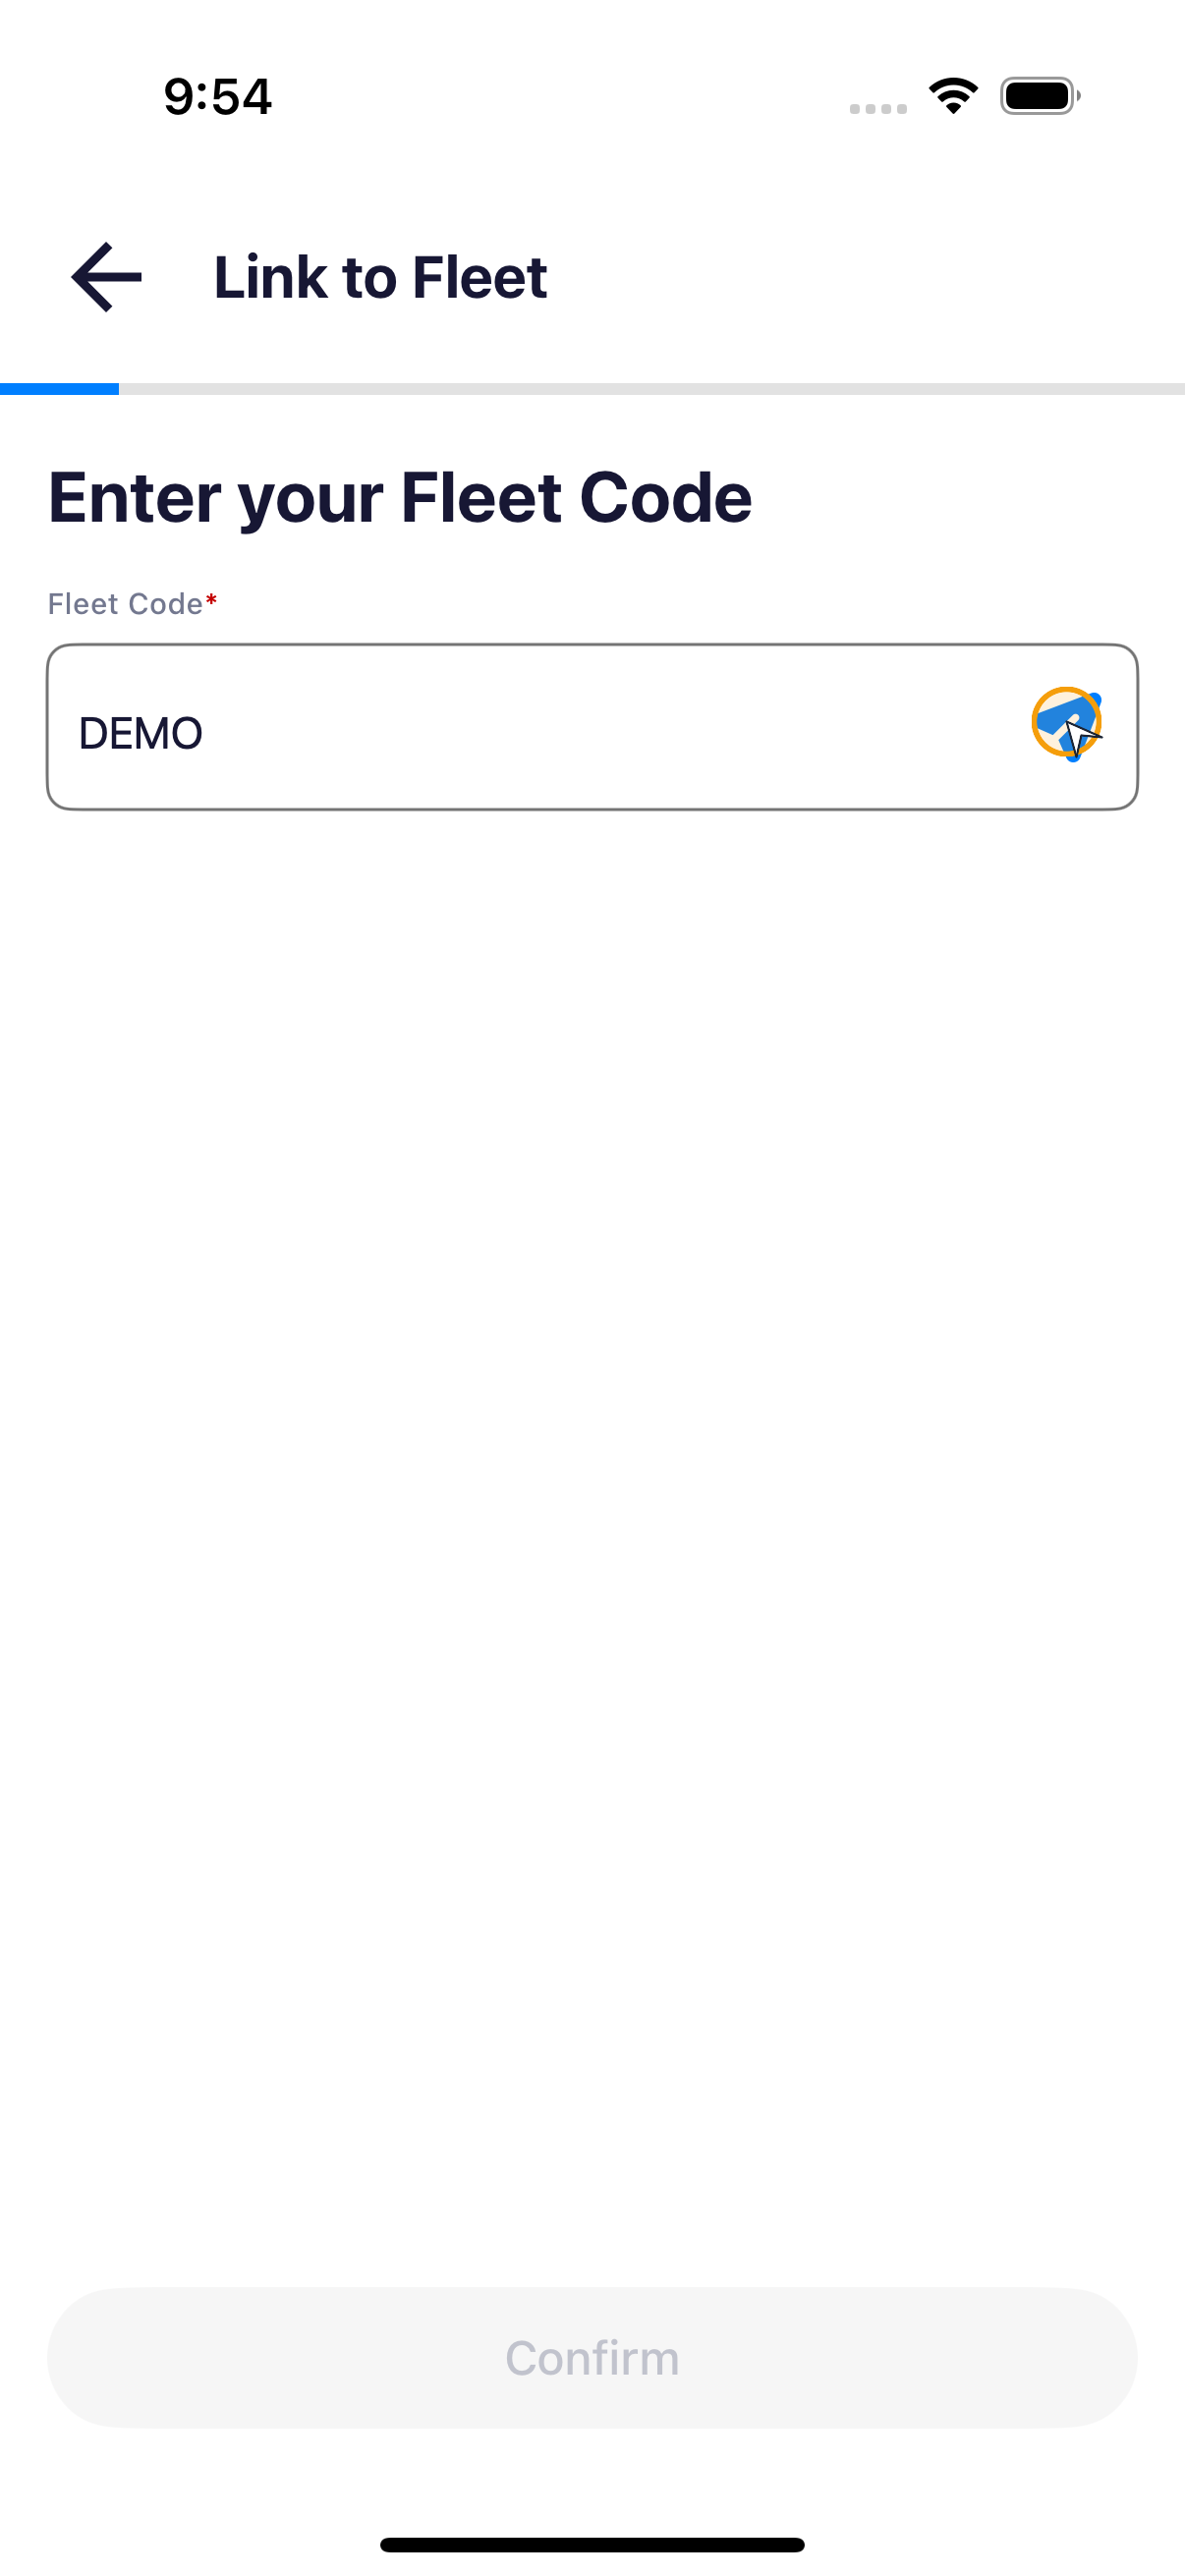
- Check the company logo, company name, and fleet name returned by the app.
- Tap Confirm only when all details match the fleet you work for.
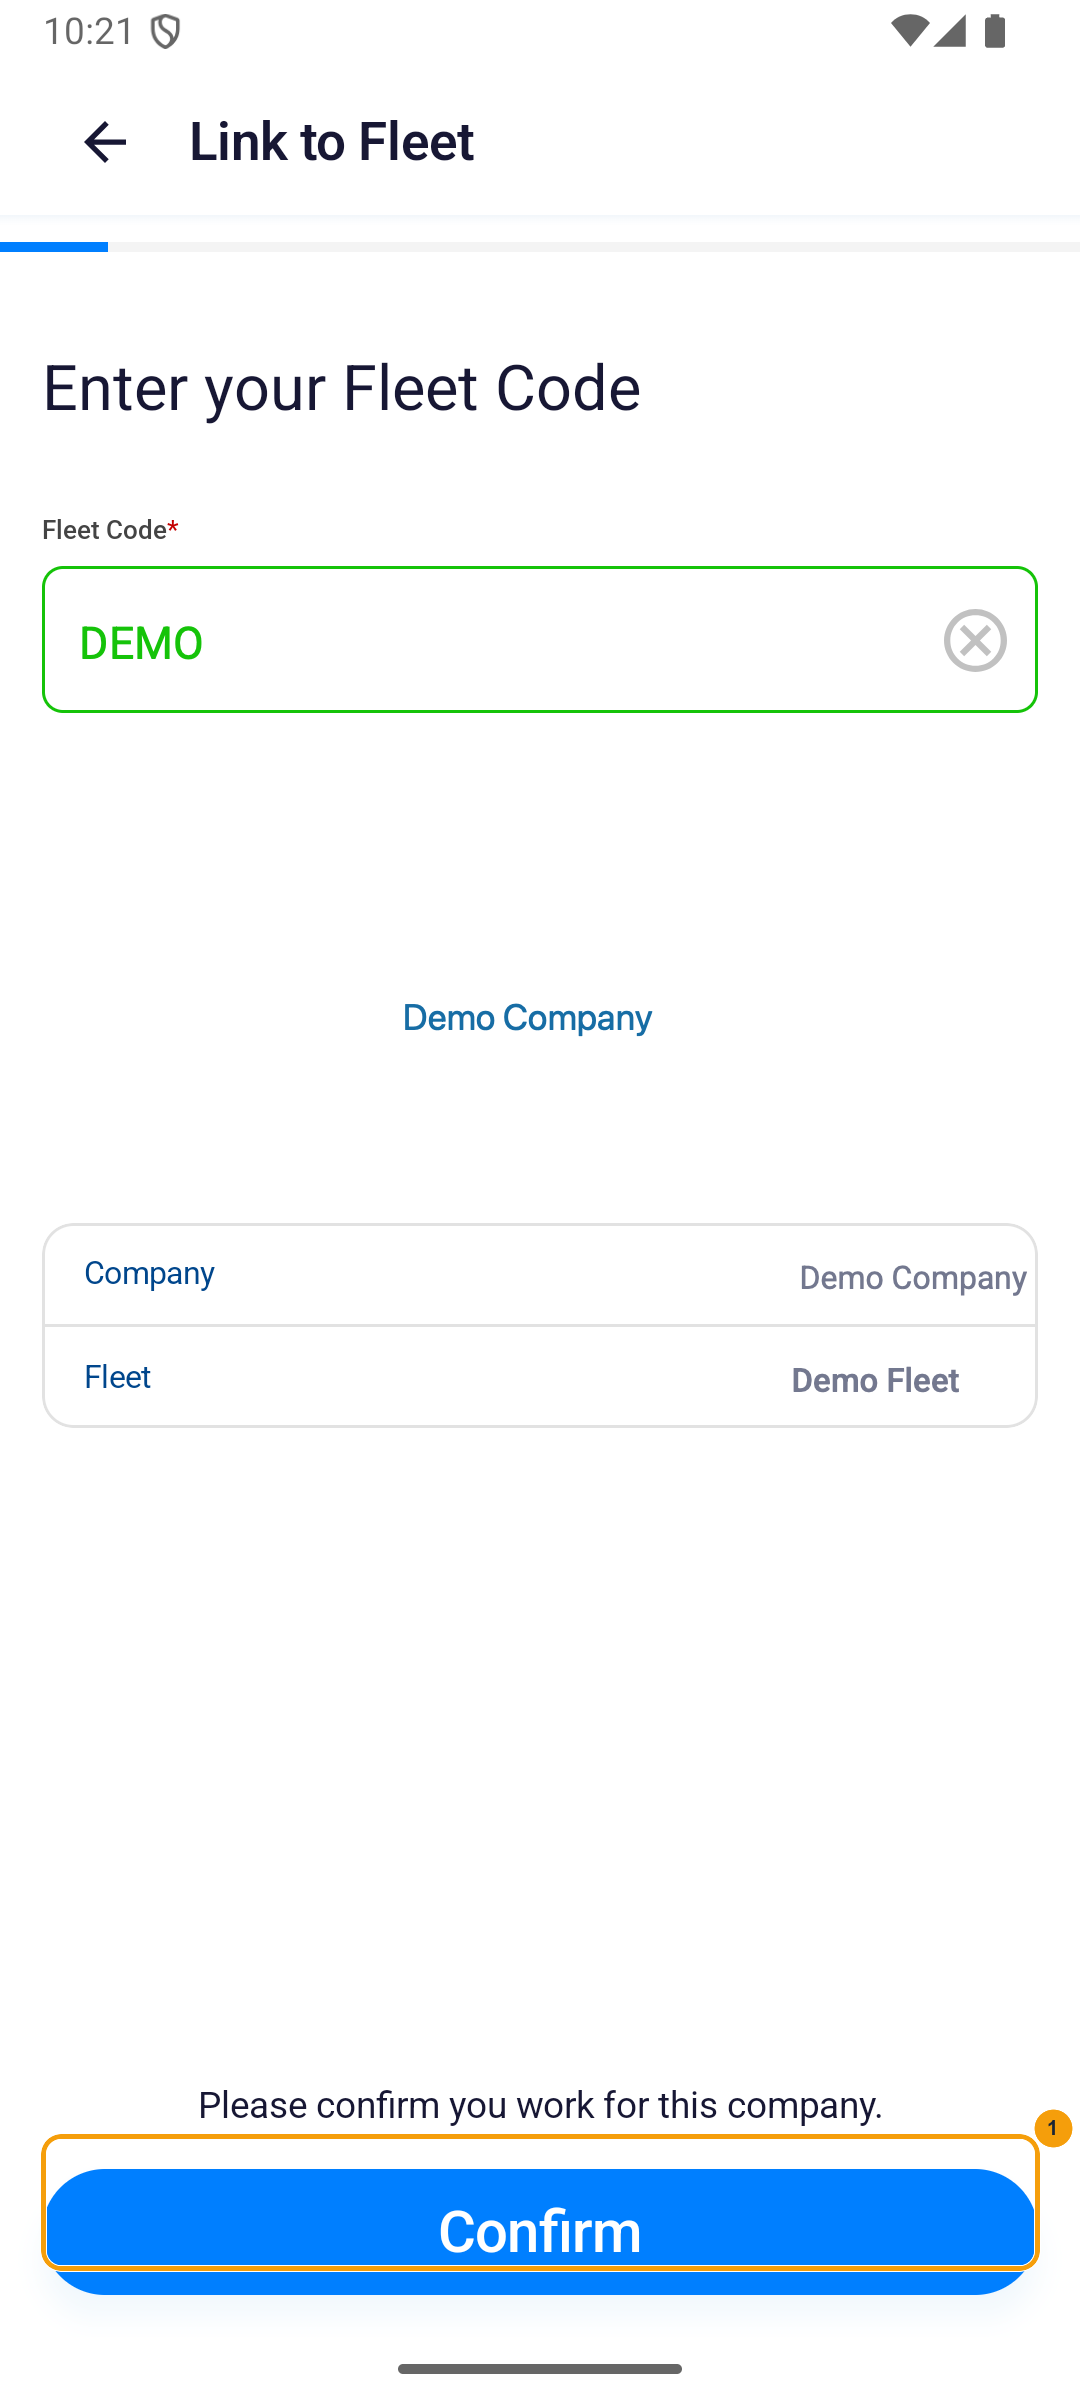
Do not guess or reuse another company's Fleet Code. If the code is not found or the displayed company is wrong, stop and ask your fleet for the correct code.
3. Verify your email
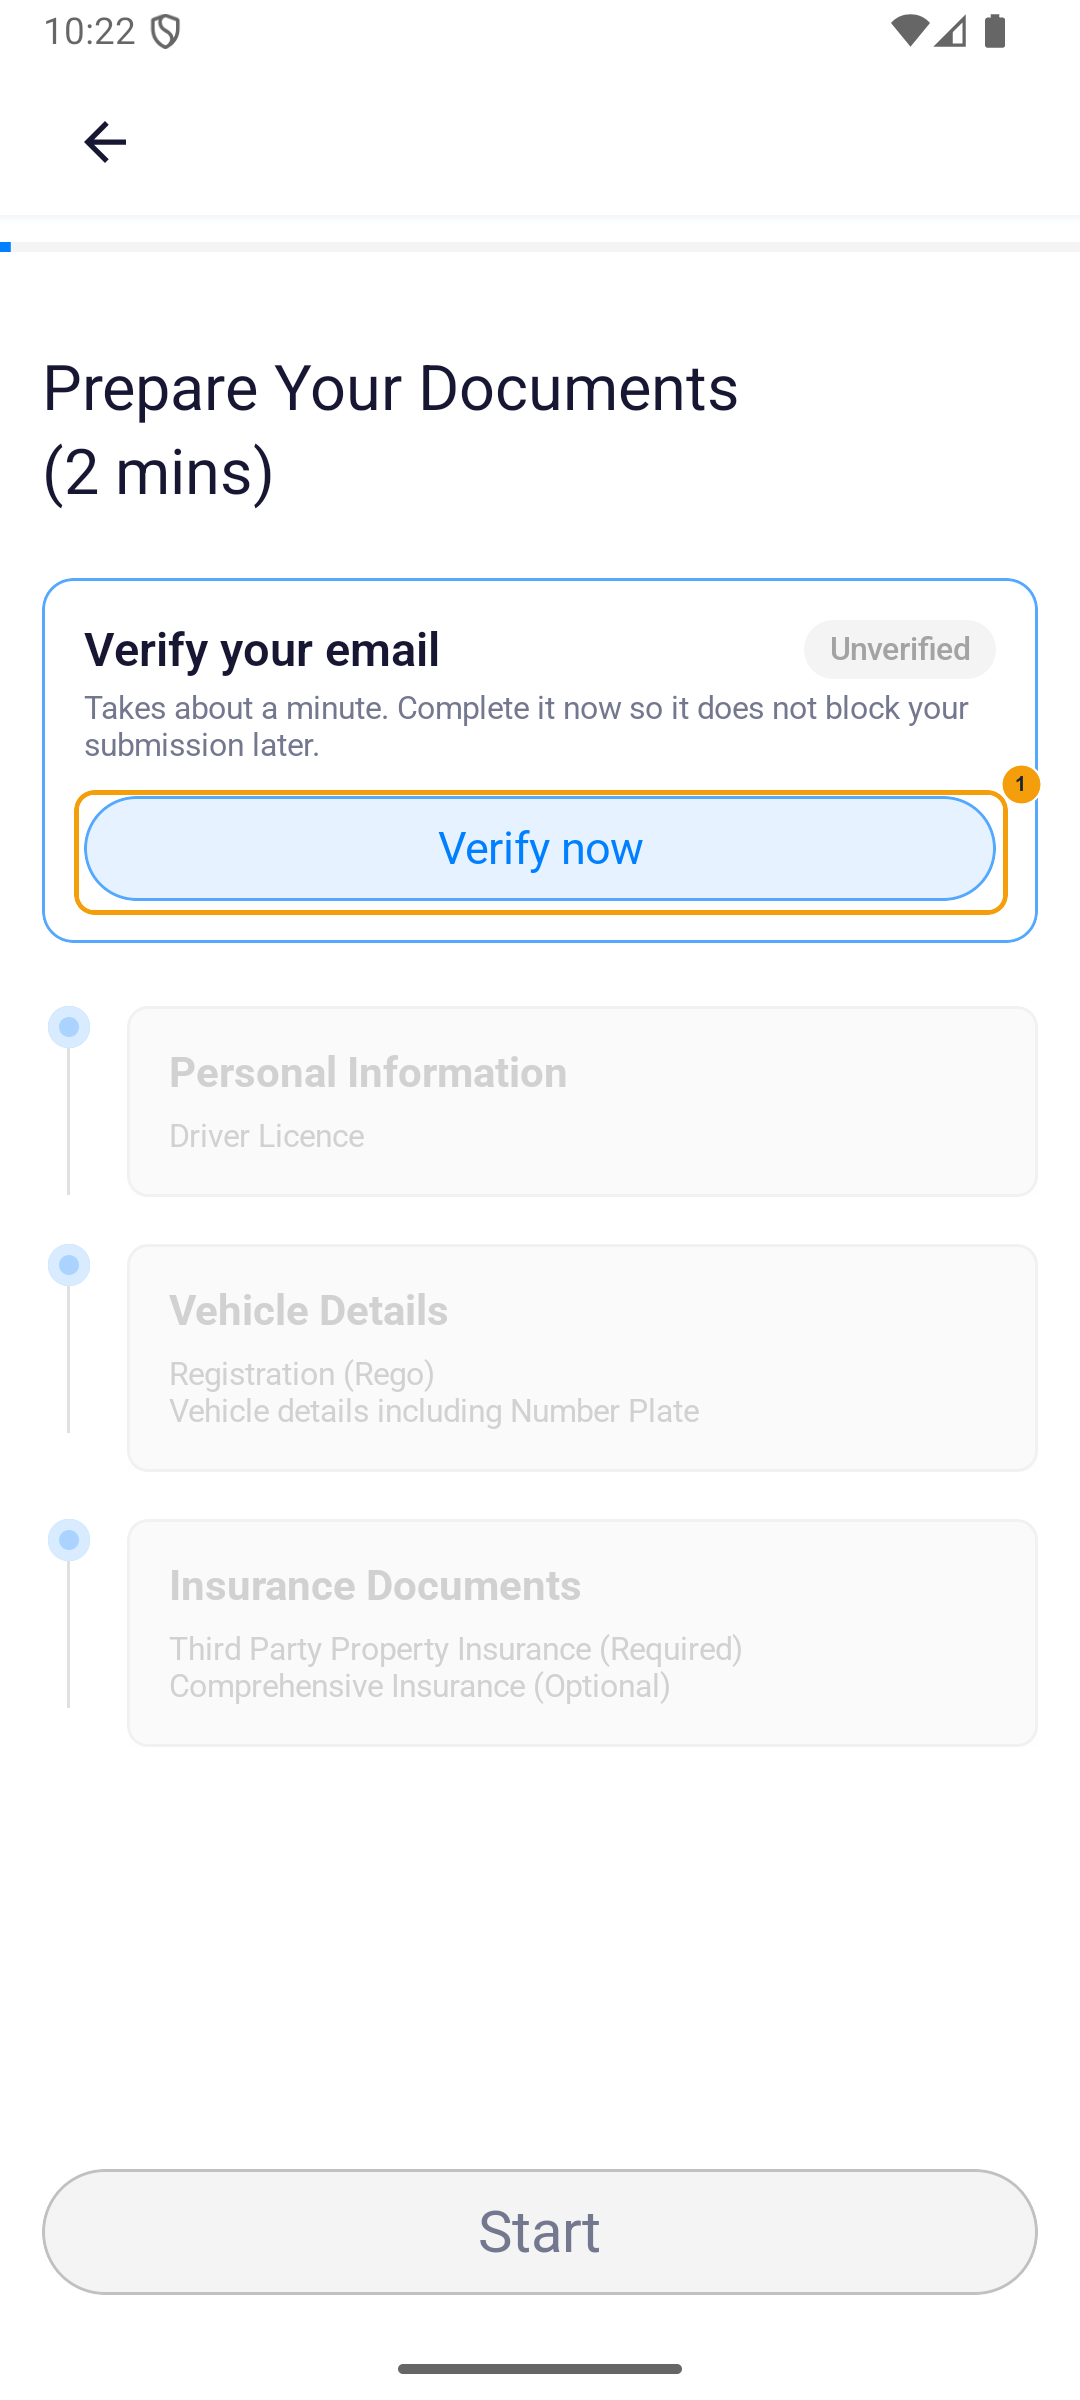
- On Prepare Your Documents, tap Verify now.
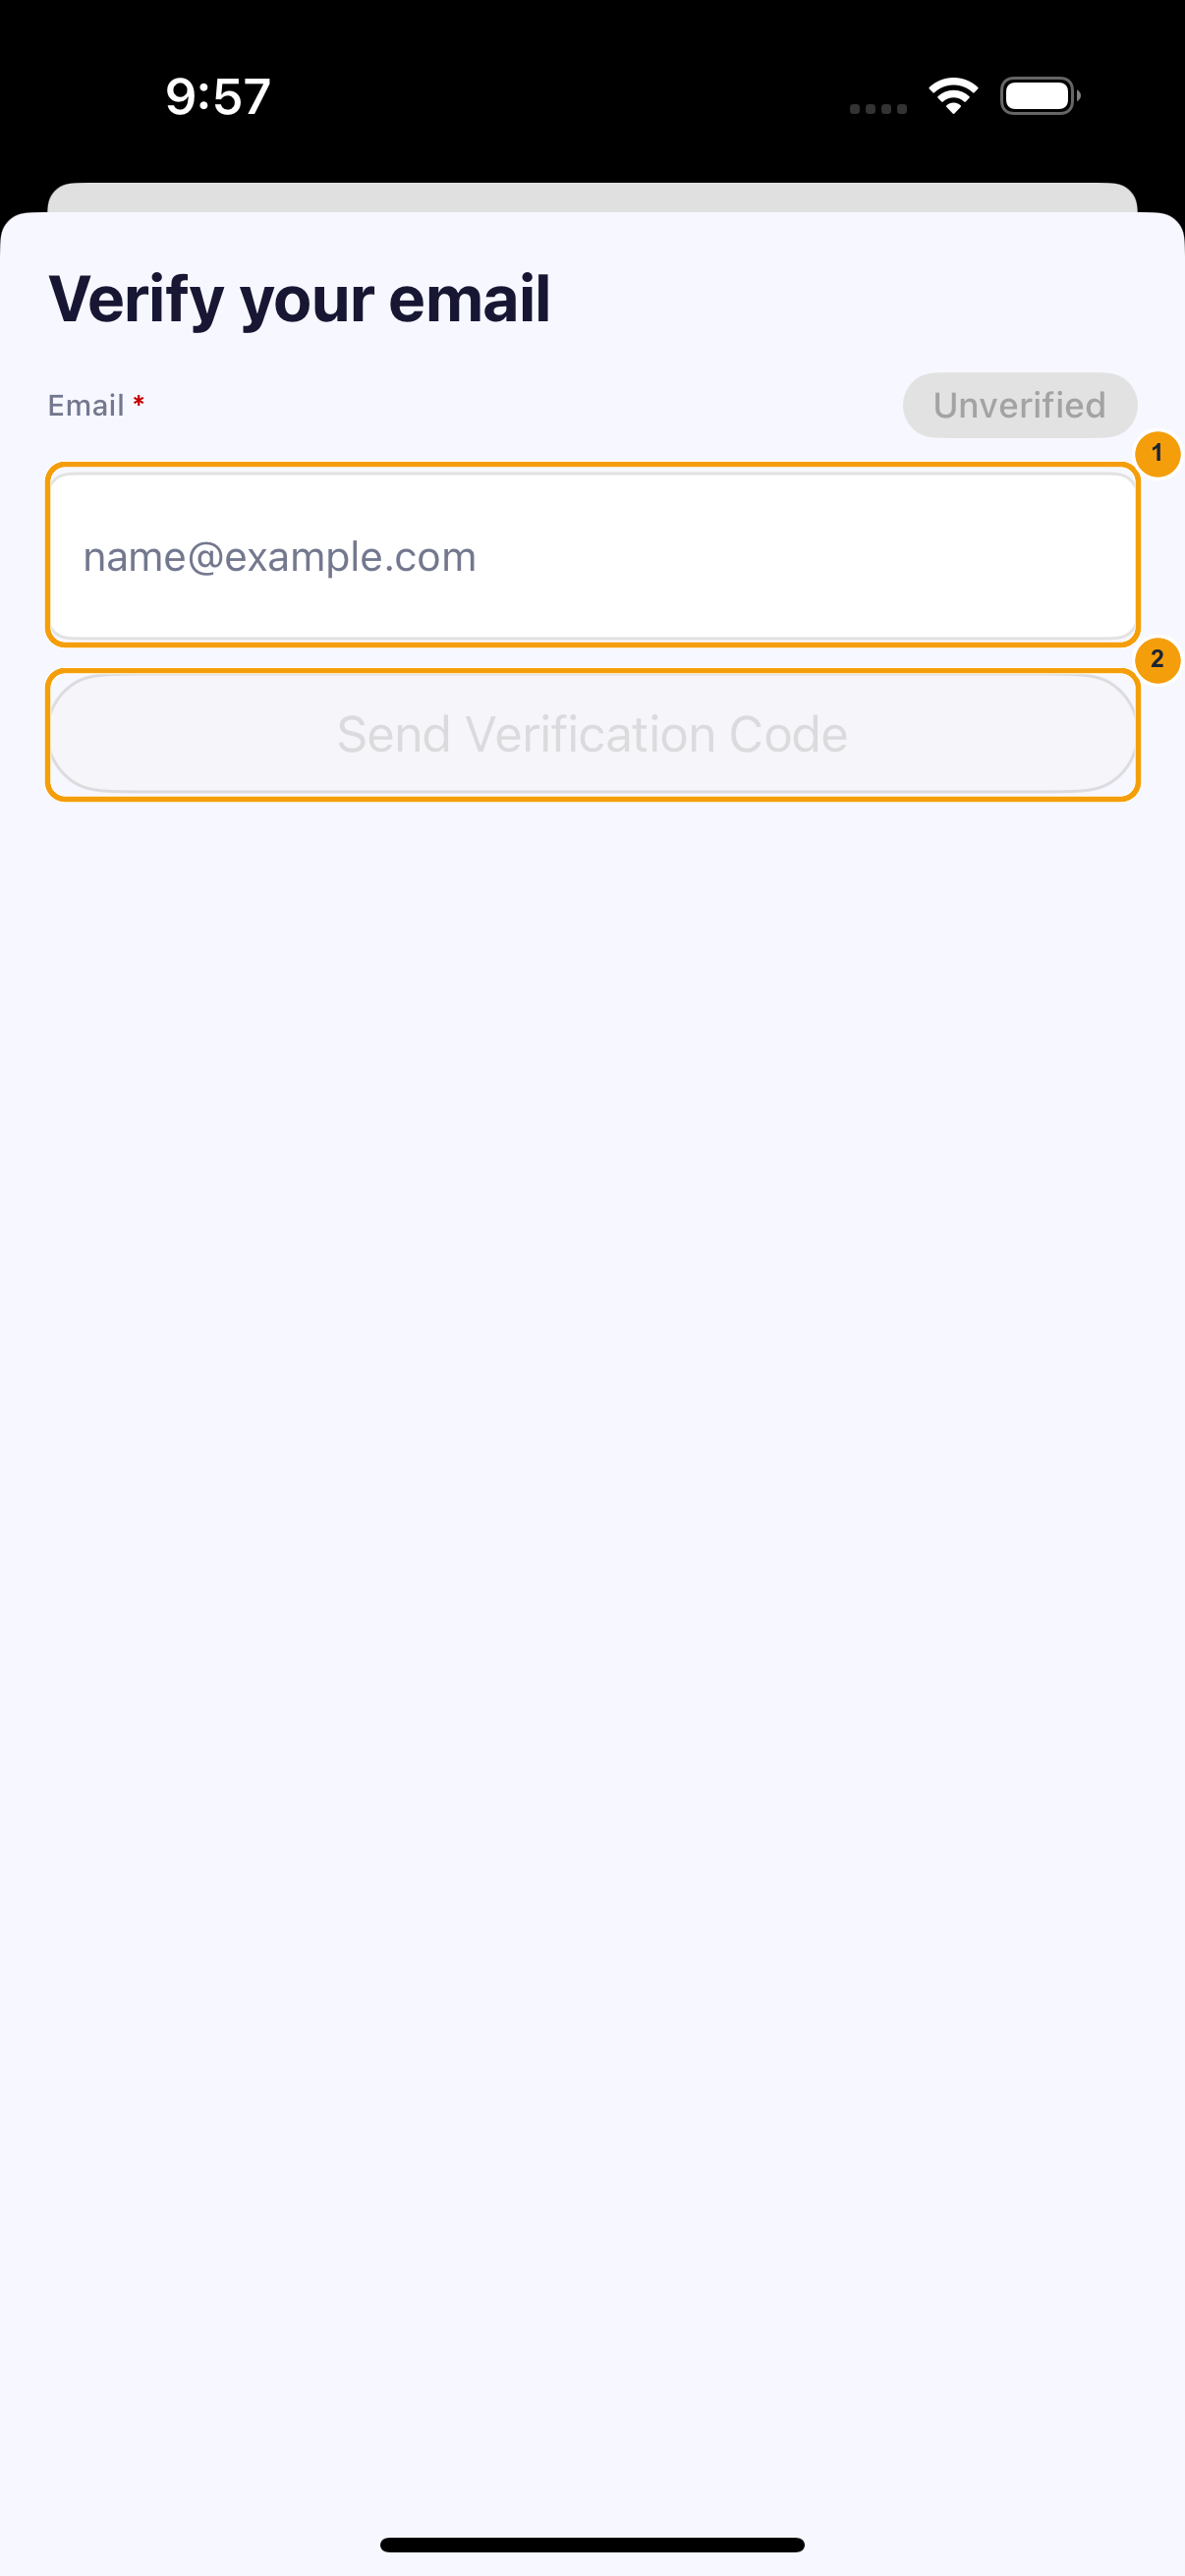
- Enter the email address you can access, then tap Send Verification Code.
- Enter the code sent to that inbox. Check the spam or junk folder before requesting another code.
- Confirm that the card shows Verified, then tap Start to unlock the document sections.
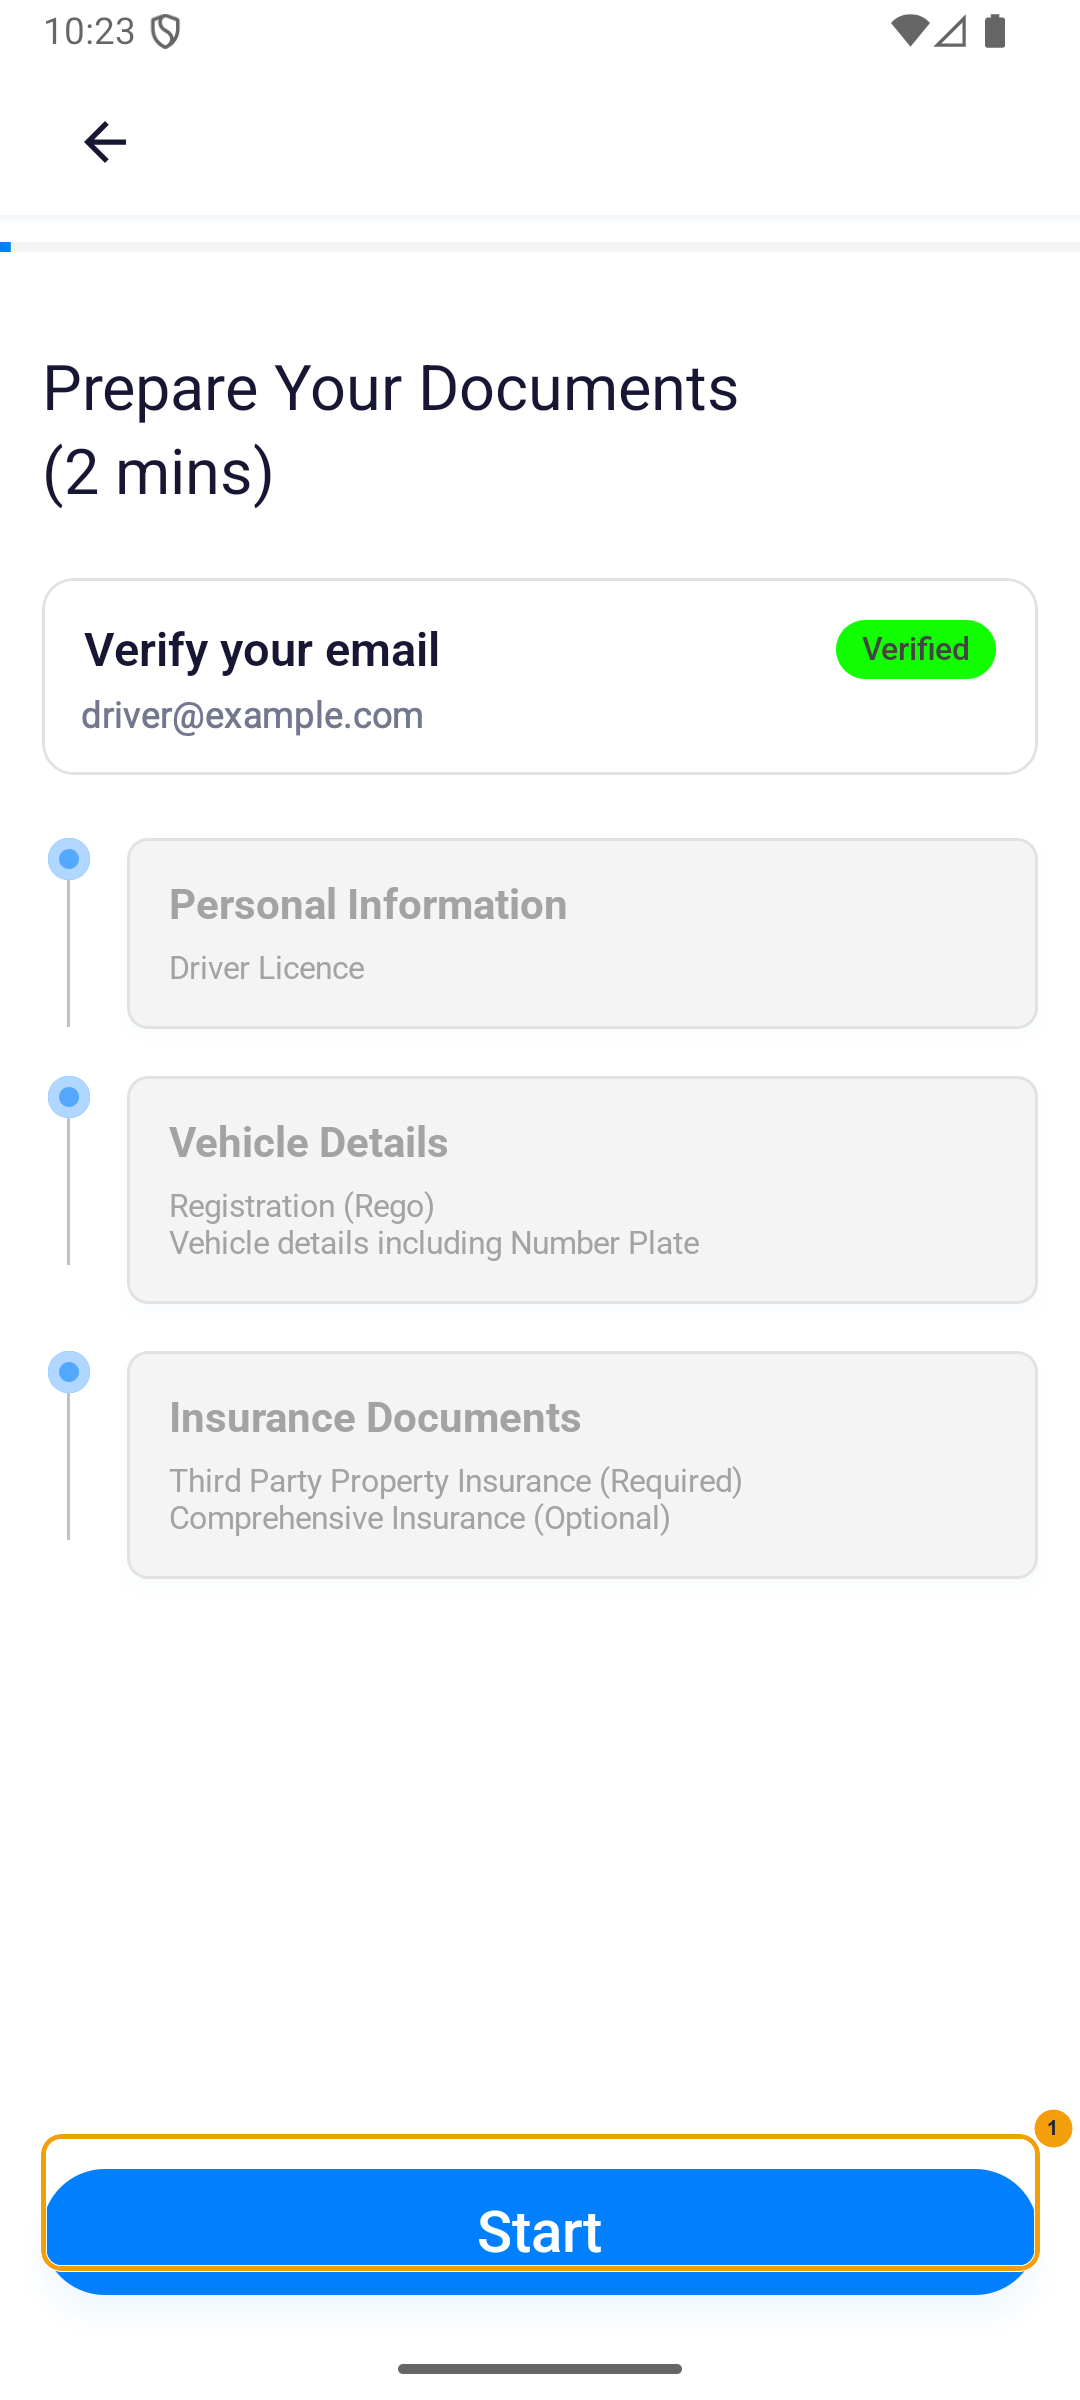
4. Complete the three document sections
Open each section from the registration summary. If the app reads a document for you, compare every pre-filled value with the original before saving.
Personal Information
- Tap Personal Information.
- Tap the blue Front and Back boxes and capture a clear image of each side of your driver licence. Keep all corners visible and avoid glare. After both uploads finish, tap Next.
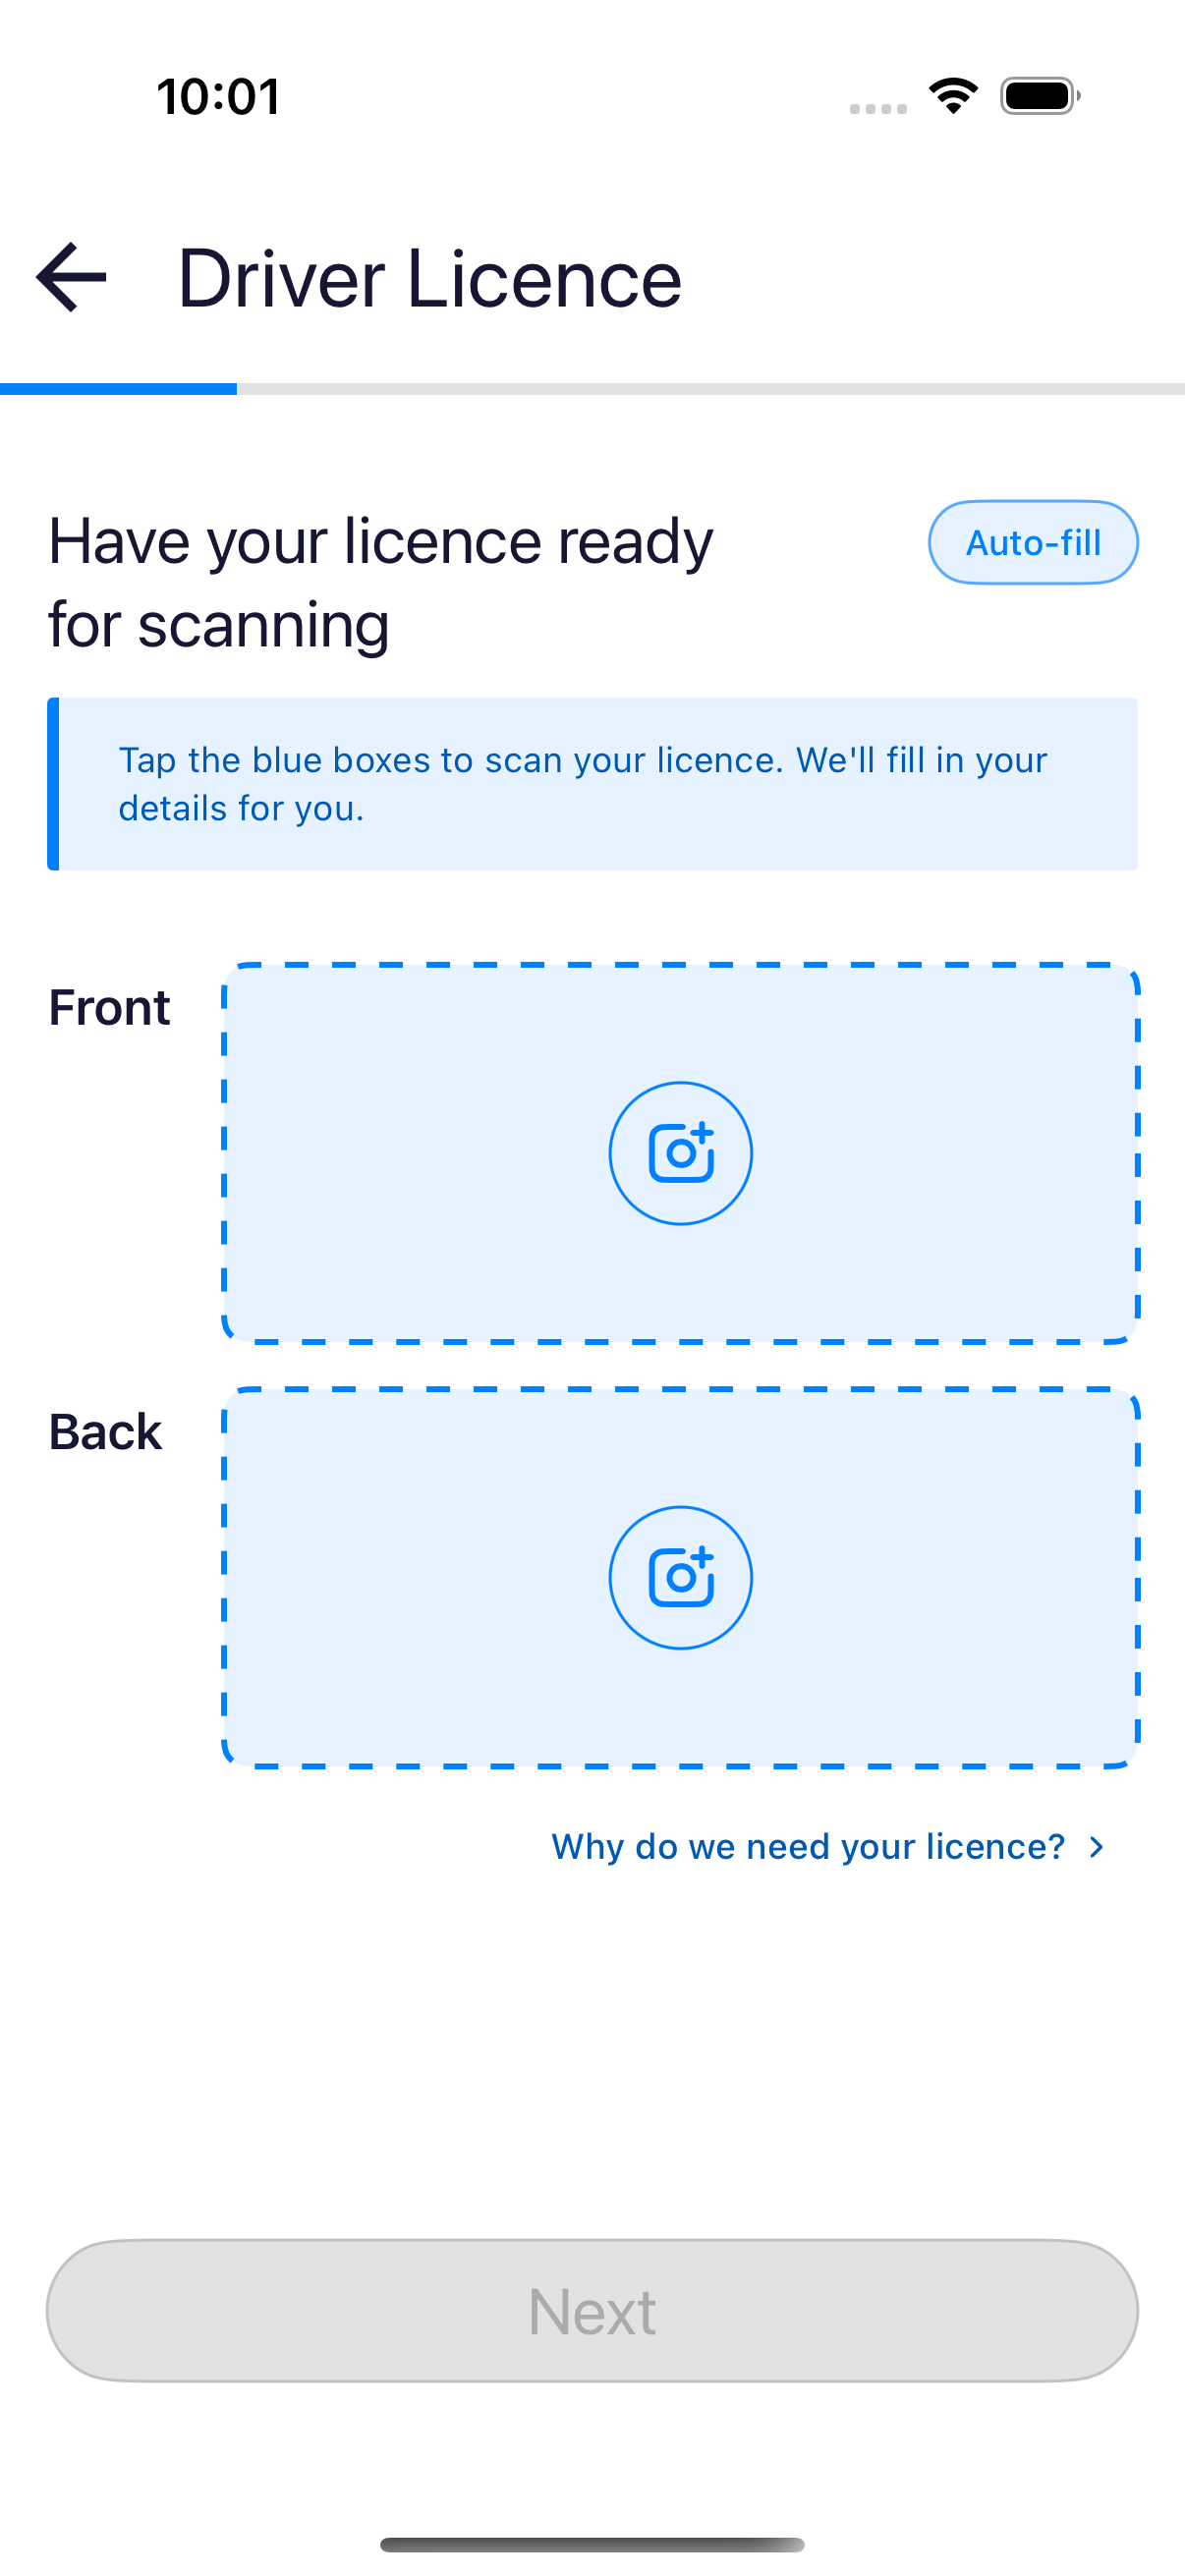
- Check the licence details, complete the required fields and tap Next.
- Read the profile-photo instructions and tap Start to take the photo. Check the preview, then tap Confirm, or Try again to retake it.
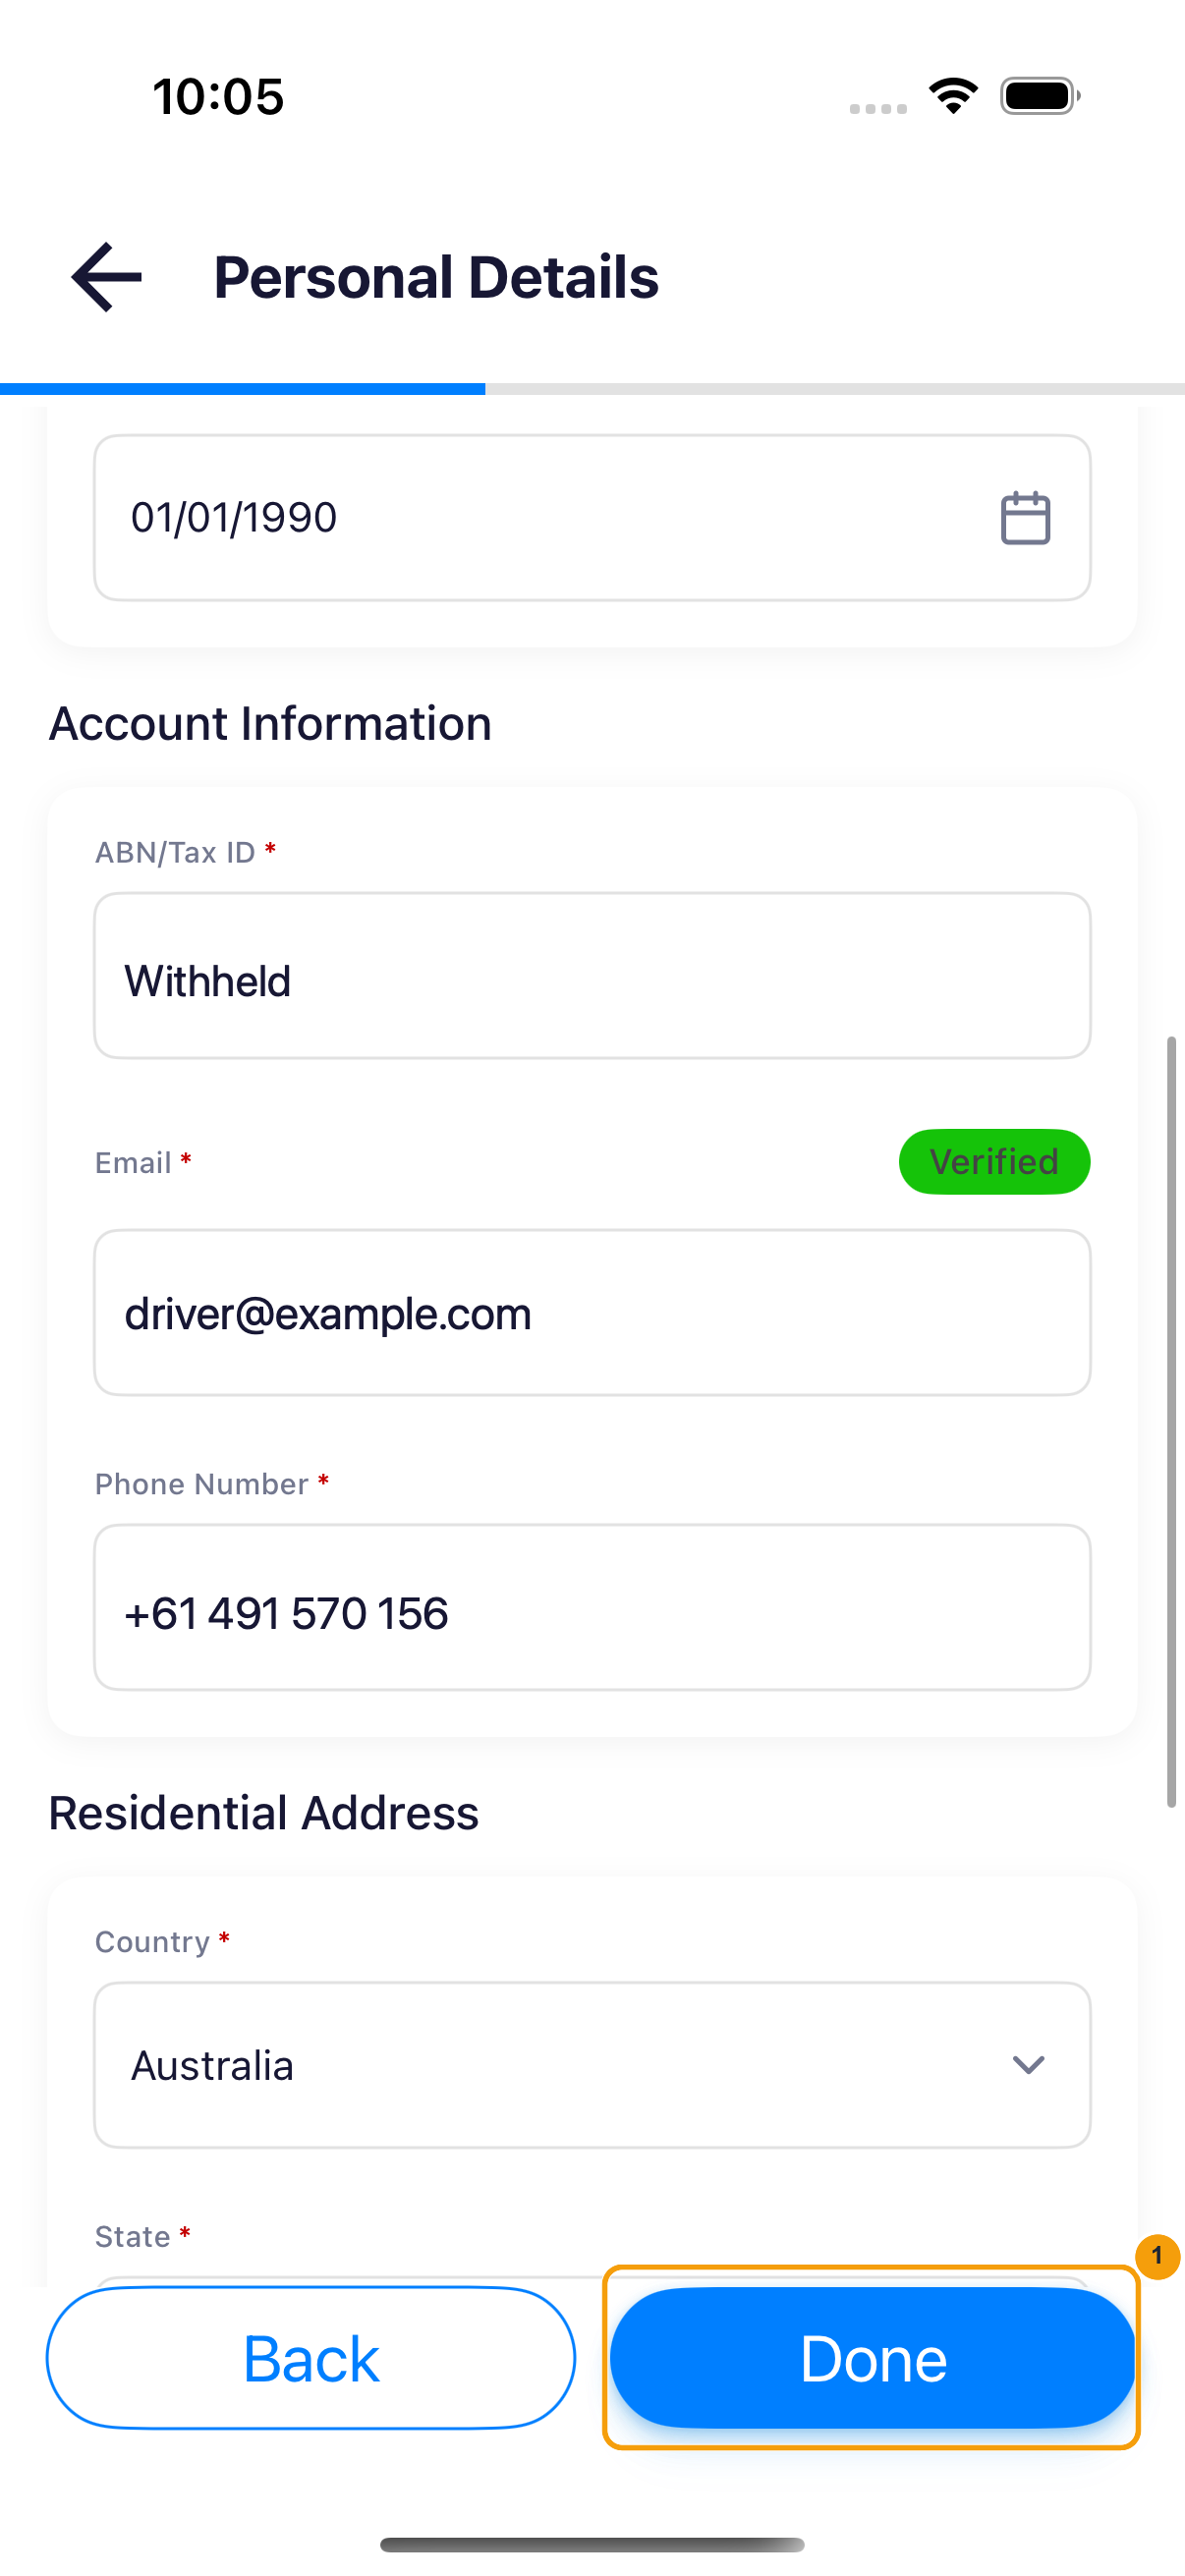
- Check Personal Details, complete the required fields and confirm that email shows Verified.
- Tap Done to return to the registration summary.
Vehicle Details
- Tap Vehicle Details.
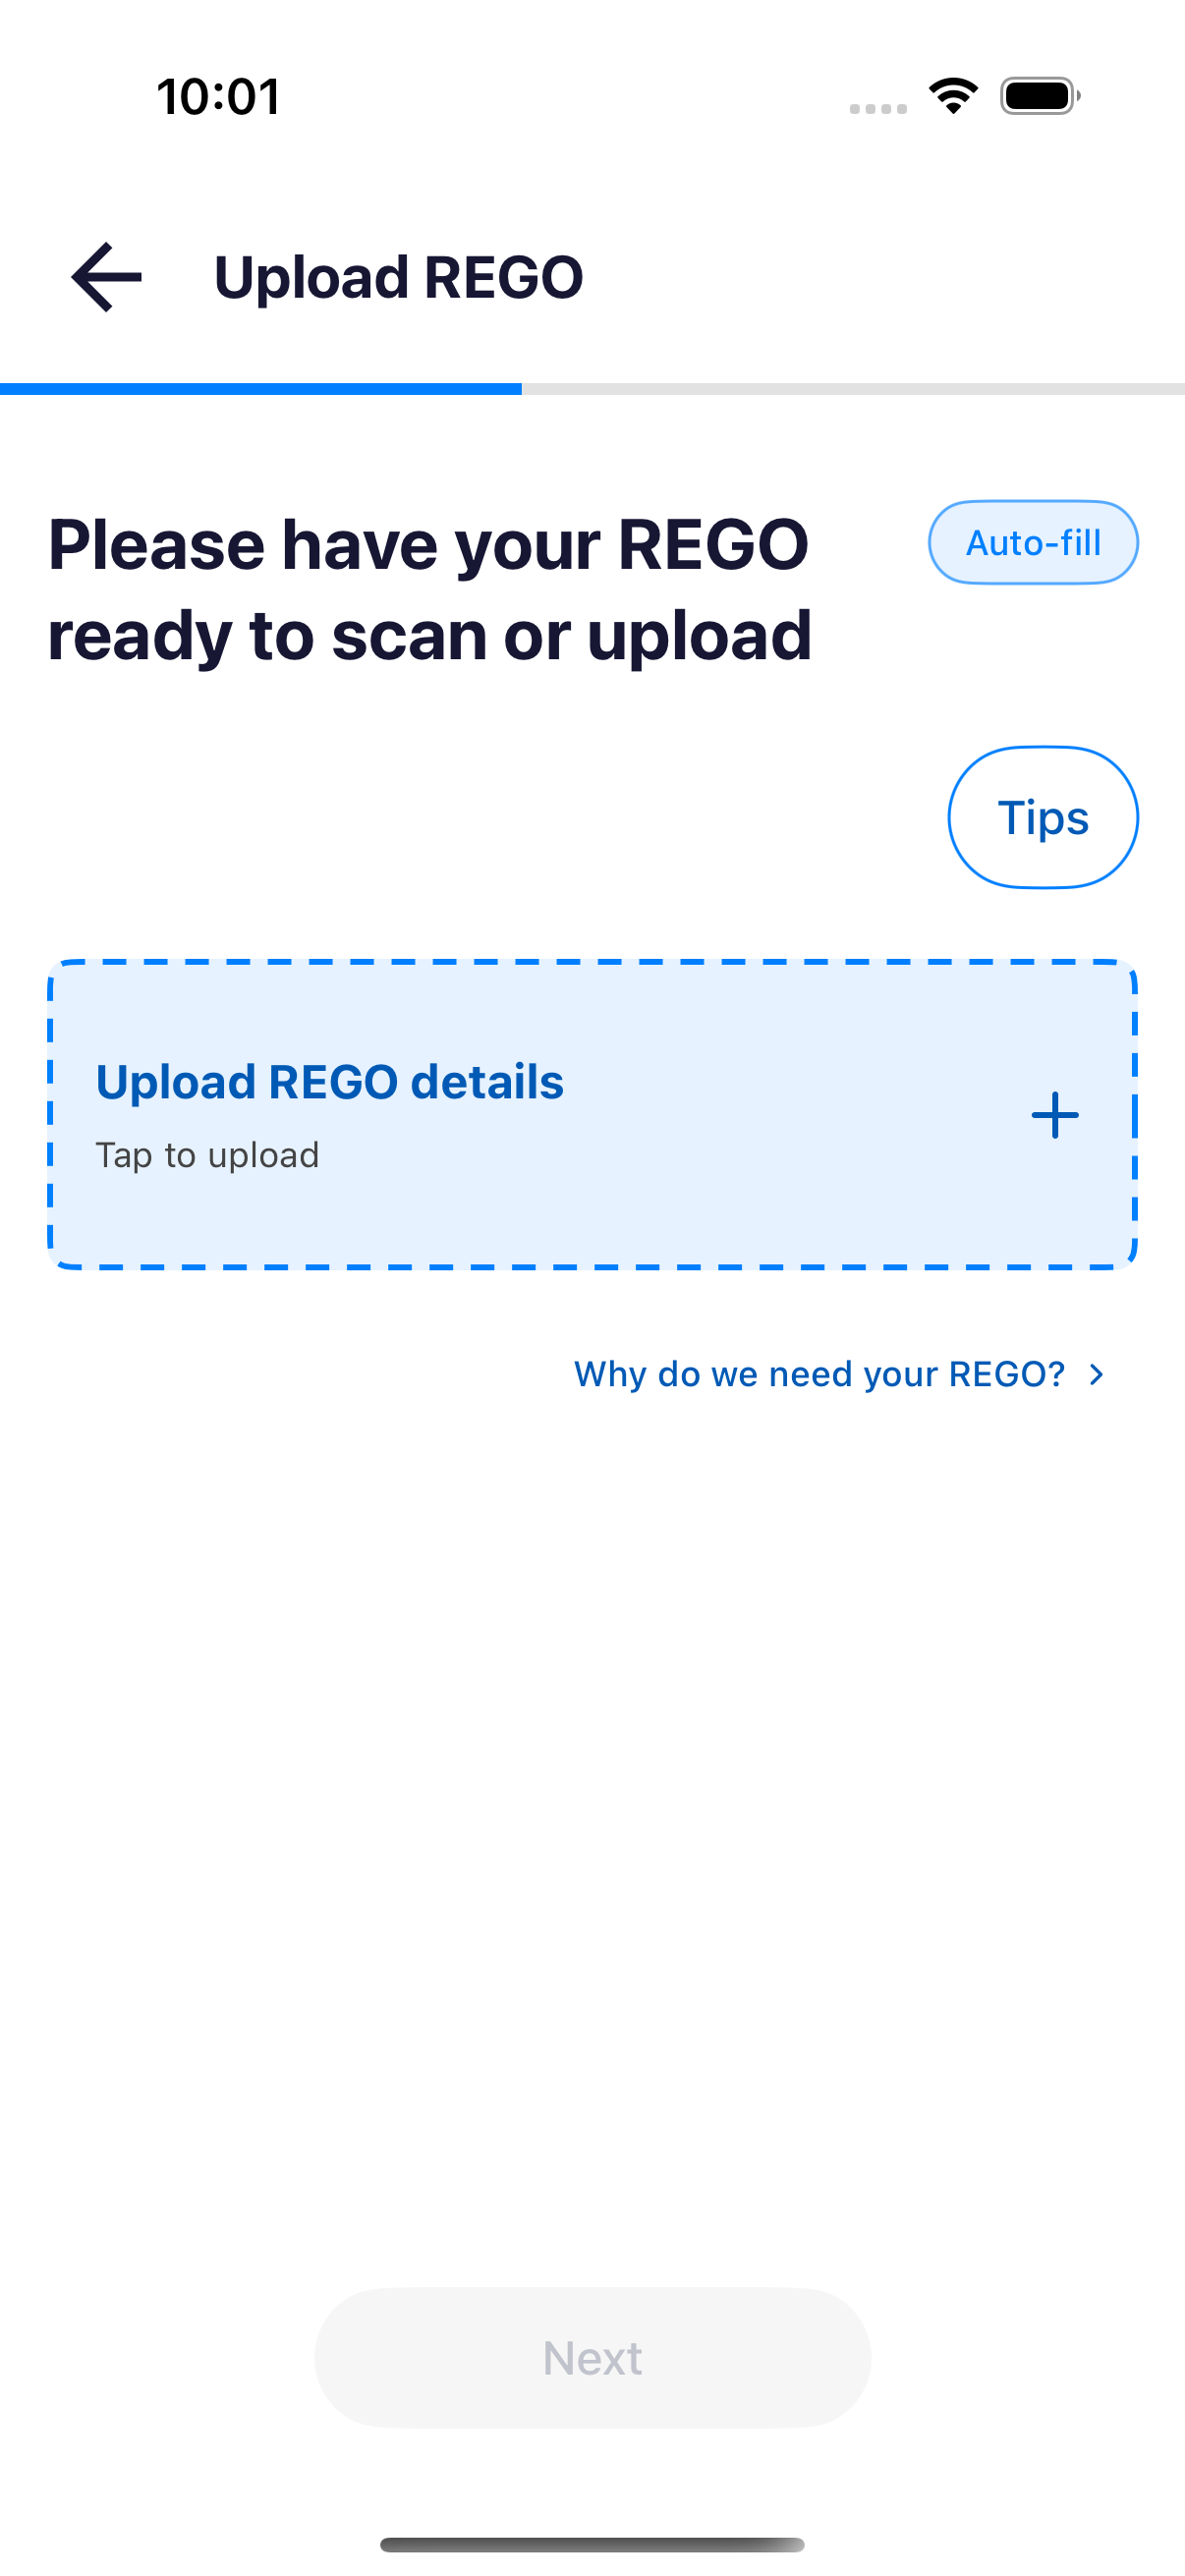
- Upload or scan the vehicle registration document on Upload REGO.
- After uploading the documents, tap Next.
- Check the registration, number plate and vehicle details, complete required fields, then tap Next.
- Enter cargo dimensions, load capacity and the other required details. Tap Done to return to the summary.
Insurance Documents
- Tap Insurance Documents.
- Open each insurance type you need and upload its current certificate or policy schedule.
- Check each policy’s details, complete required fields and tap Next to return to the insurance list.
- Follow the Required and Optional labels. Complete at least one insurance document, then tap Done to return to the summary. Supply any additional documents required by your fleet.
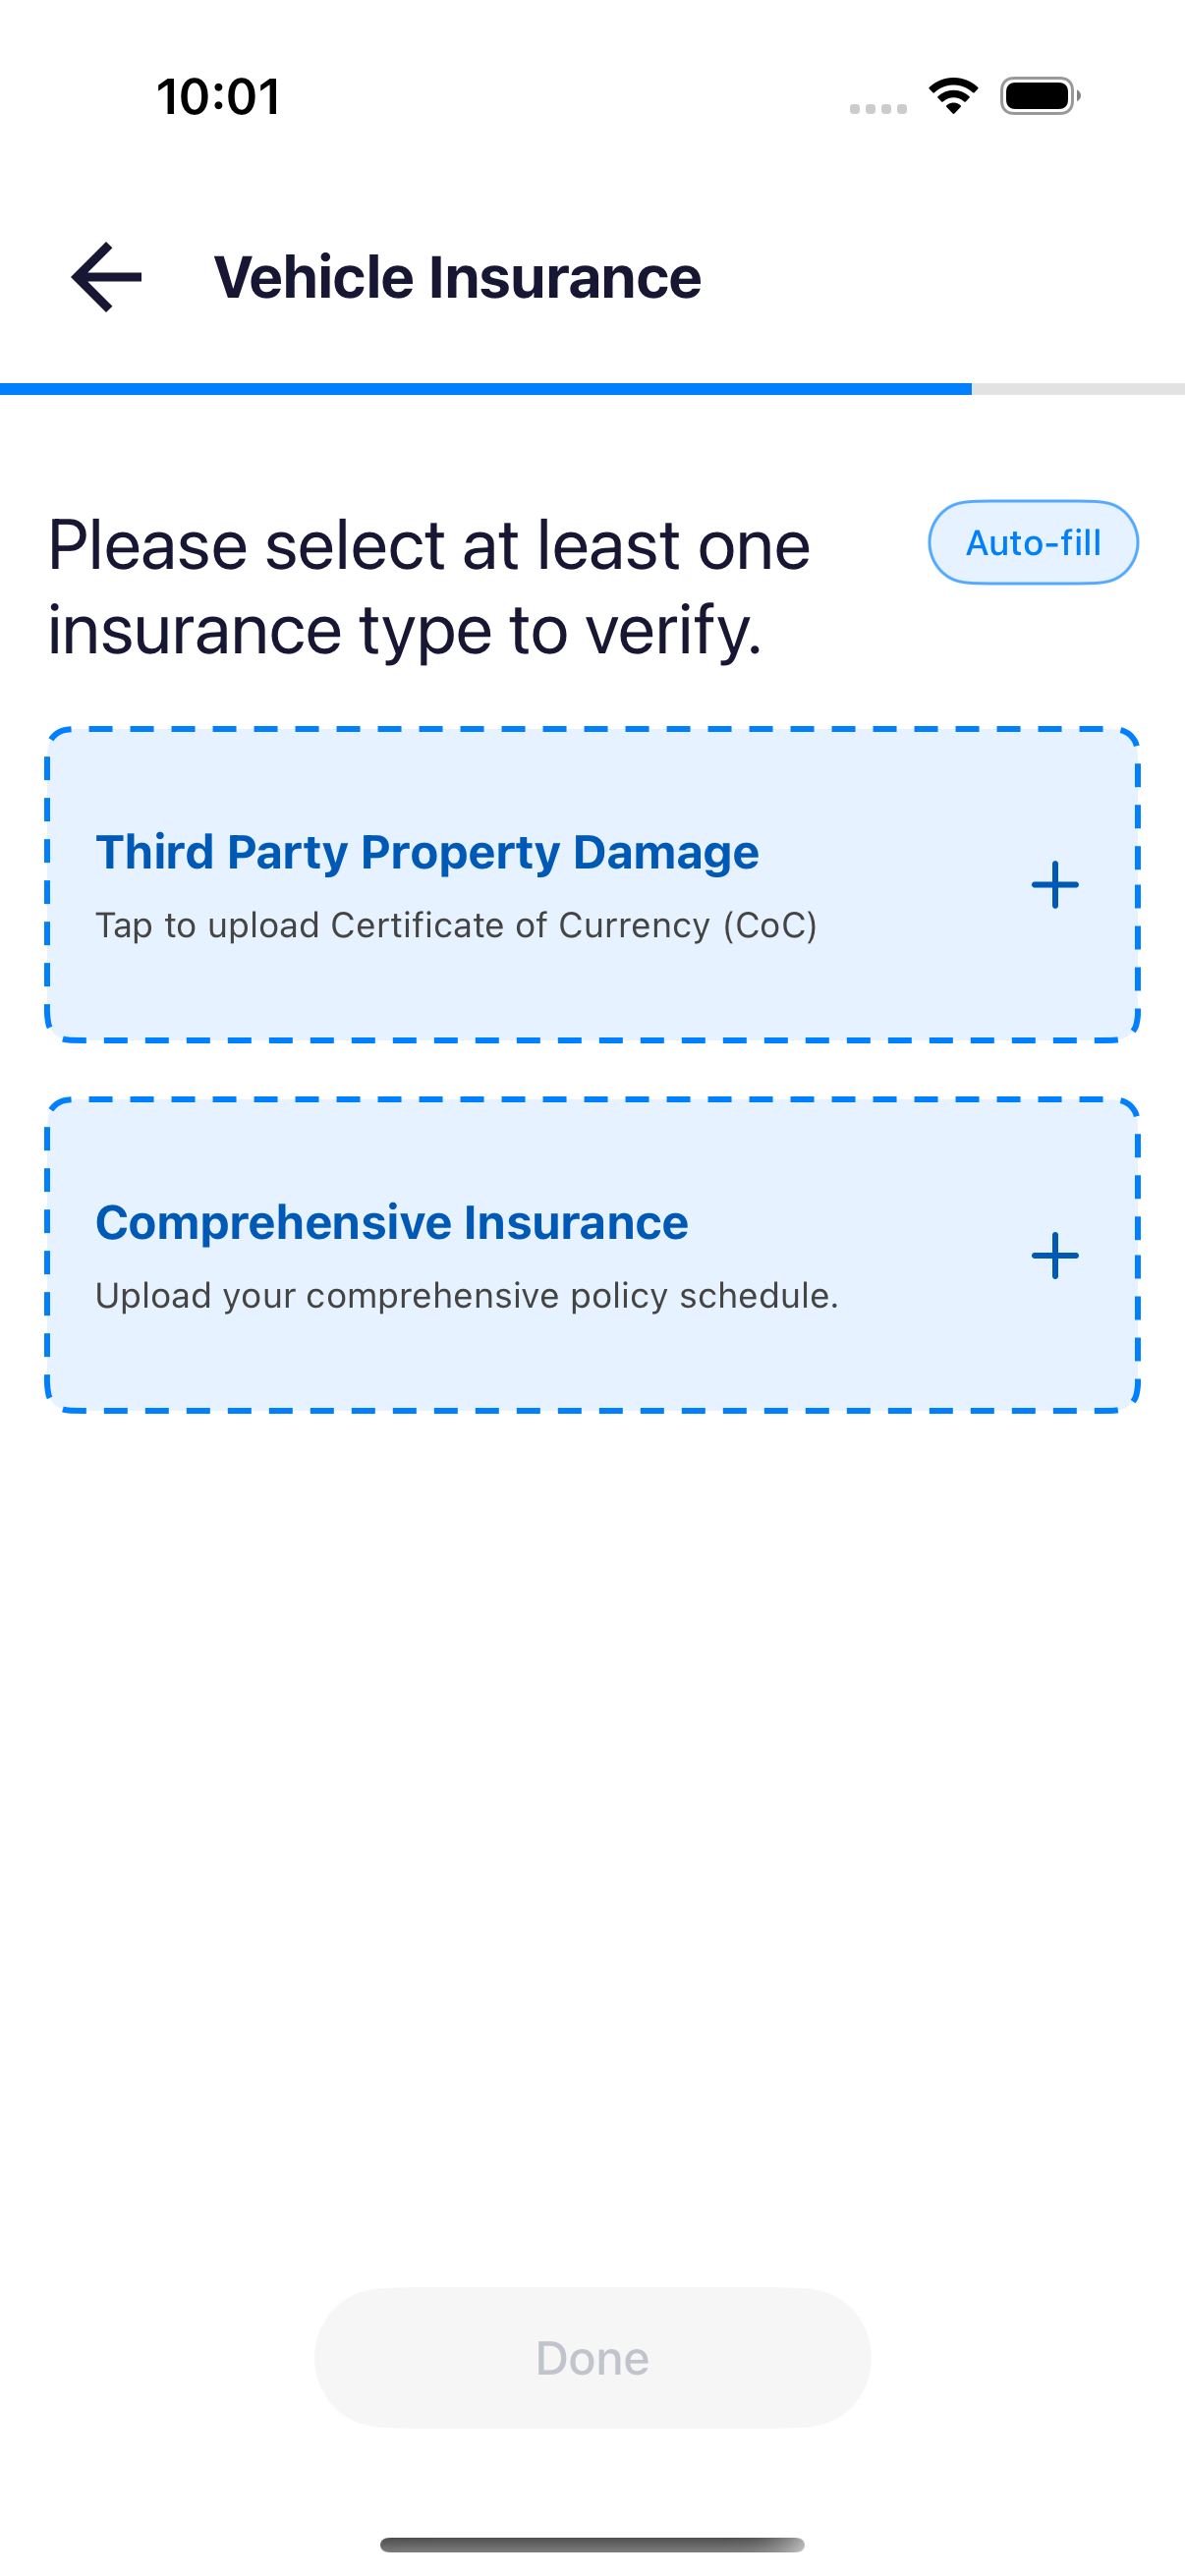
Return to the summary after saving each section. A completed section shows a green check on Android or a completed blue state on iPhone.
5. Review and submit
- Confirm that Personal Information, Vehicle Details, and Insurance Documents are complete. Tap a section to correct it before submission.
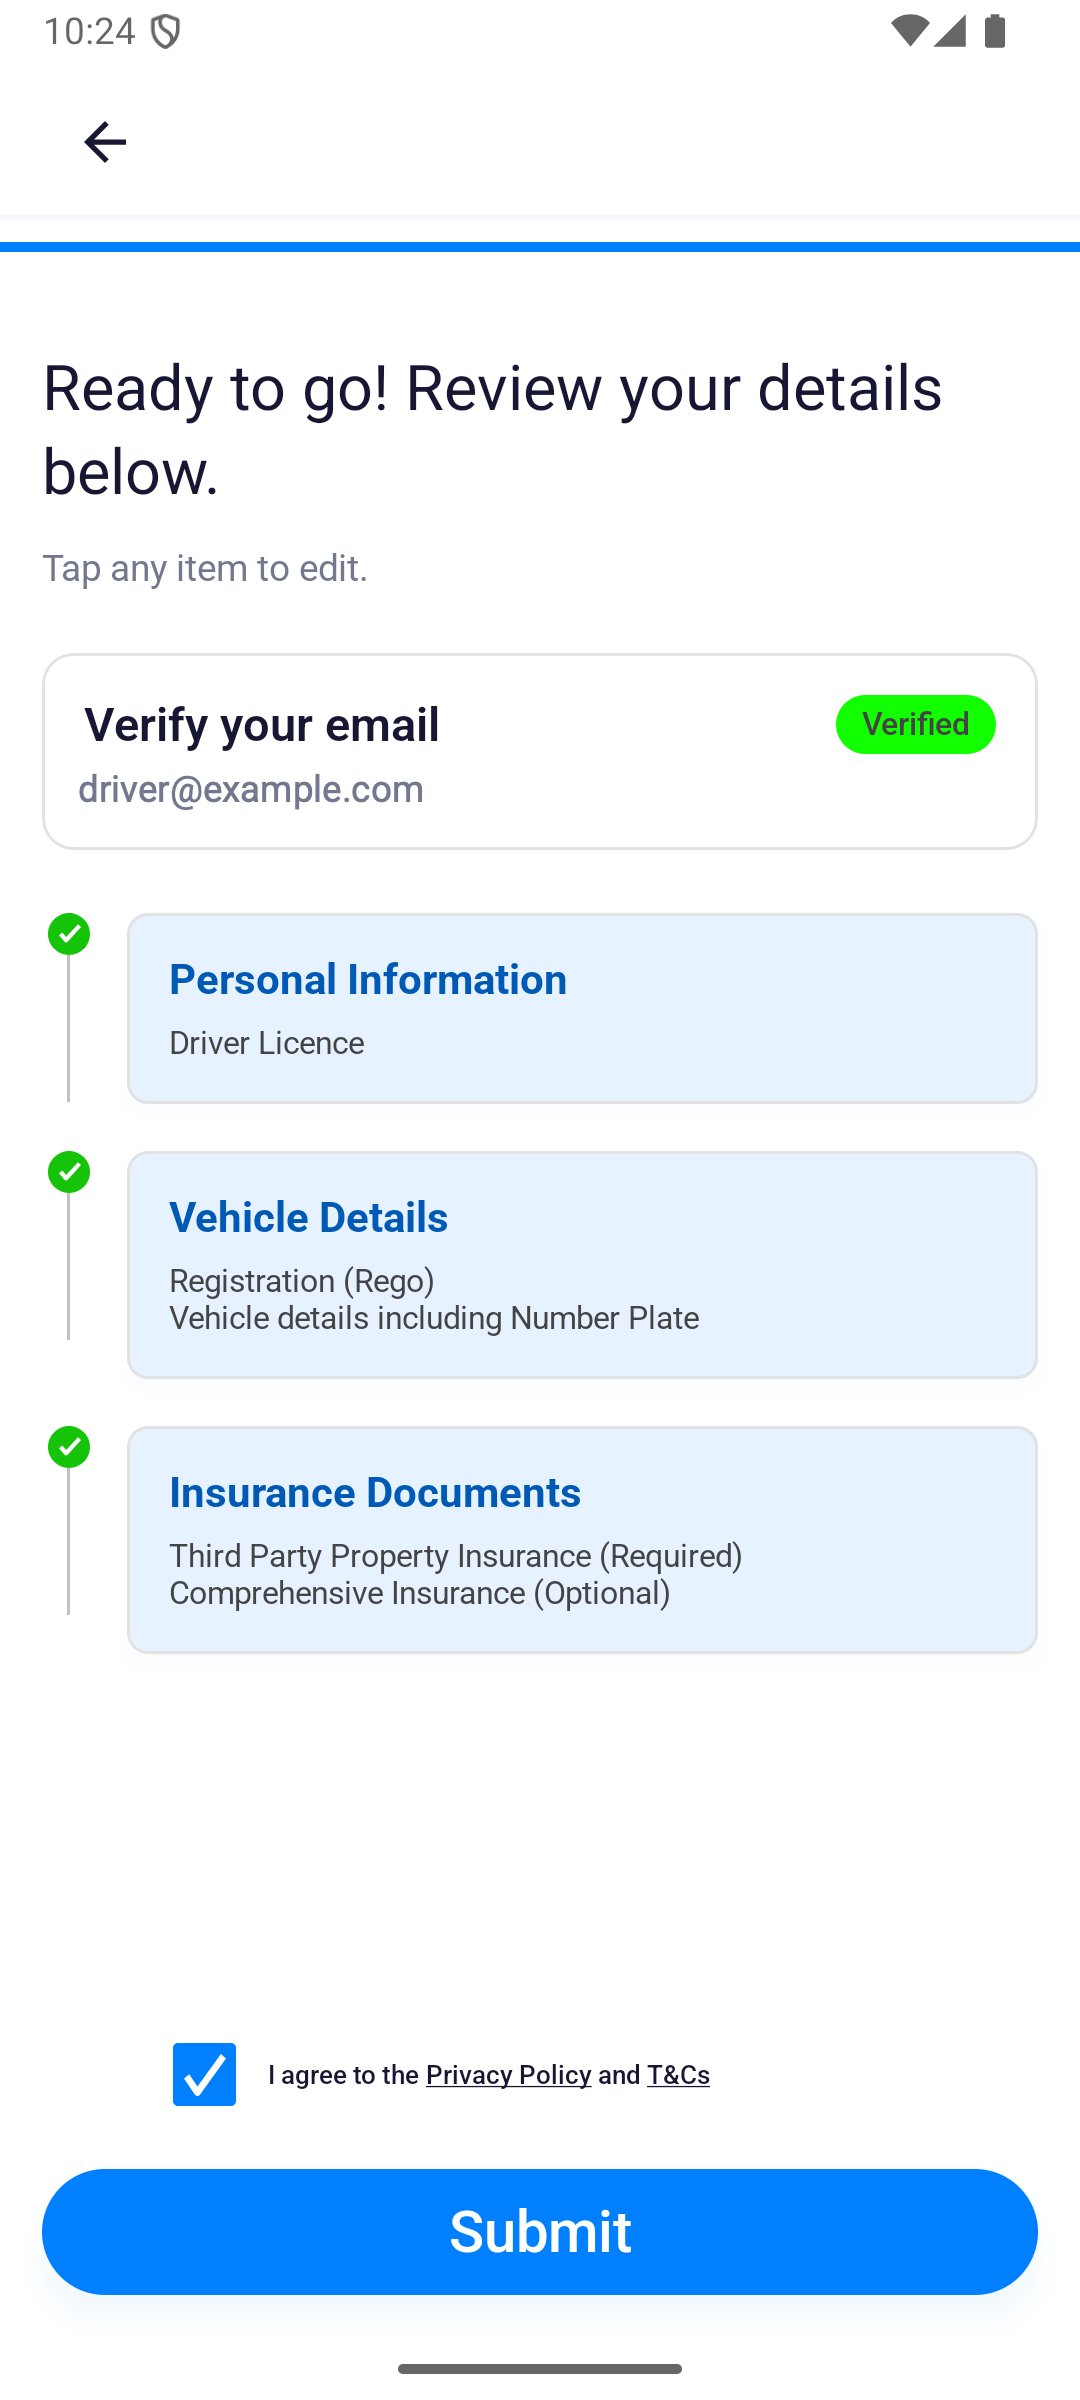
- Open and read both Privacy Policy and T&Cs.
- Select I agree to the Privacy Policy and T&Cs. The Submit button becomes available only after the agreement is selected.
- Tap Submit once.
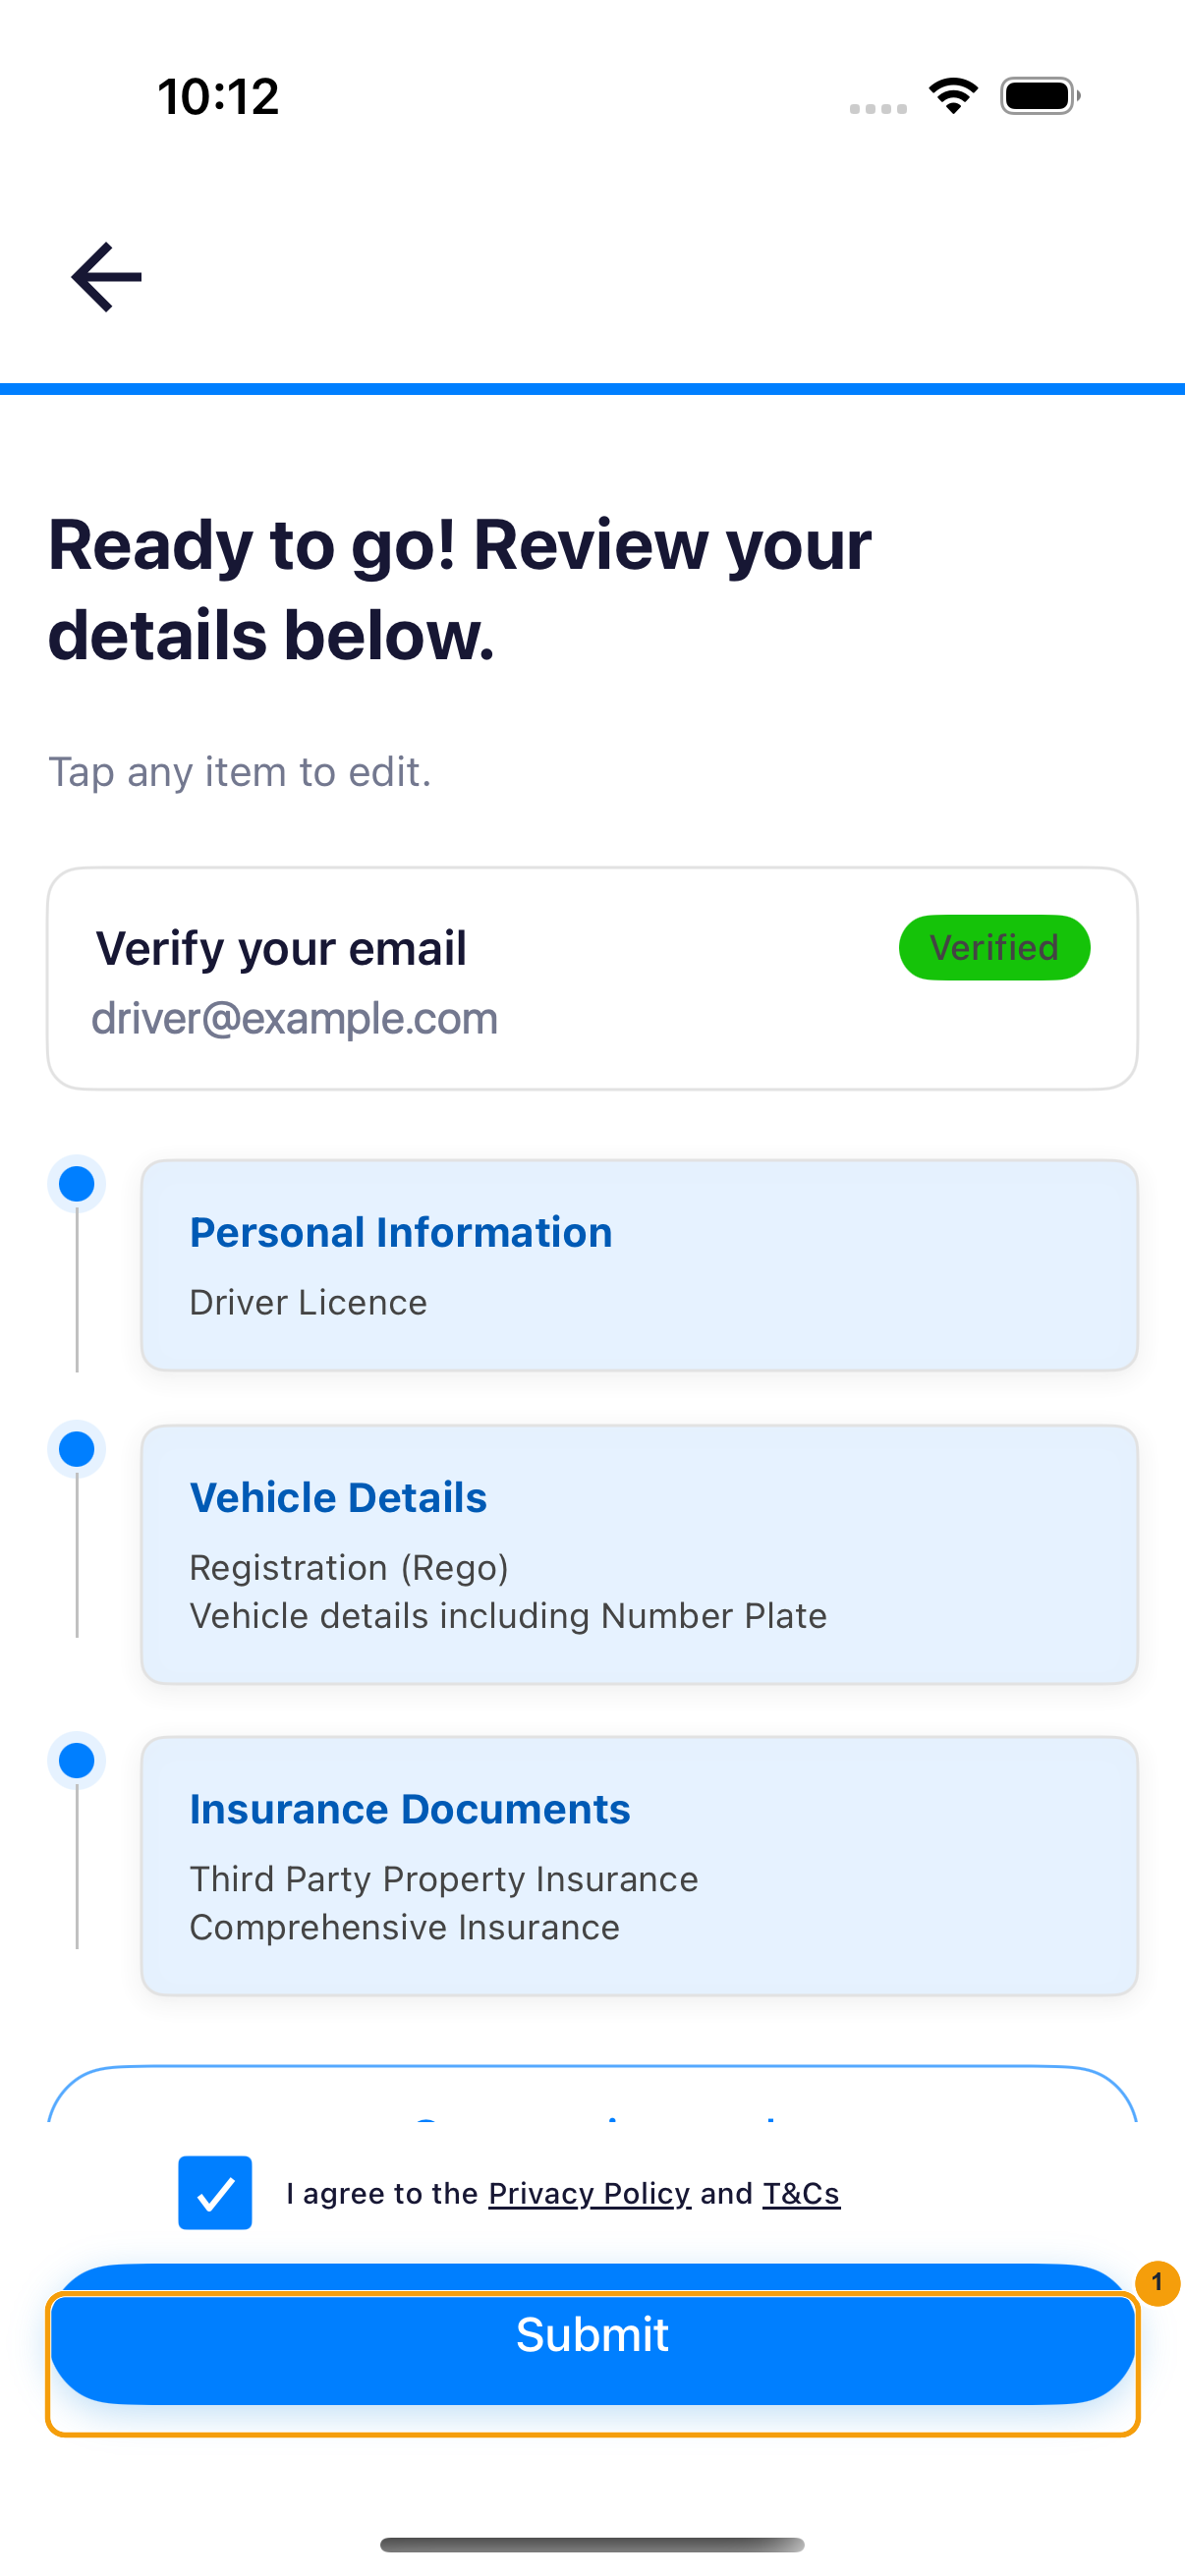
- Wait for Verification in Progress. The review time shown in the app is the current estimate.
For a closer view of the final consent step, see Review terms and submit registration.
Resume an unfinished registration
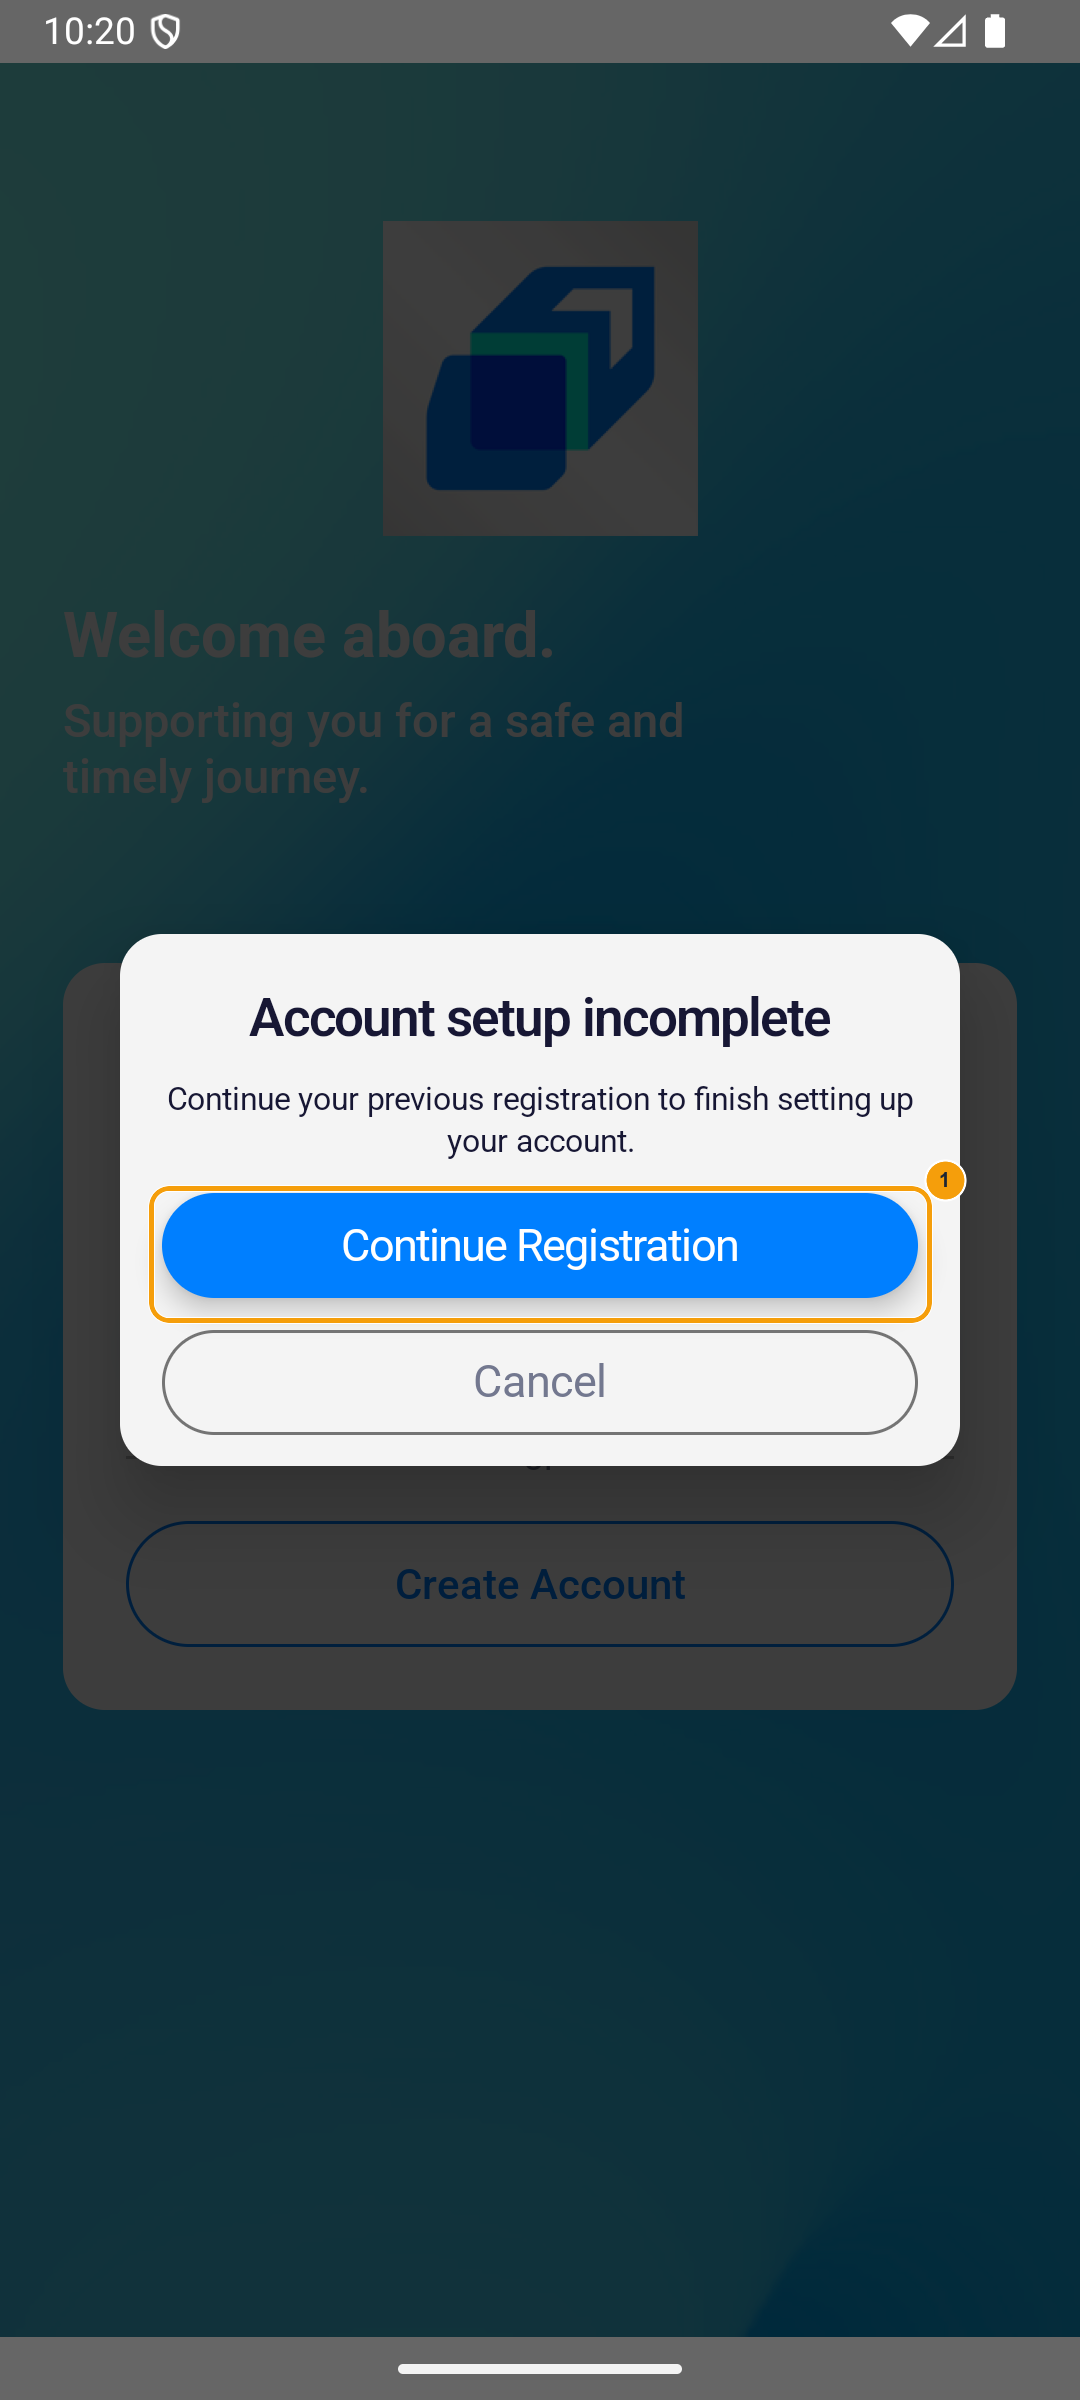
If you leave before submitting, reopen the app on the same device and use the same mobile number. When Account setup incomplete appears, tap Continue Registration; do not start a second account.