Arrive and scan packages
iPhone and Android use the same arrival and package-confirmation flow.
Where to find it: active route › current stop › You have arrived!.
You'll know it worked when
Every required package is confirmed and the app shows the next task, such as taking a delivery photo or providing proof.
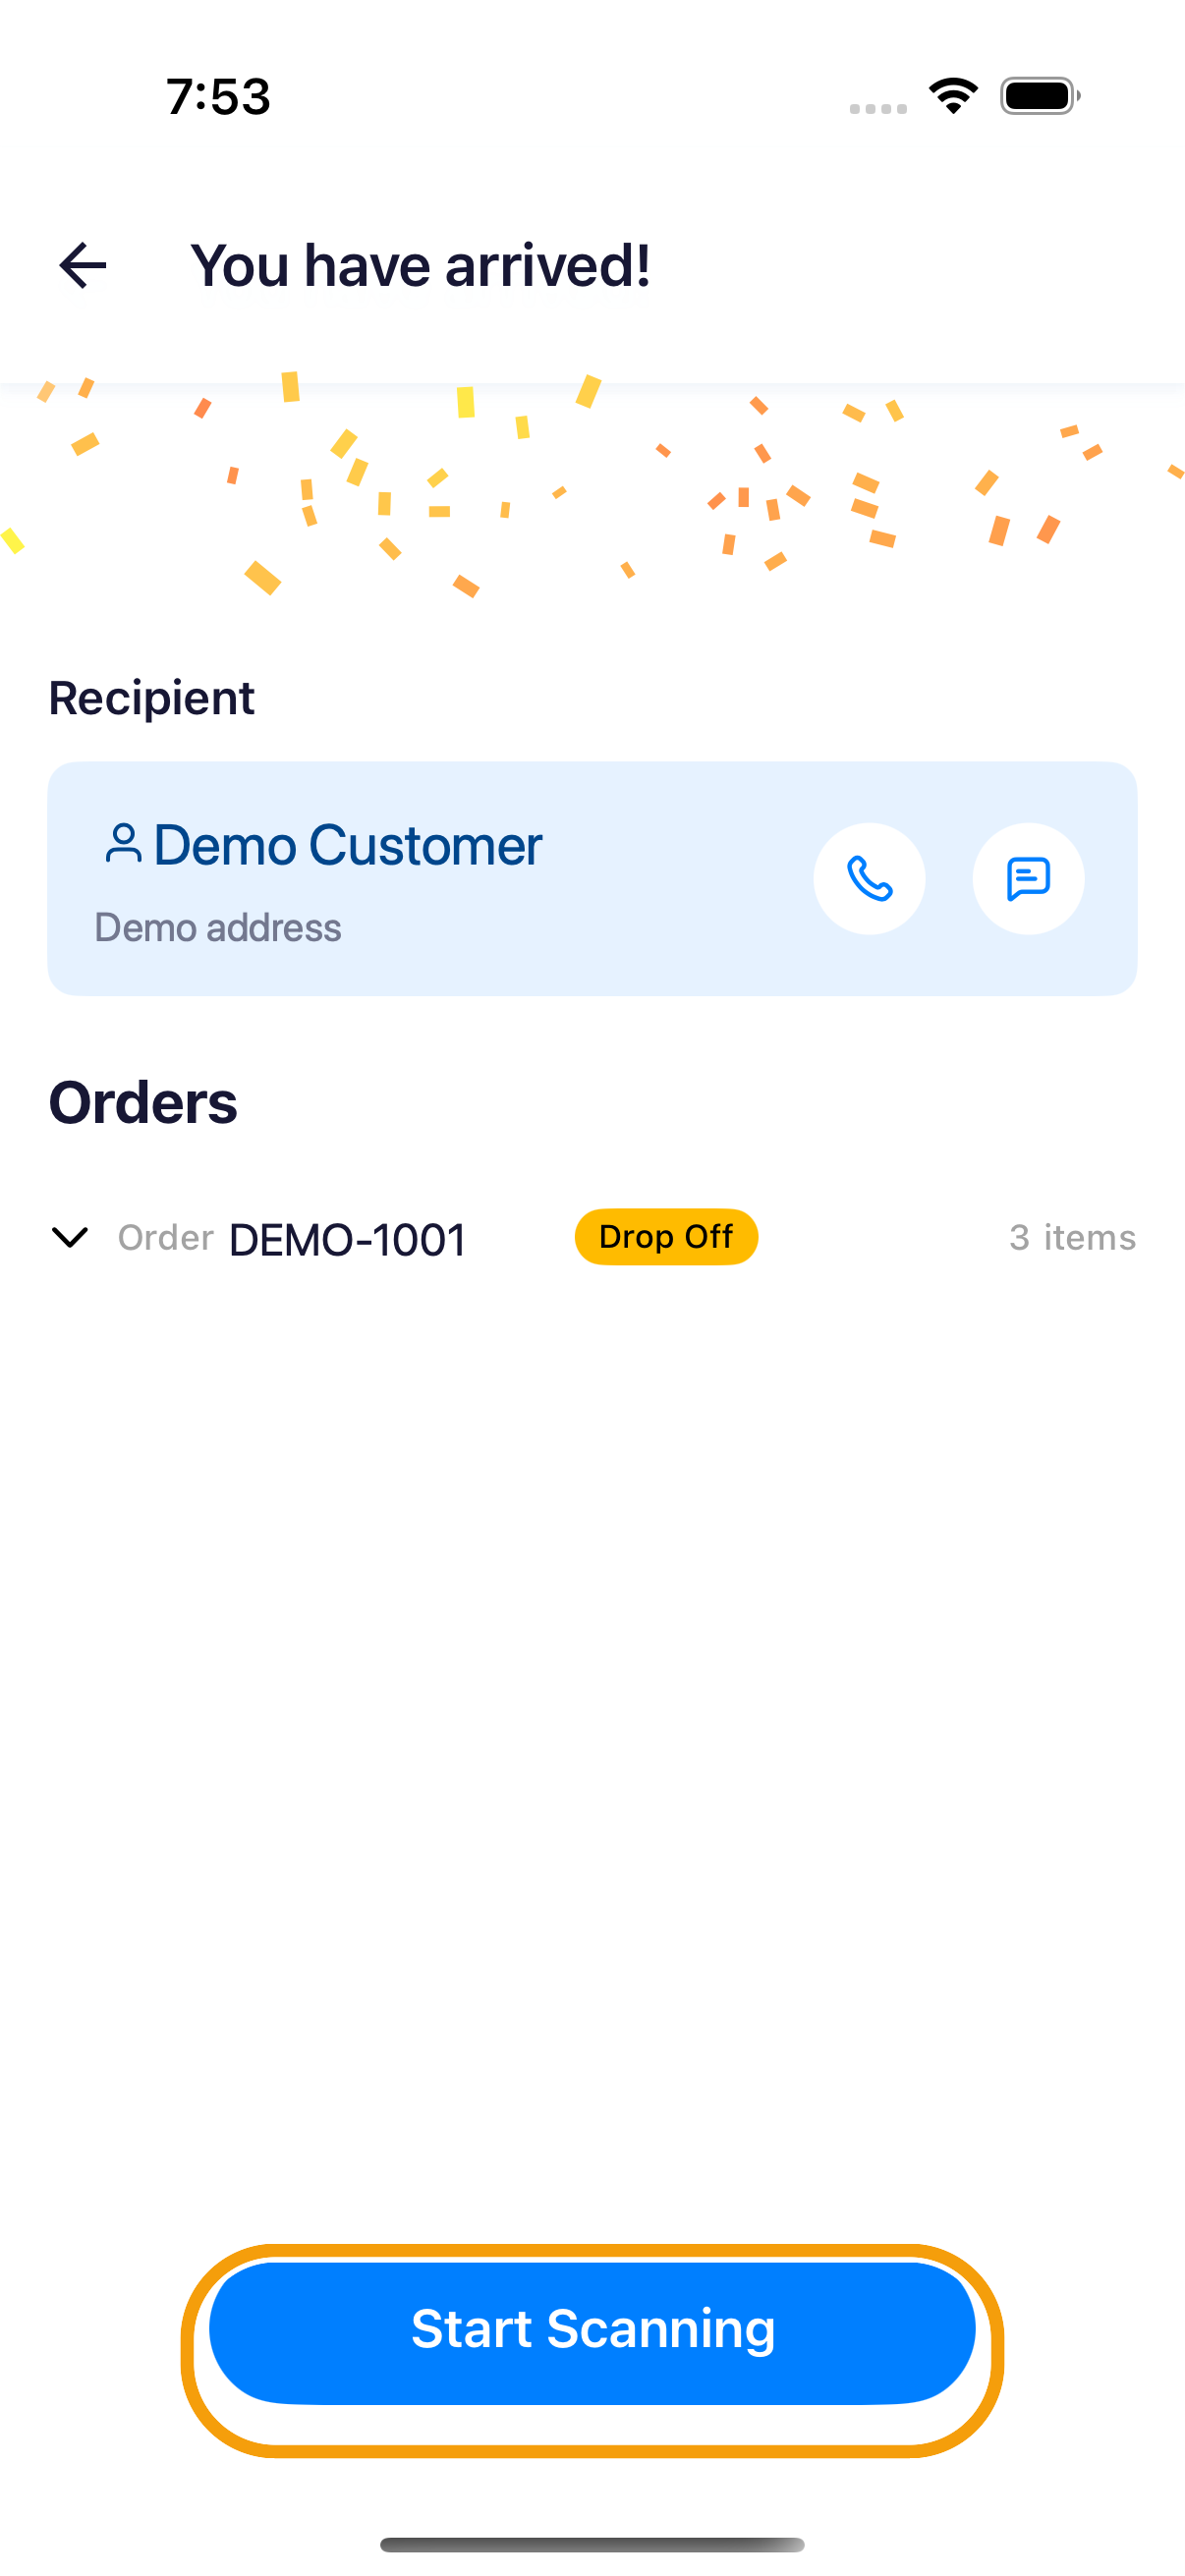
- Follow navigation to the stop and confirm arrival. If you have reached the stop but the app has not registered your arrival, use force arrival.
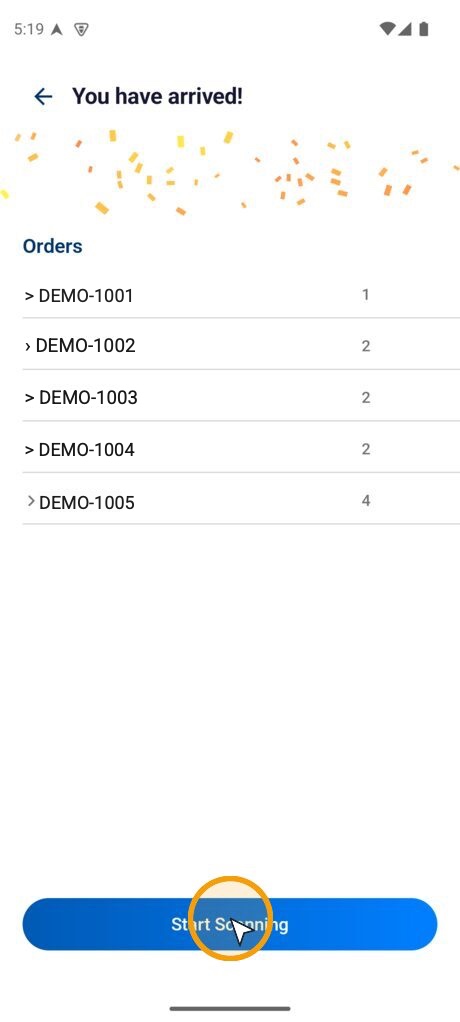
- Review the orders shown on You have arrived!.
- Tap Start Scanning when package confirmation is required. If this stop does not require a scan, tap Continue.
The Android arrival screen presents the same order check and action:
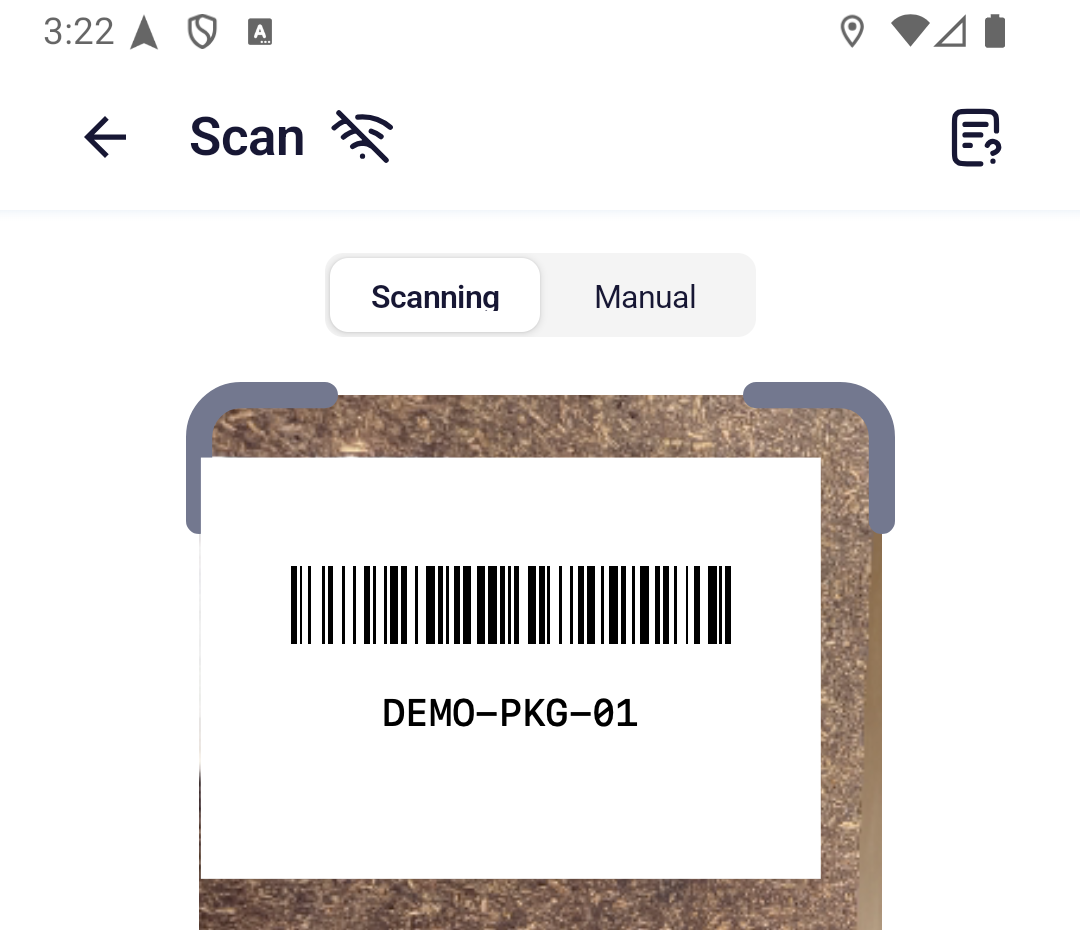
- Scan each barcode with the camera.
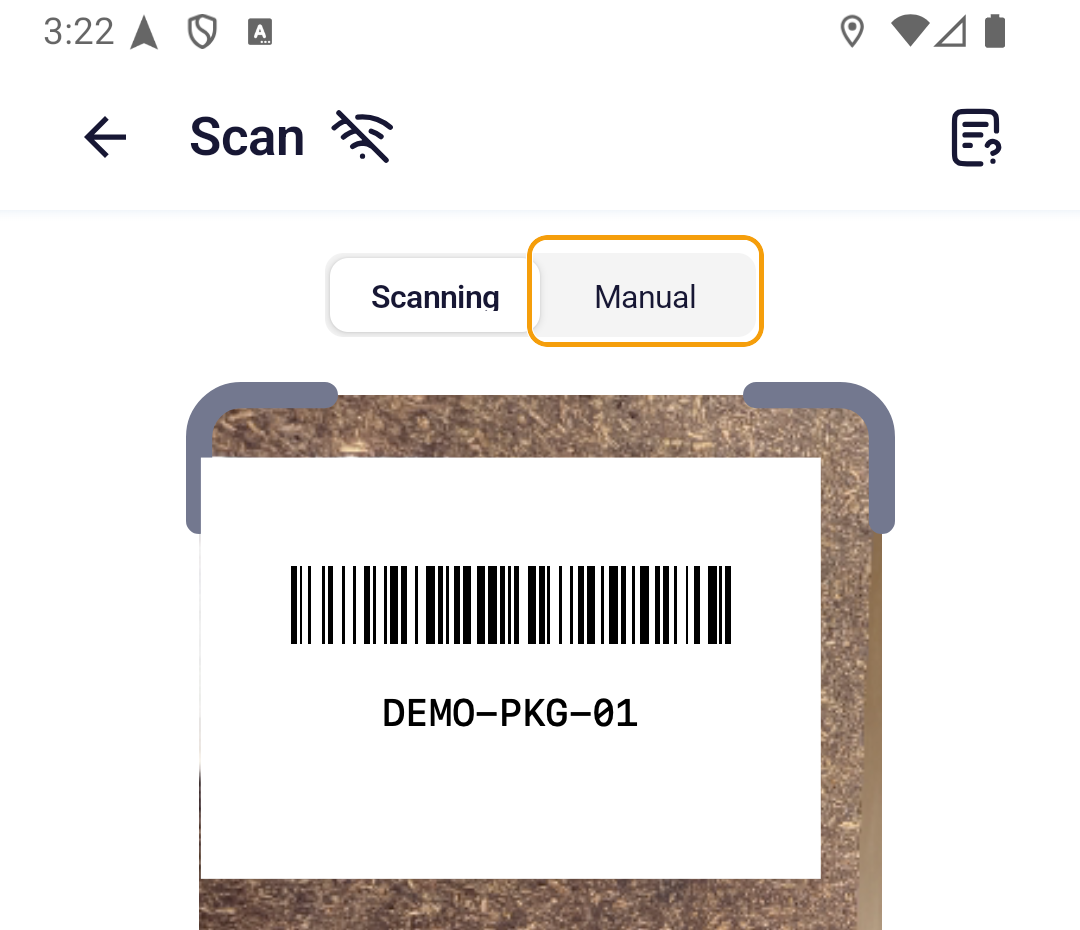
- If a barcode cannot be scanned, tap Manual and enter the package code in Code. On iPhone, tap the paper-plane icon beside the field or the keyboard’s Done key to submit it.
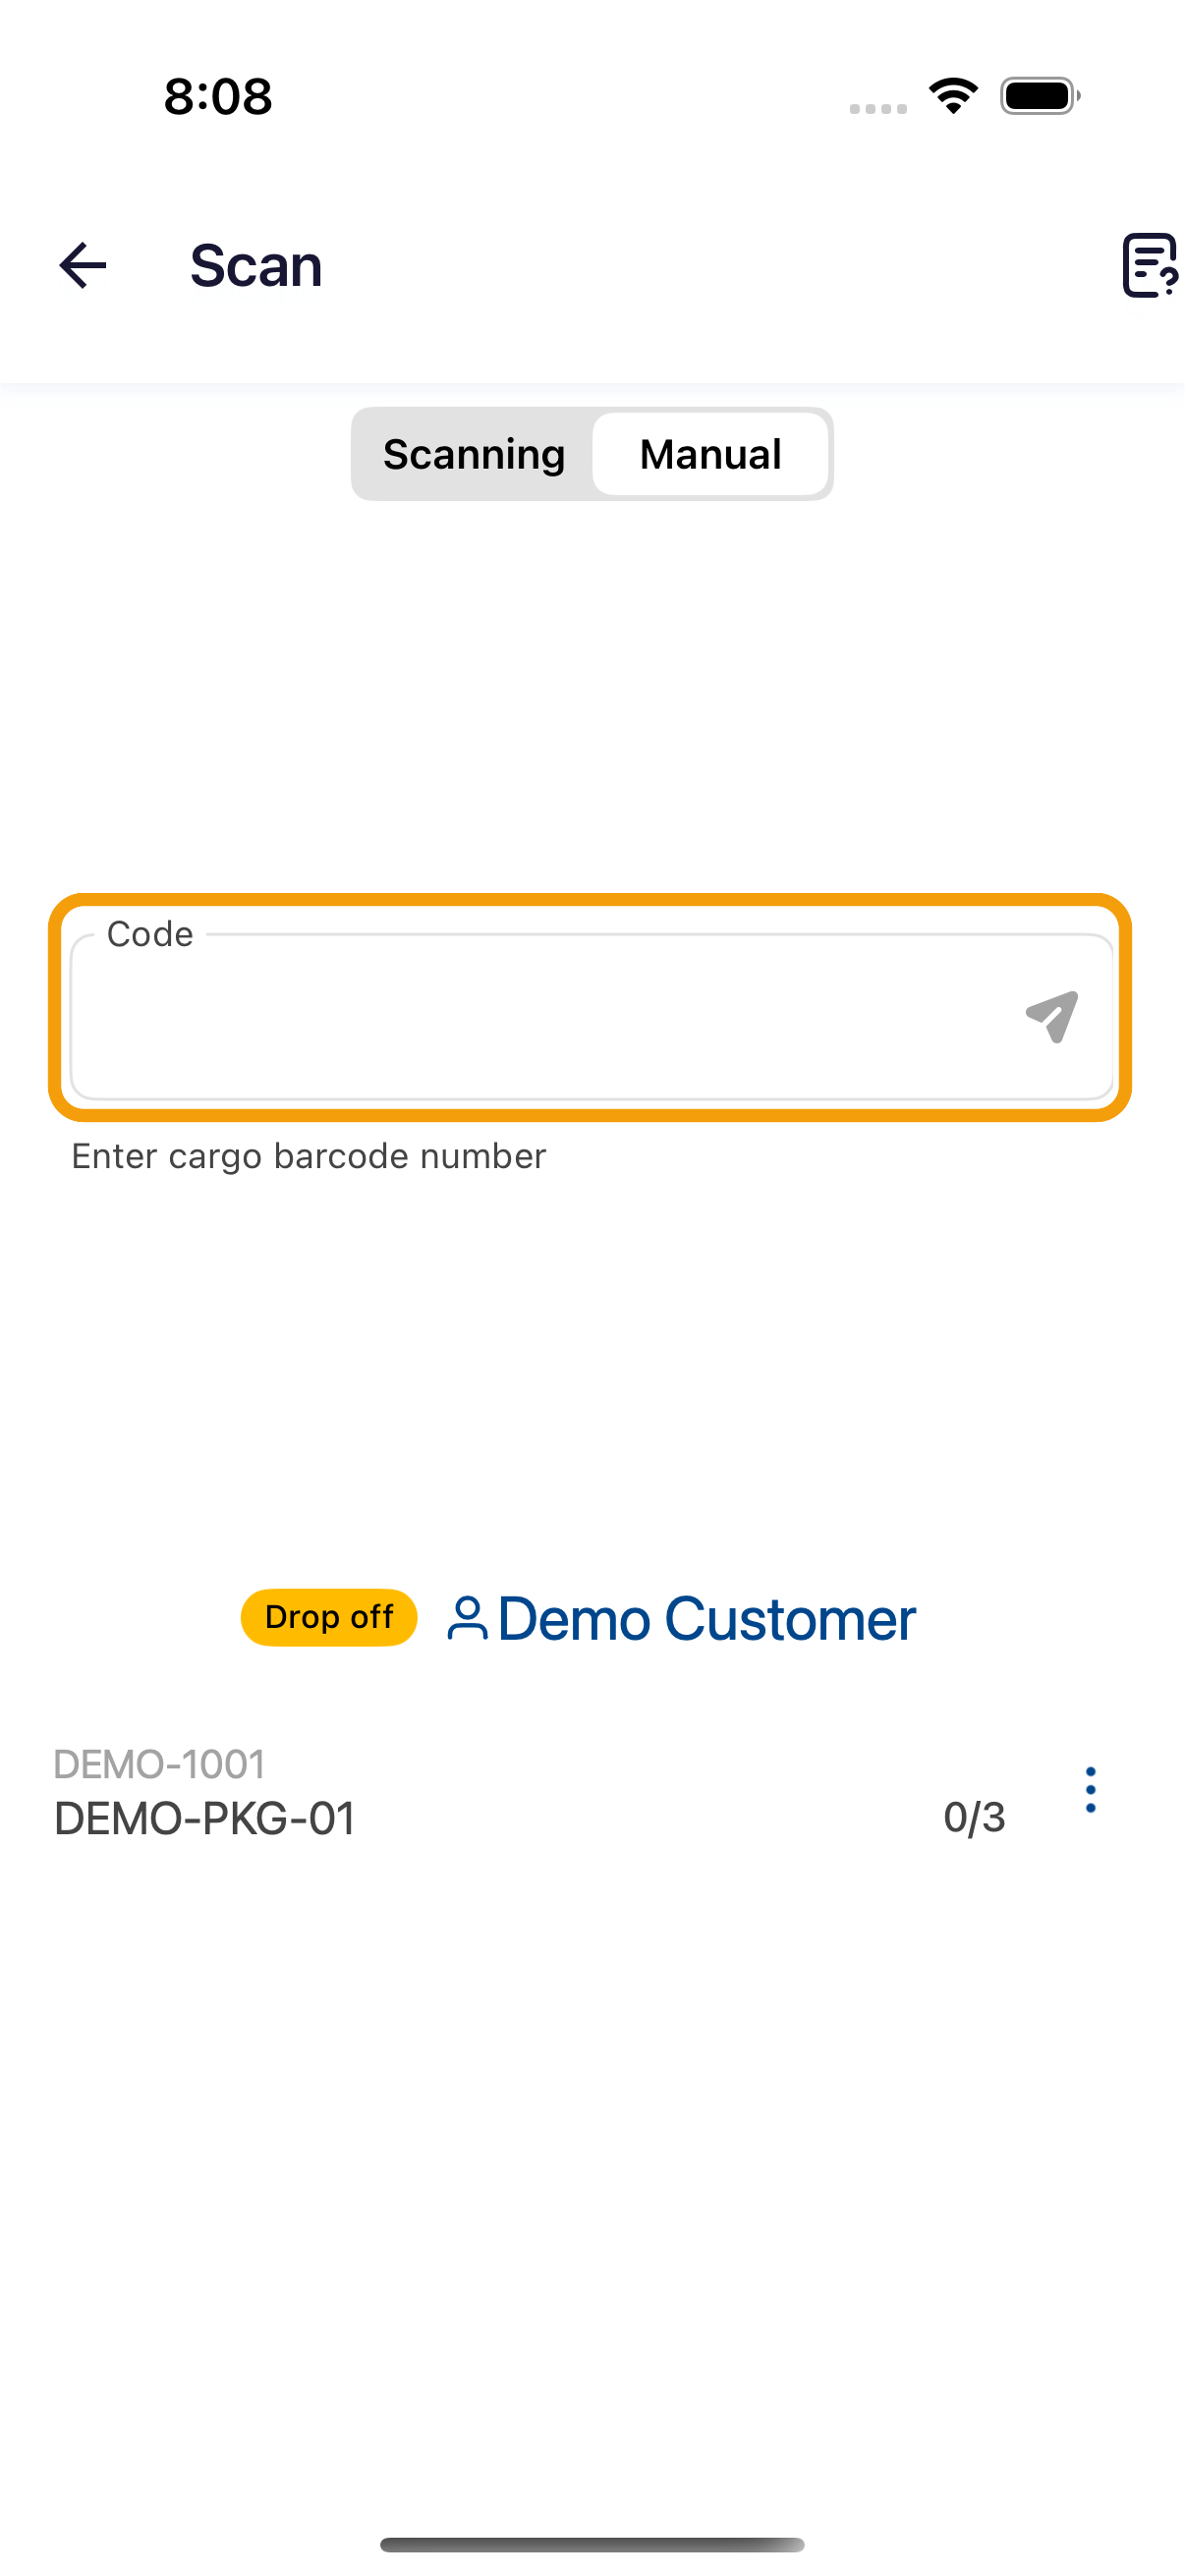
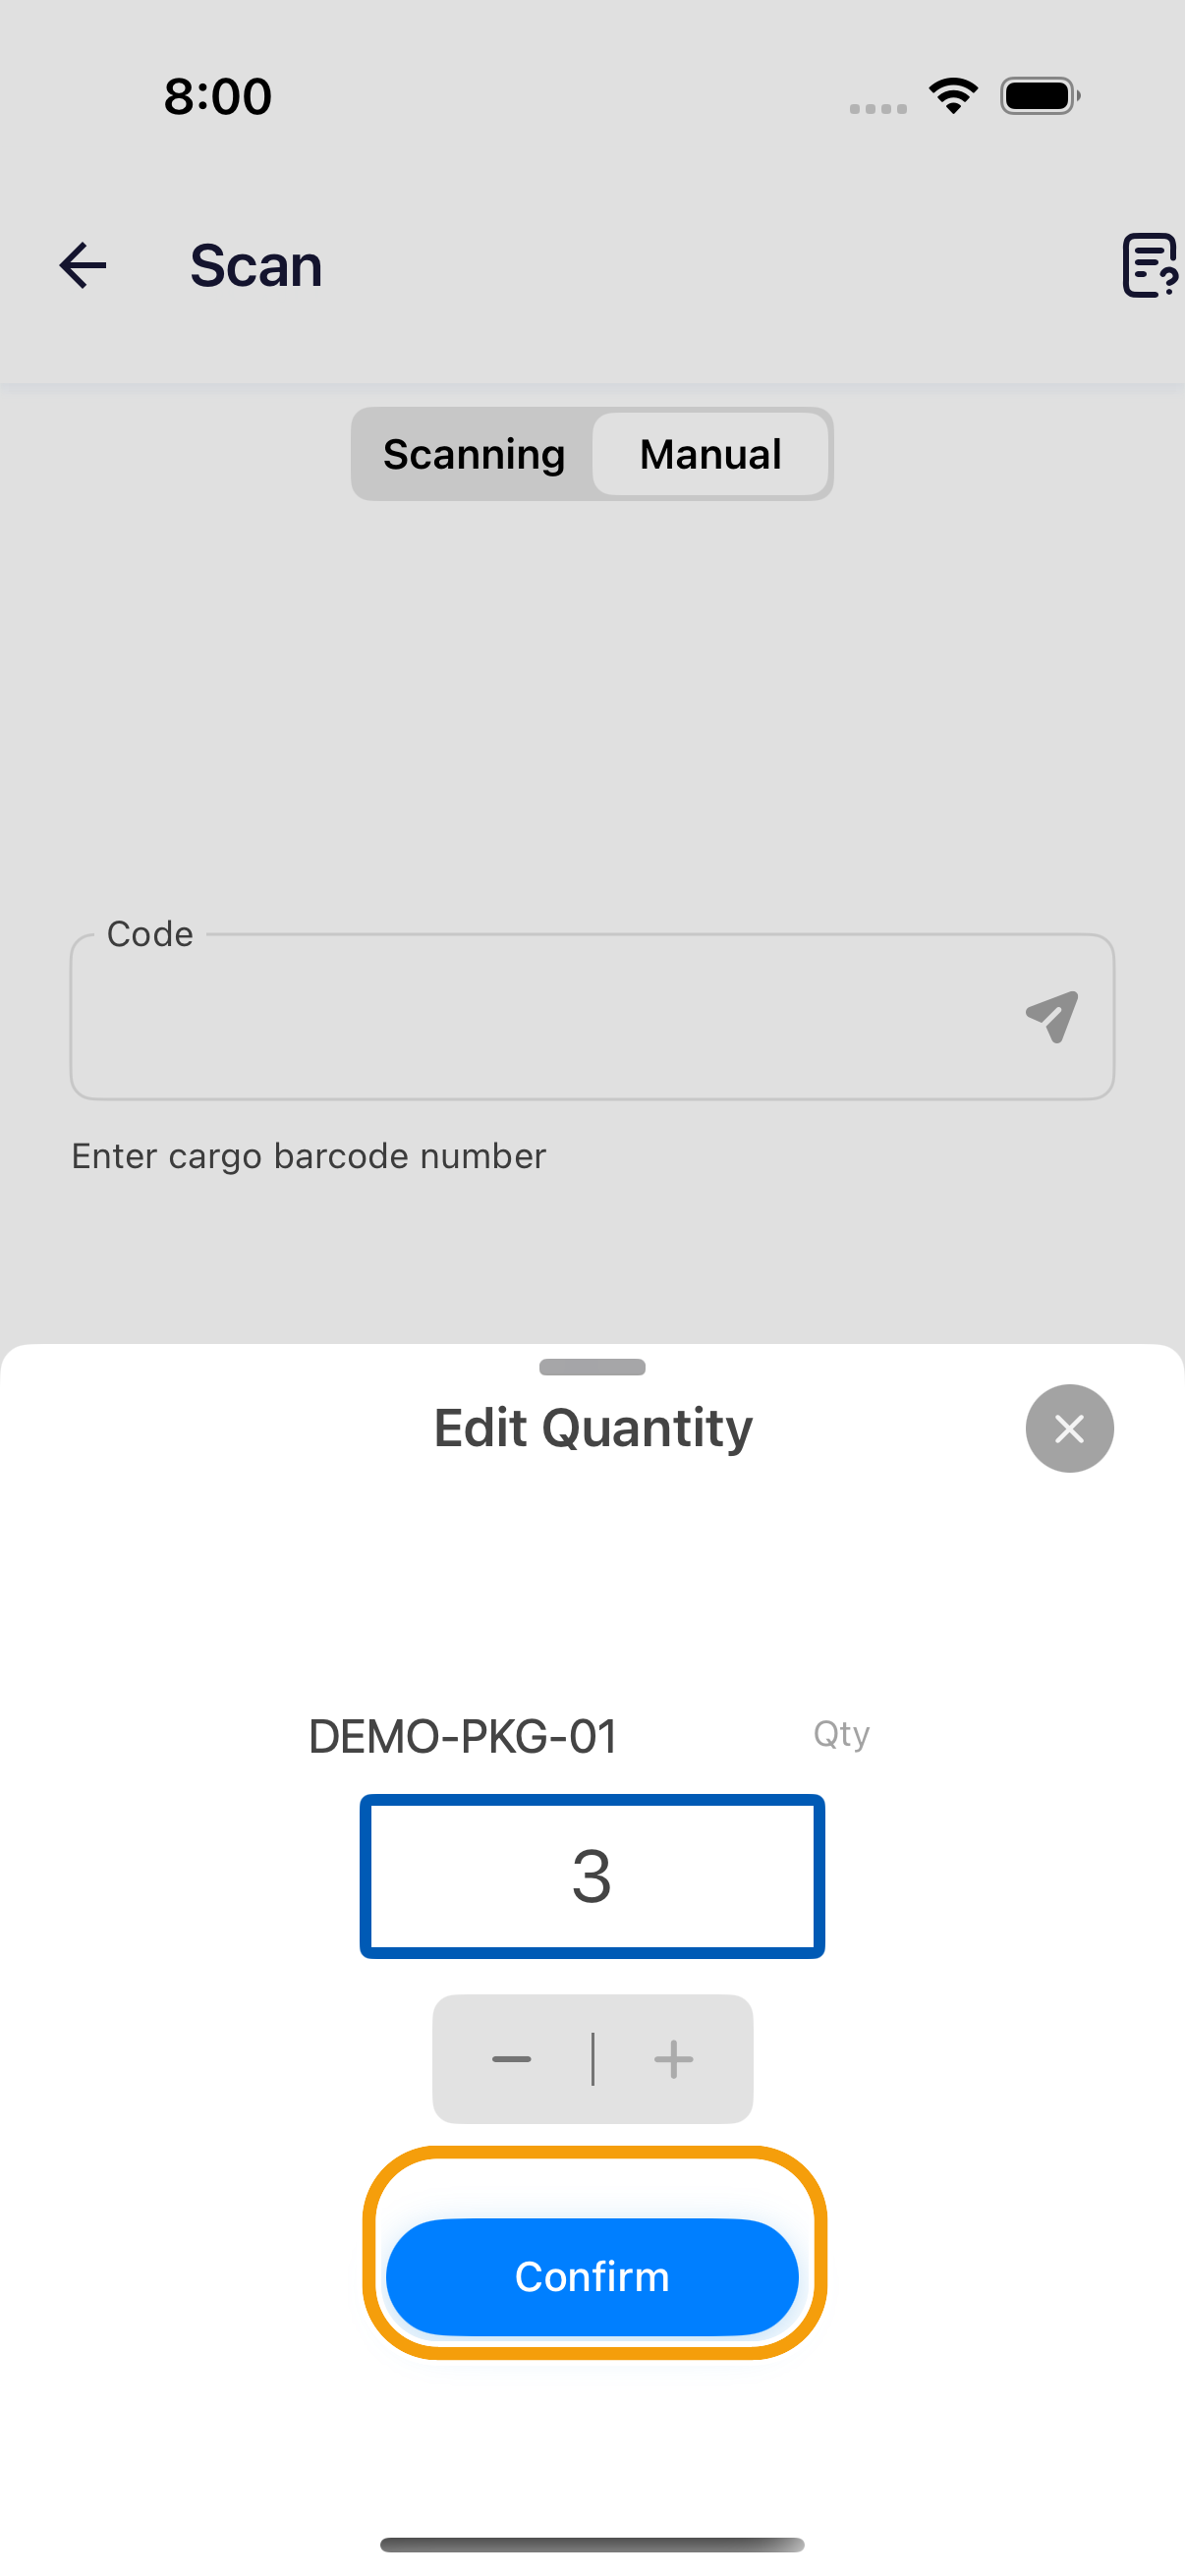
- If the quantity dialog appears, use the plus and minus buttons to set the confirmed quantity, then tap Confirm. Continue until all required packages at this stop have been handled.
If a package is missing, damaged, or incorrect, do not mark it as successfully scanned. Open the package-row menu, tap Report Exceptions, then follow the Report Exceptions choices for that stop.