Run your first shift
Your dispatcher has assigned today's Run Sheet, so now it's your turn. This page walks one stop end to end. Use the same sequence for subsequent stops, following the tasks shown on your phone.
Where to find it: SendItGo › dashboard › assigned route. Review the sign-in and route steps before leaving.
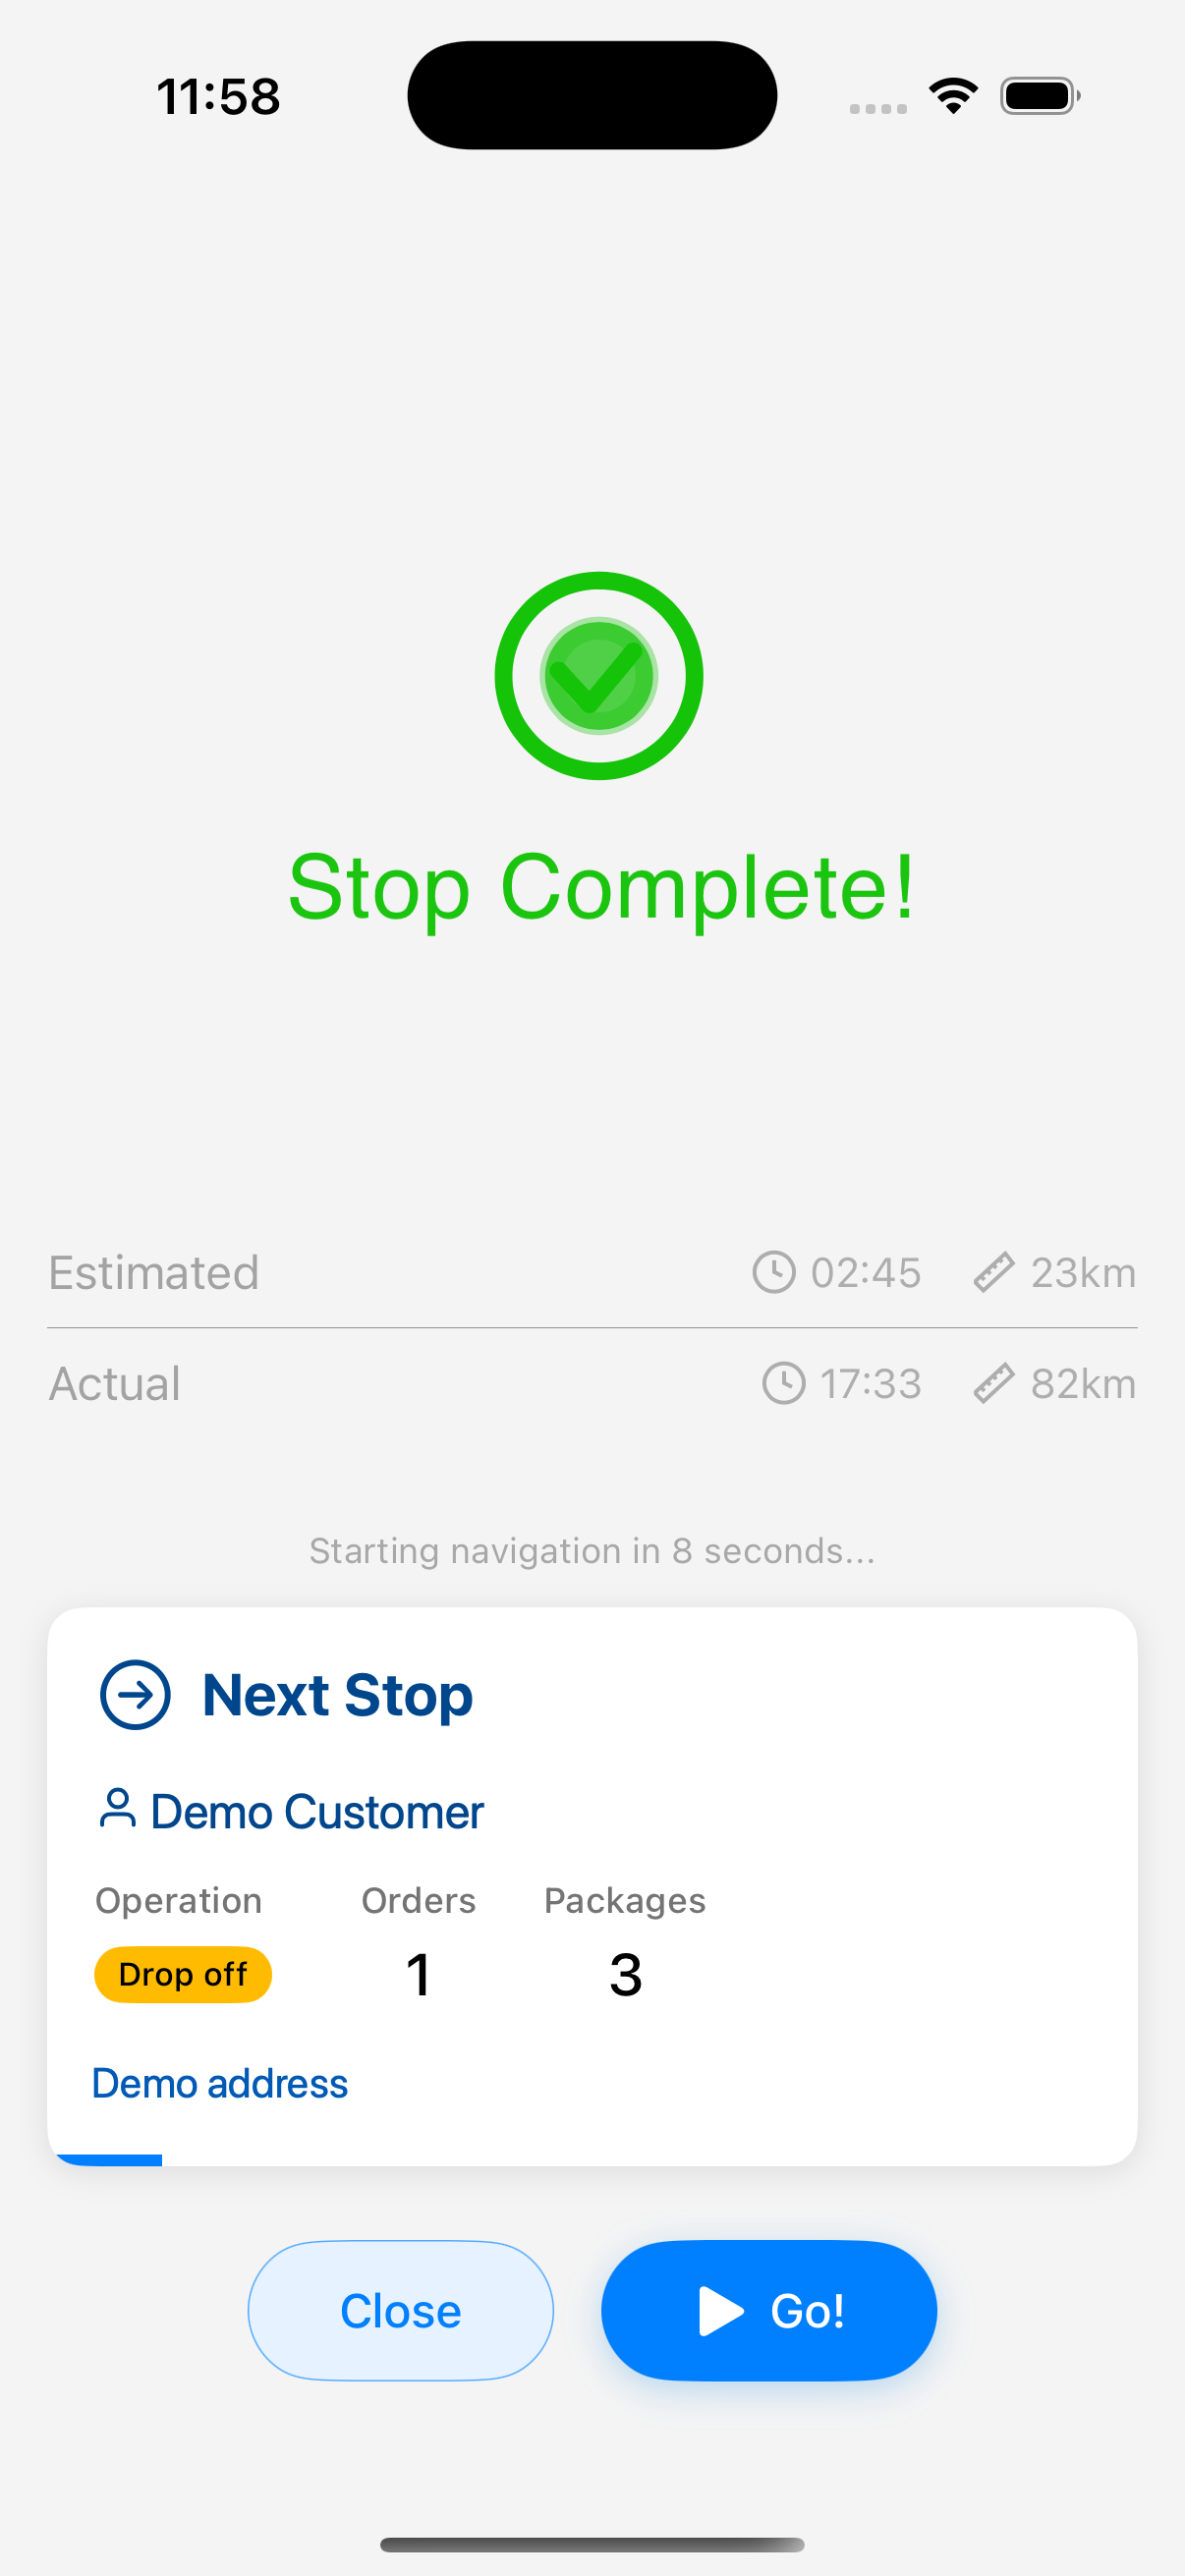
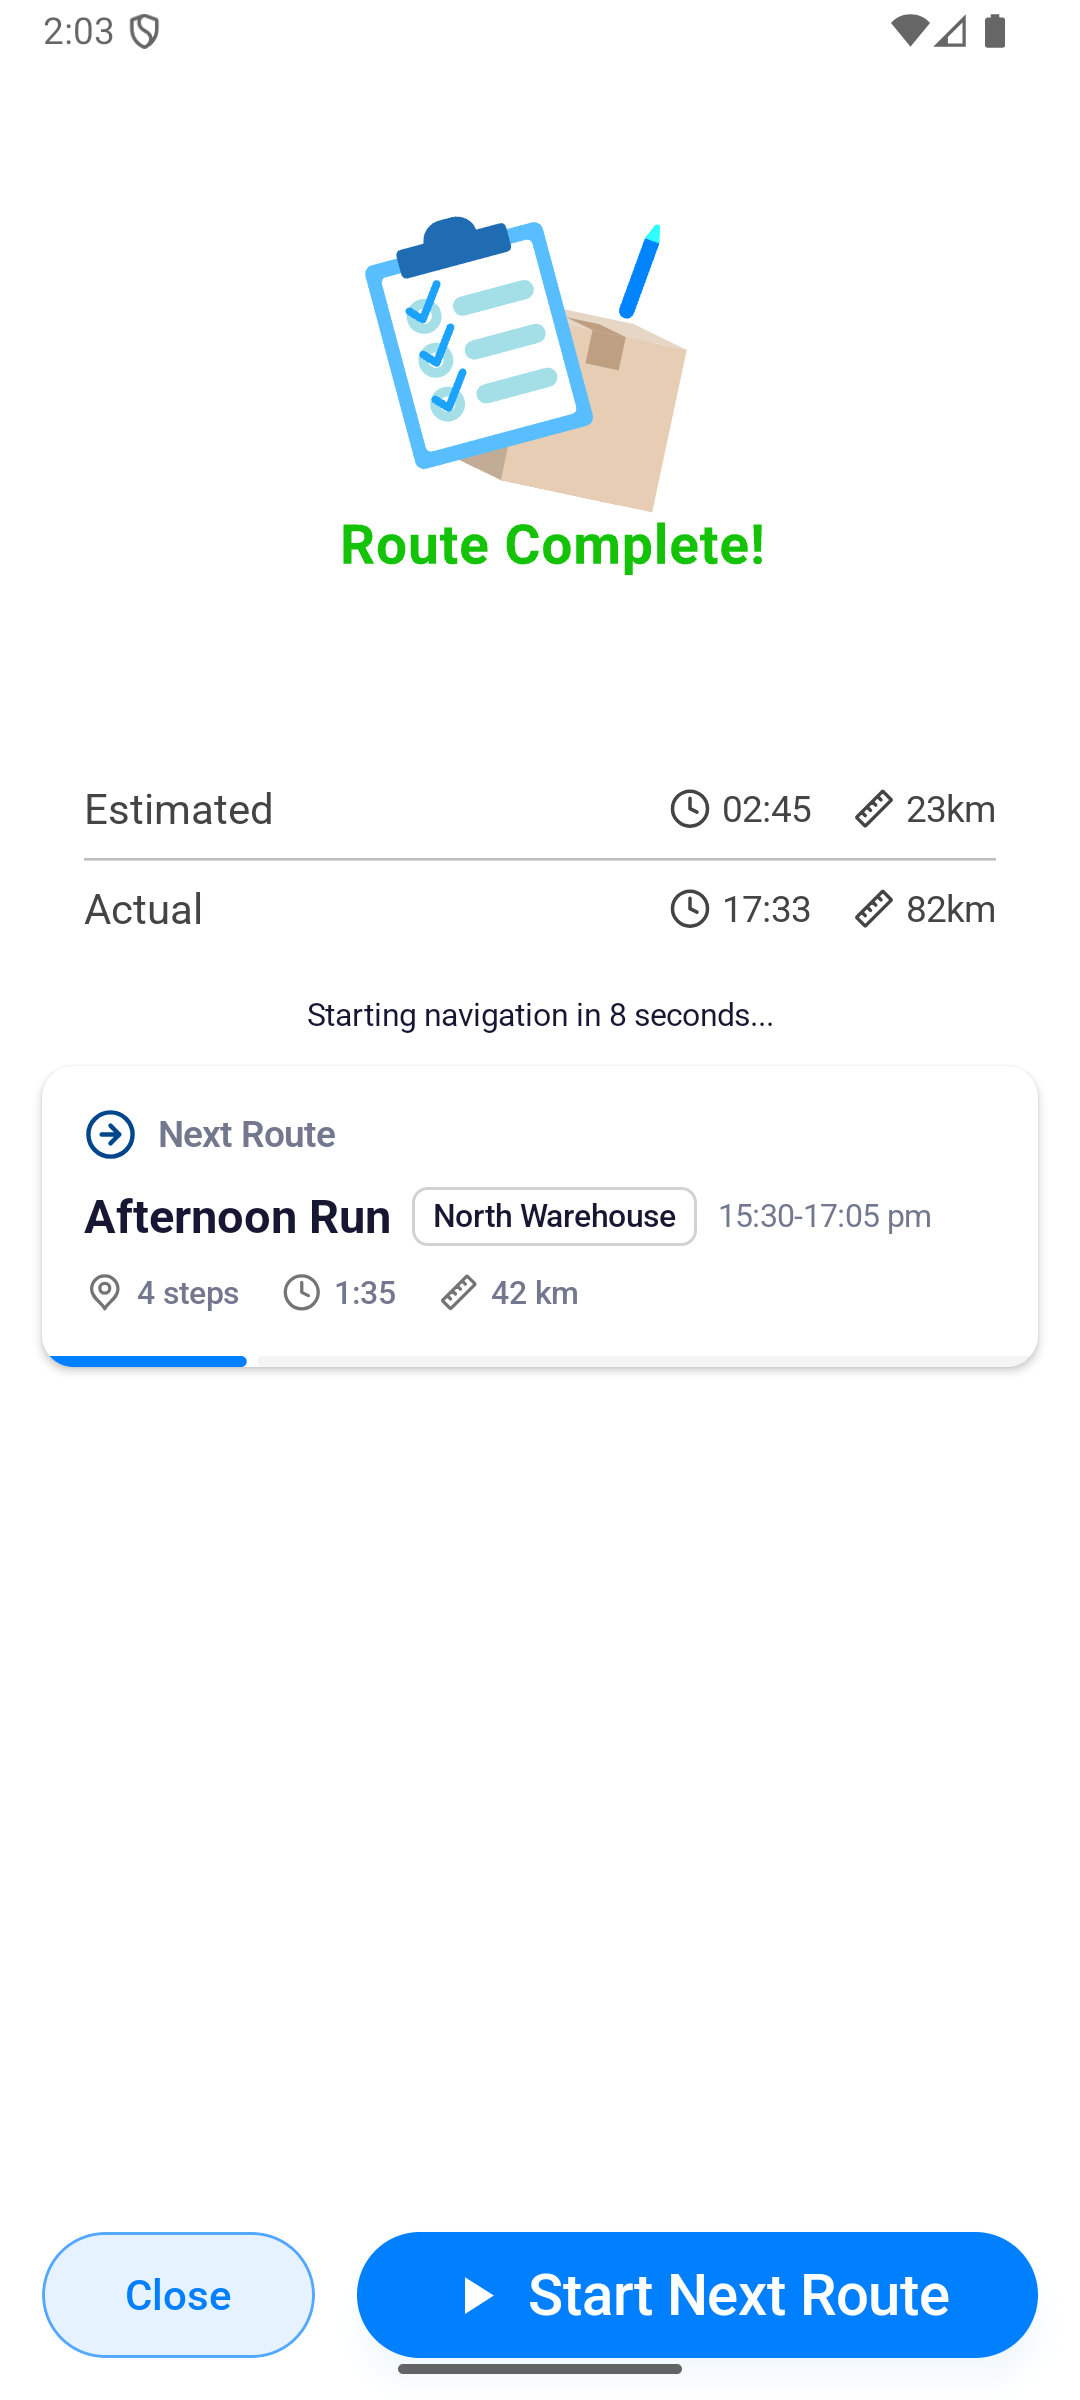
Each stop ends with Stop Complete!, and the last one ends with Route Complete!.
Before you start
- Install SendItGo, then wait for your account approval to come through.
- Keep your phone to hand. You sign in with your mobile number and a code we text you.
- Check that your dispatcher has assigned today's Run Sheet to your account.
The route loop at a glance
At each stop, follow the tasks shown by the app: confirm arrival, scan packages, report exceptions when needed and provide the requested proof. The required scans, photos and signature depend on the stop.
The next sections walk you through it. Open a linked page only when a screen needs more explaining.
1. Log in
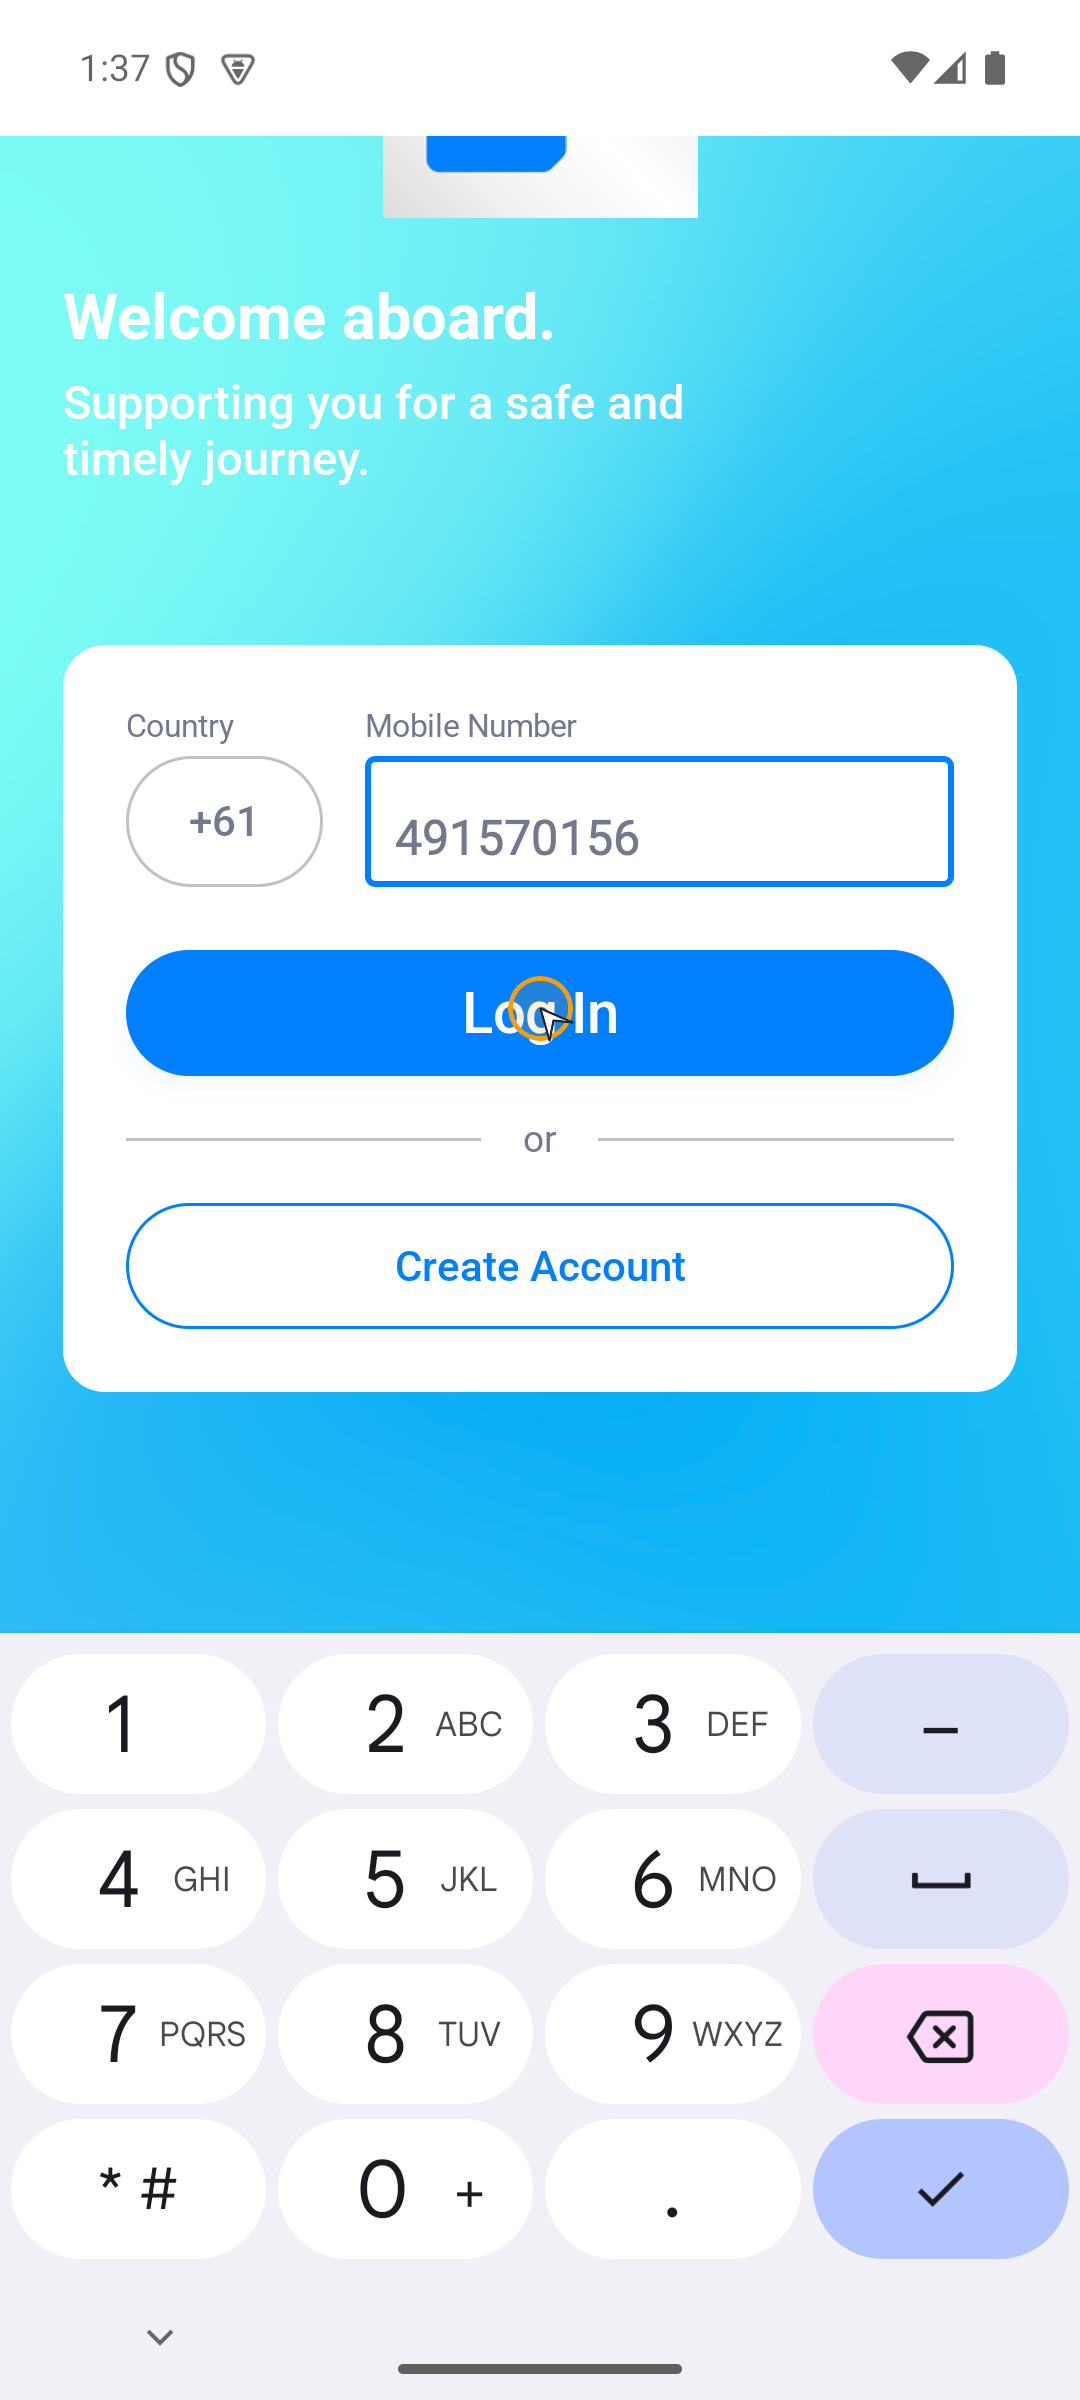
- Open the app and check the country is right for your number.
- Type your mobile number, then tap Log In.
- We text you a 6-digit code. Type it in and you're in, because the app moves on once all six digits are filled.
Didn't get it? Wait out the 60-second countdown, then tap I haven't received the verification code.
2. Start or resume today's route
The bar along the bottom is Roster | Go! or Continue | Profile. Tap Go! to head off on an assigned route, or Continue to pick up one you already started.
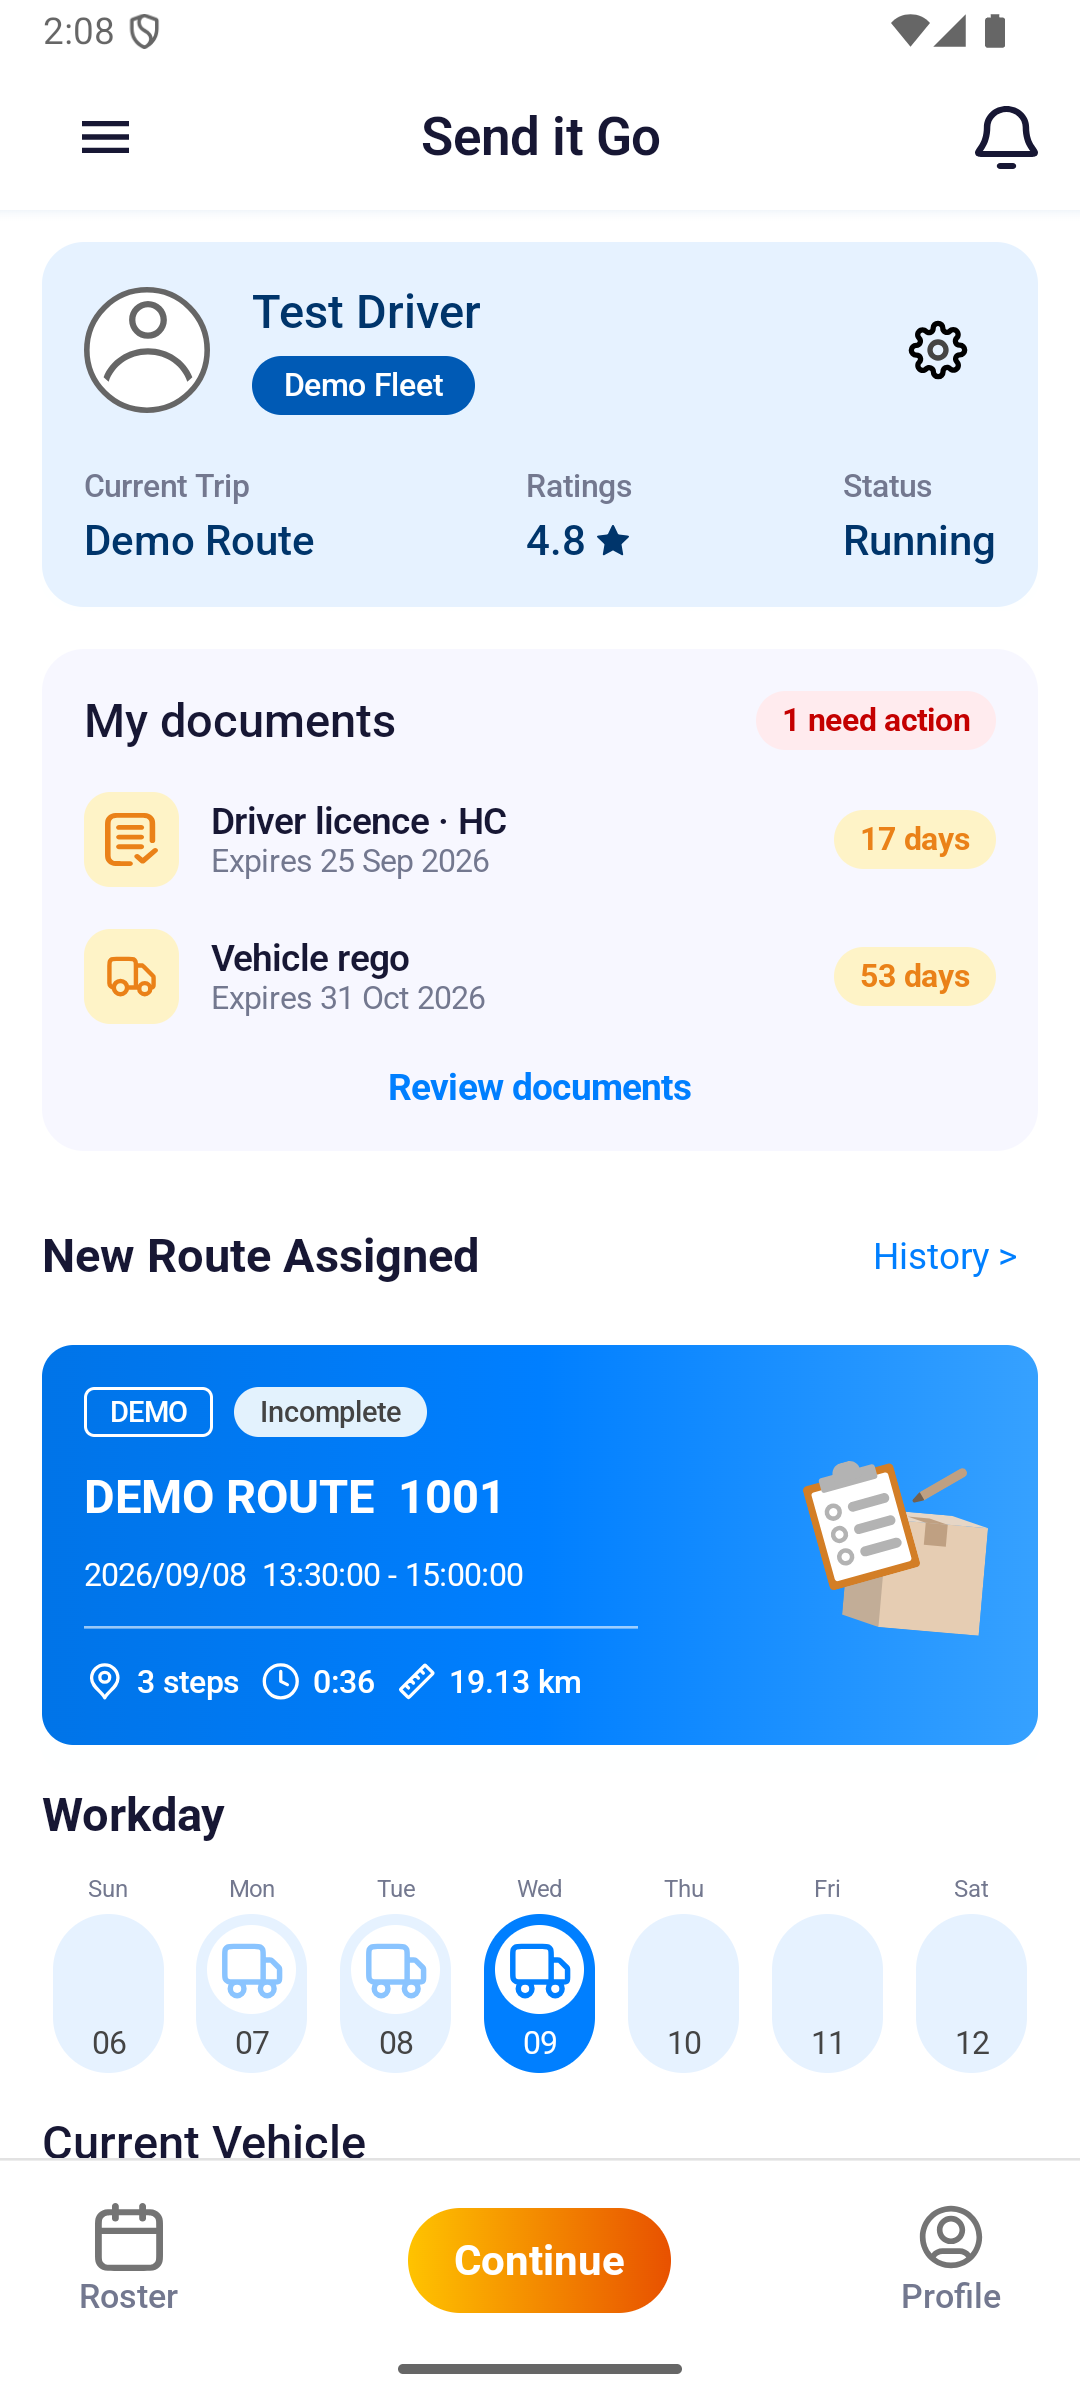
If the dashboard shows No Route Available, ask dispatch to confirm the assignment, check your connection and refresh. Do not start an unassigned route.
3. Follow the stops
- Open the route and read down the stop list. They're in the order you drive them.
- Tap Go! or Continue to open navigation, then drive to the address.
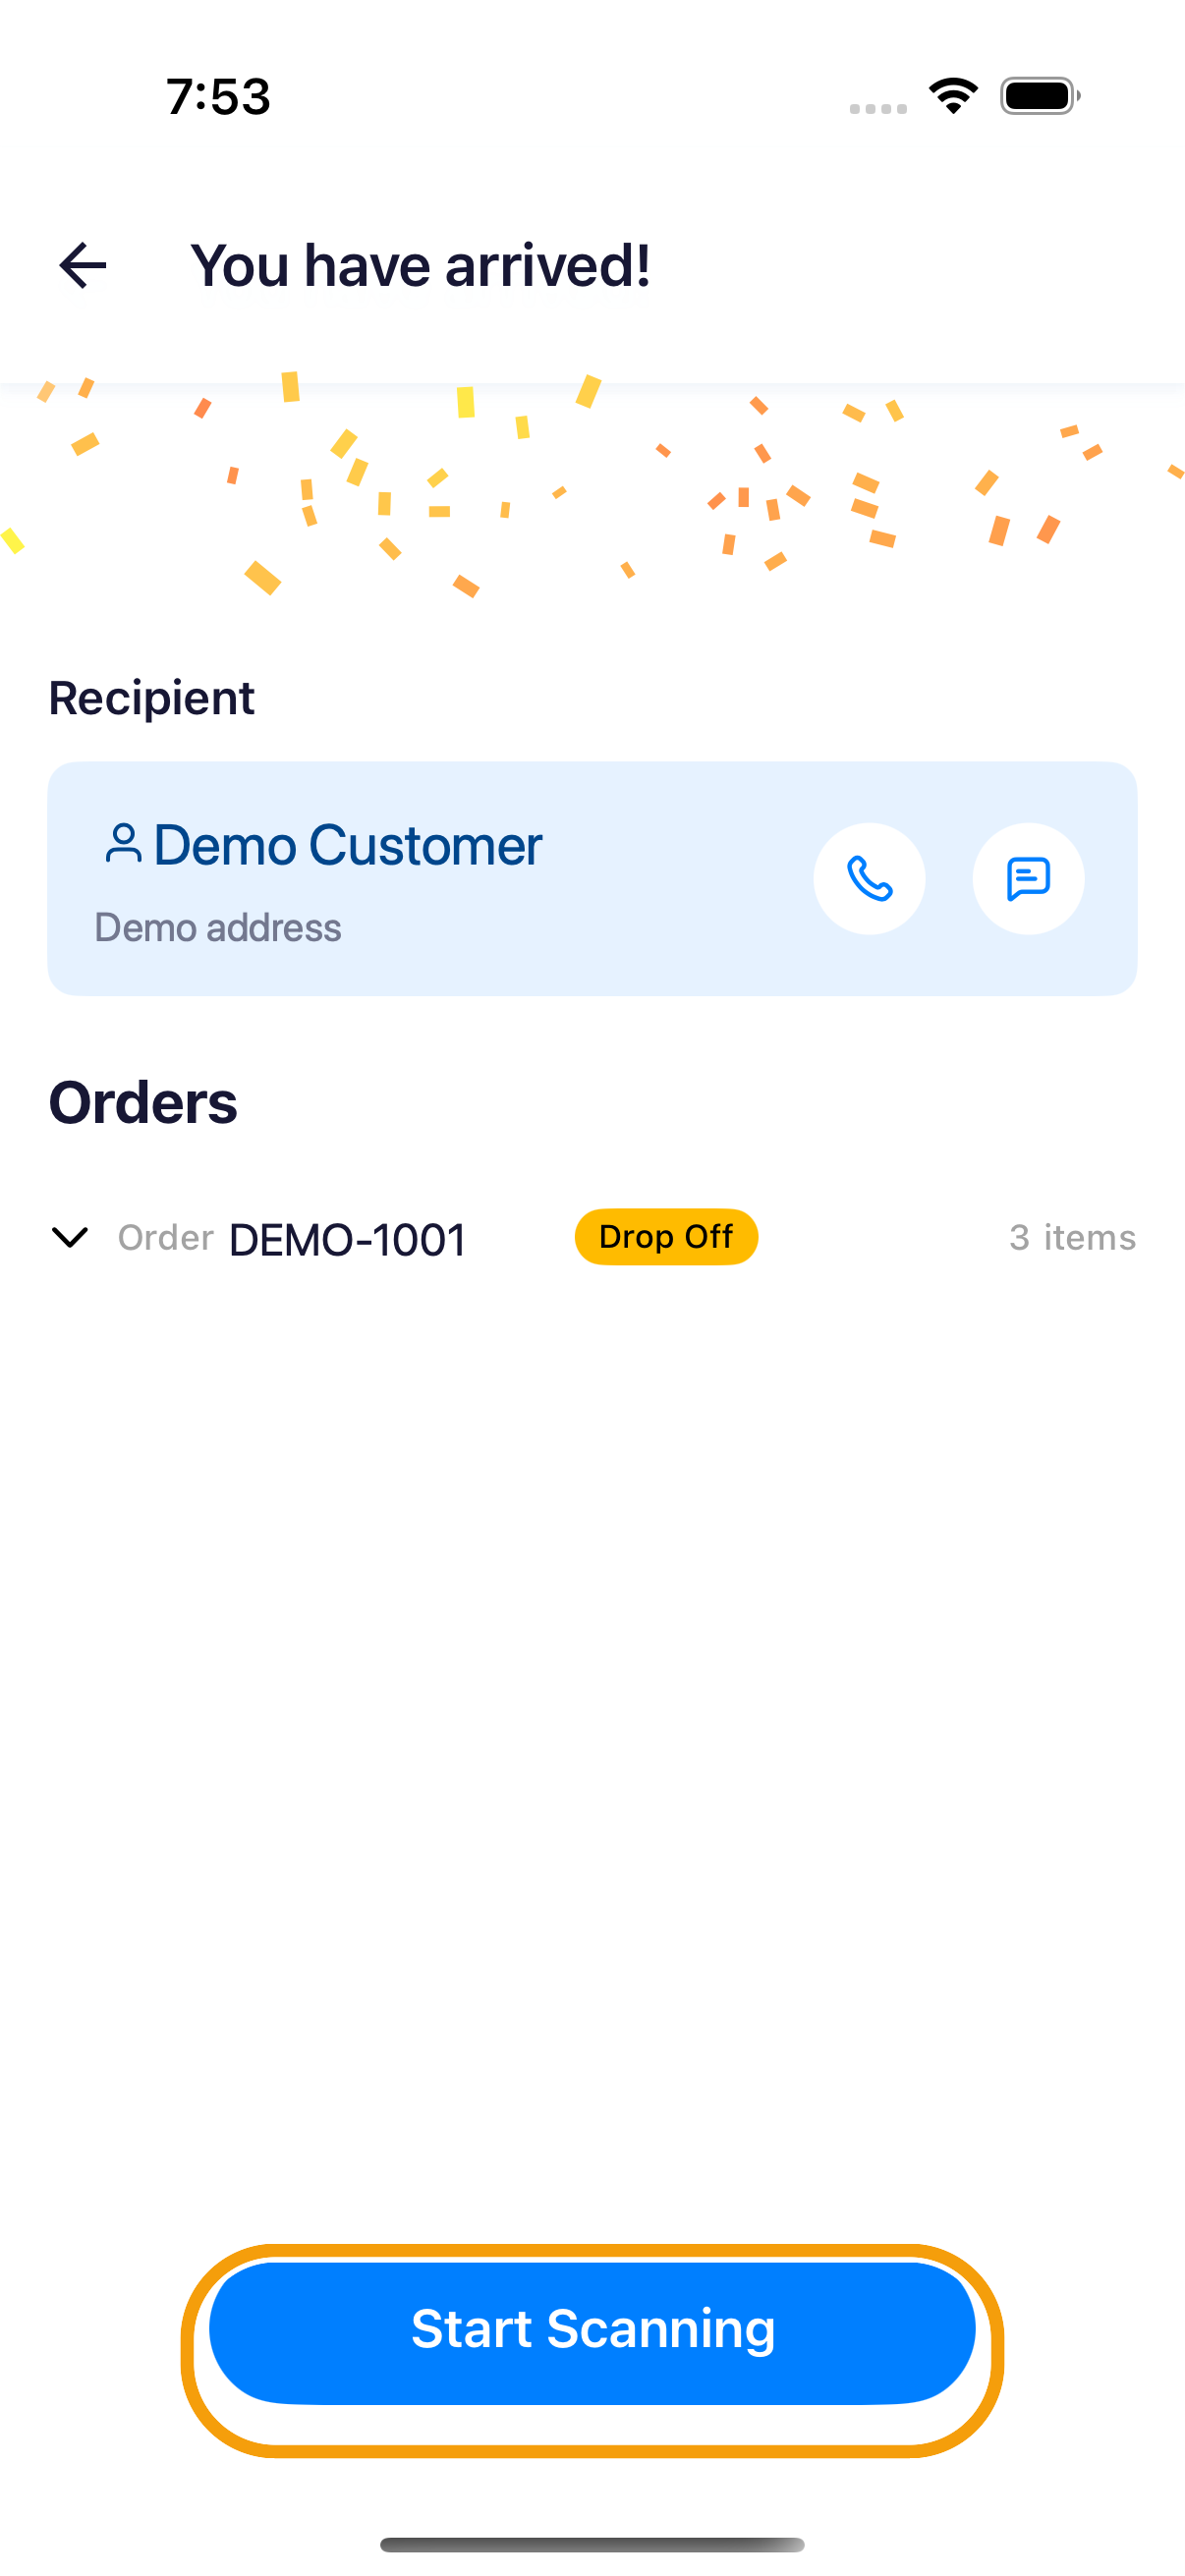
- When you get there, confirm your arrival.
- Tap Start Scanning if the stop needs its packages confirmed. If it doesn't, that same button reads Continue instead.
- Scan each package. No barcode? Tap Manual and type the code by hand.
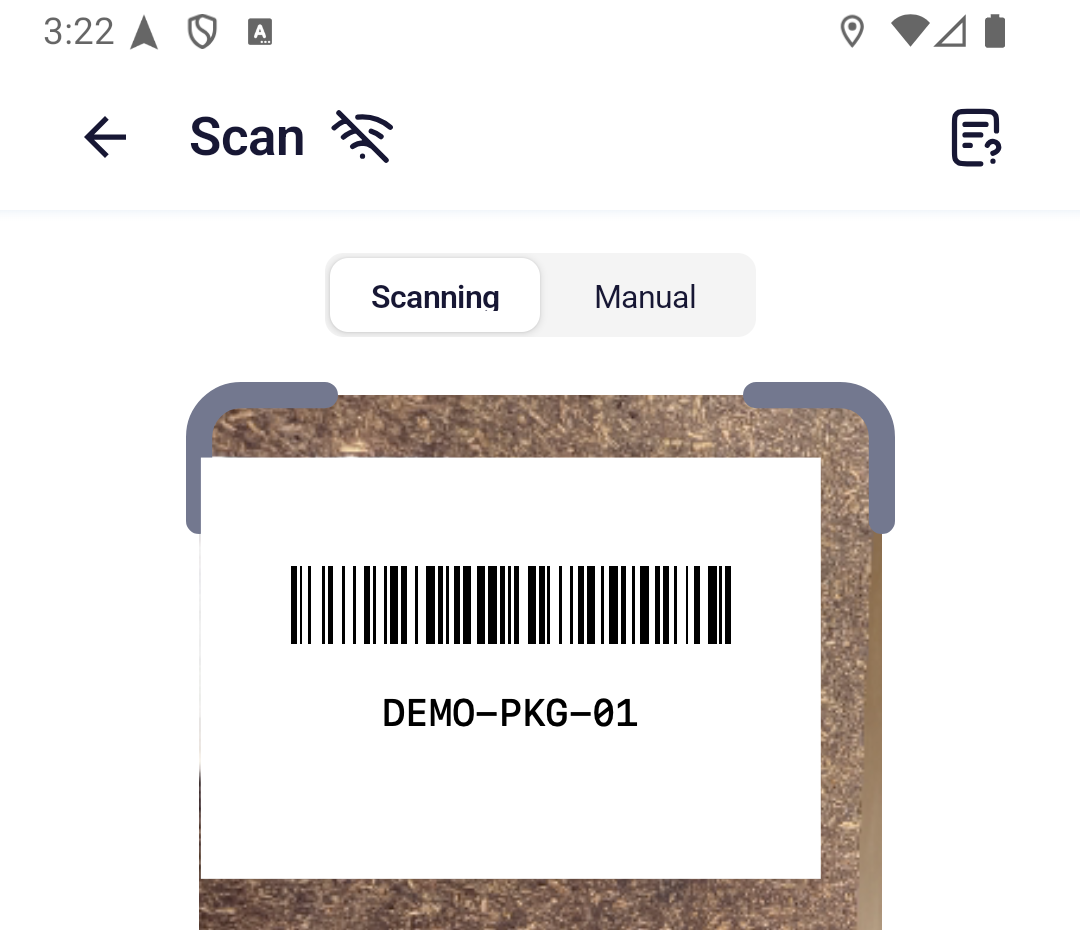
Once the required packages are confirmed, the app opens the next task. See Arrive and scan packages for the field-by-field detail.
4. Handle exceptions and proof
- Package missing, damaged, or the wrong one? Tap Report Exceptions and work through the options on the Report Exceptions screen.
- Then give the proof this stop asks for: Electronic Signature or No Contact.
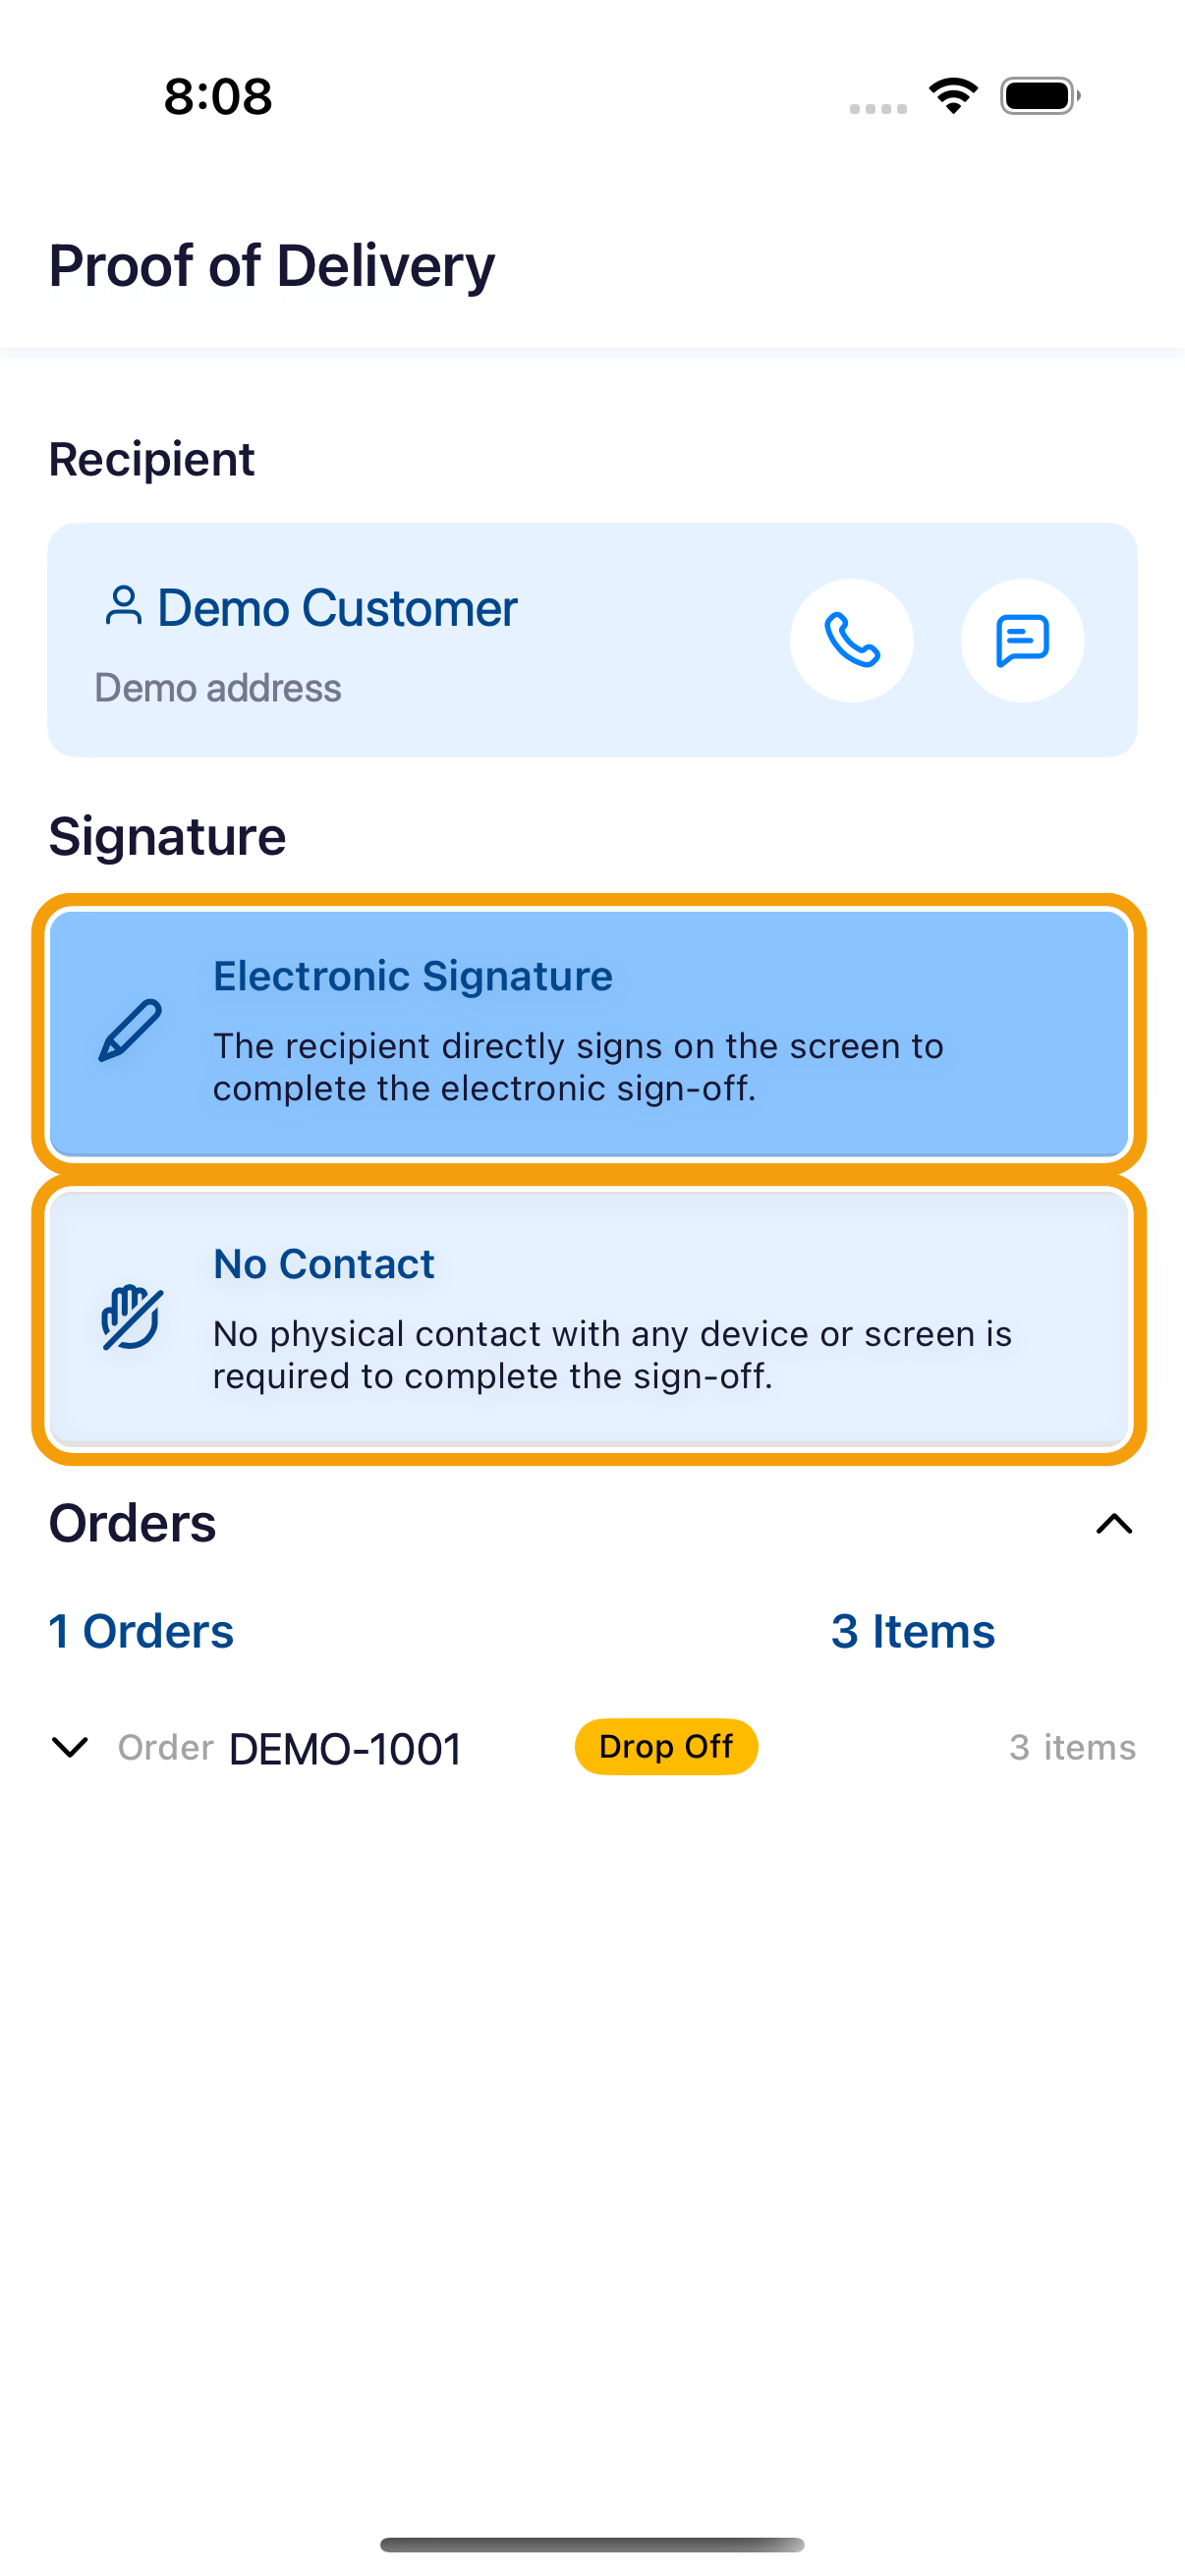
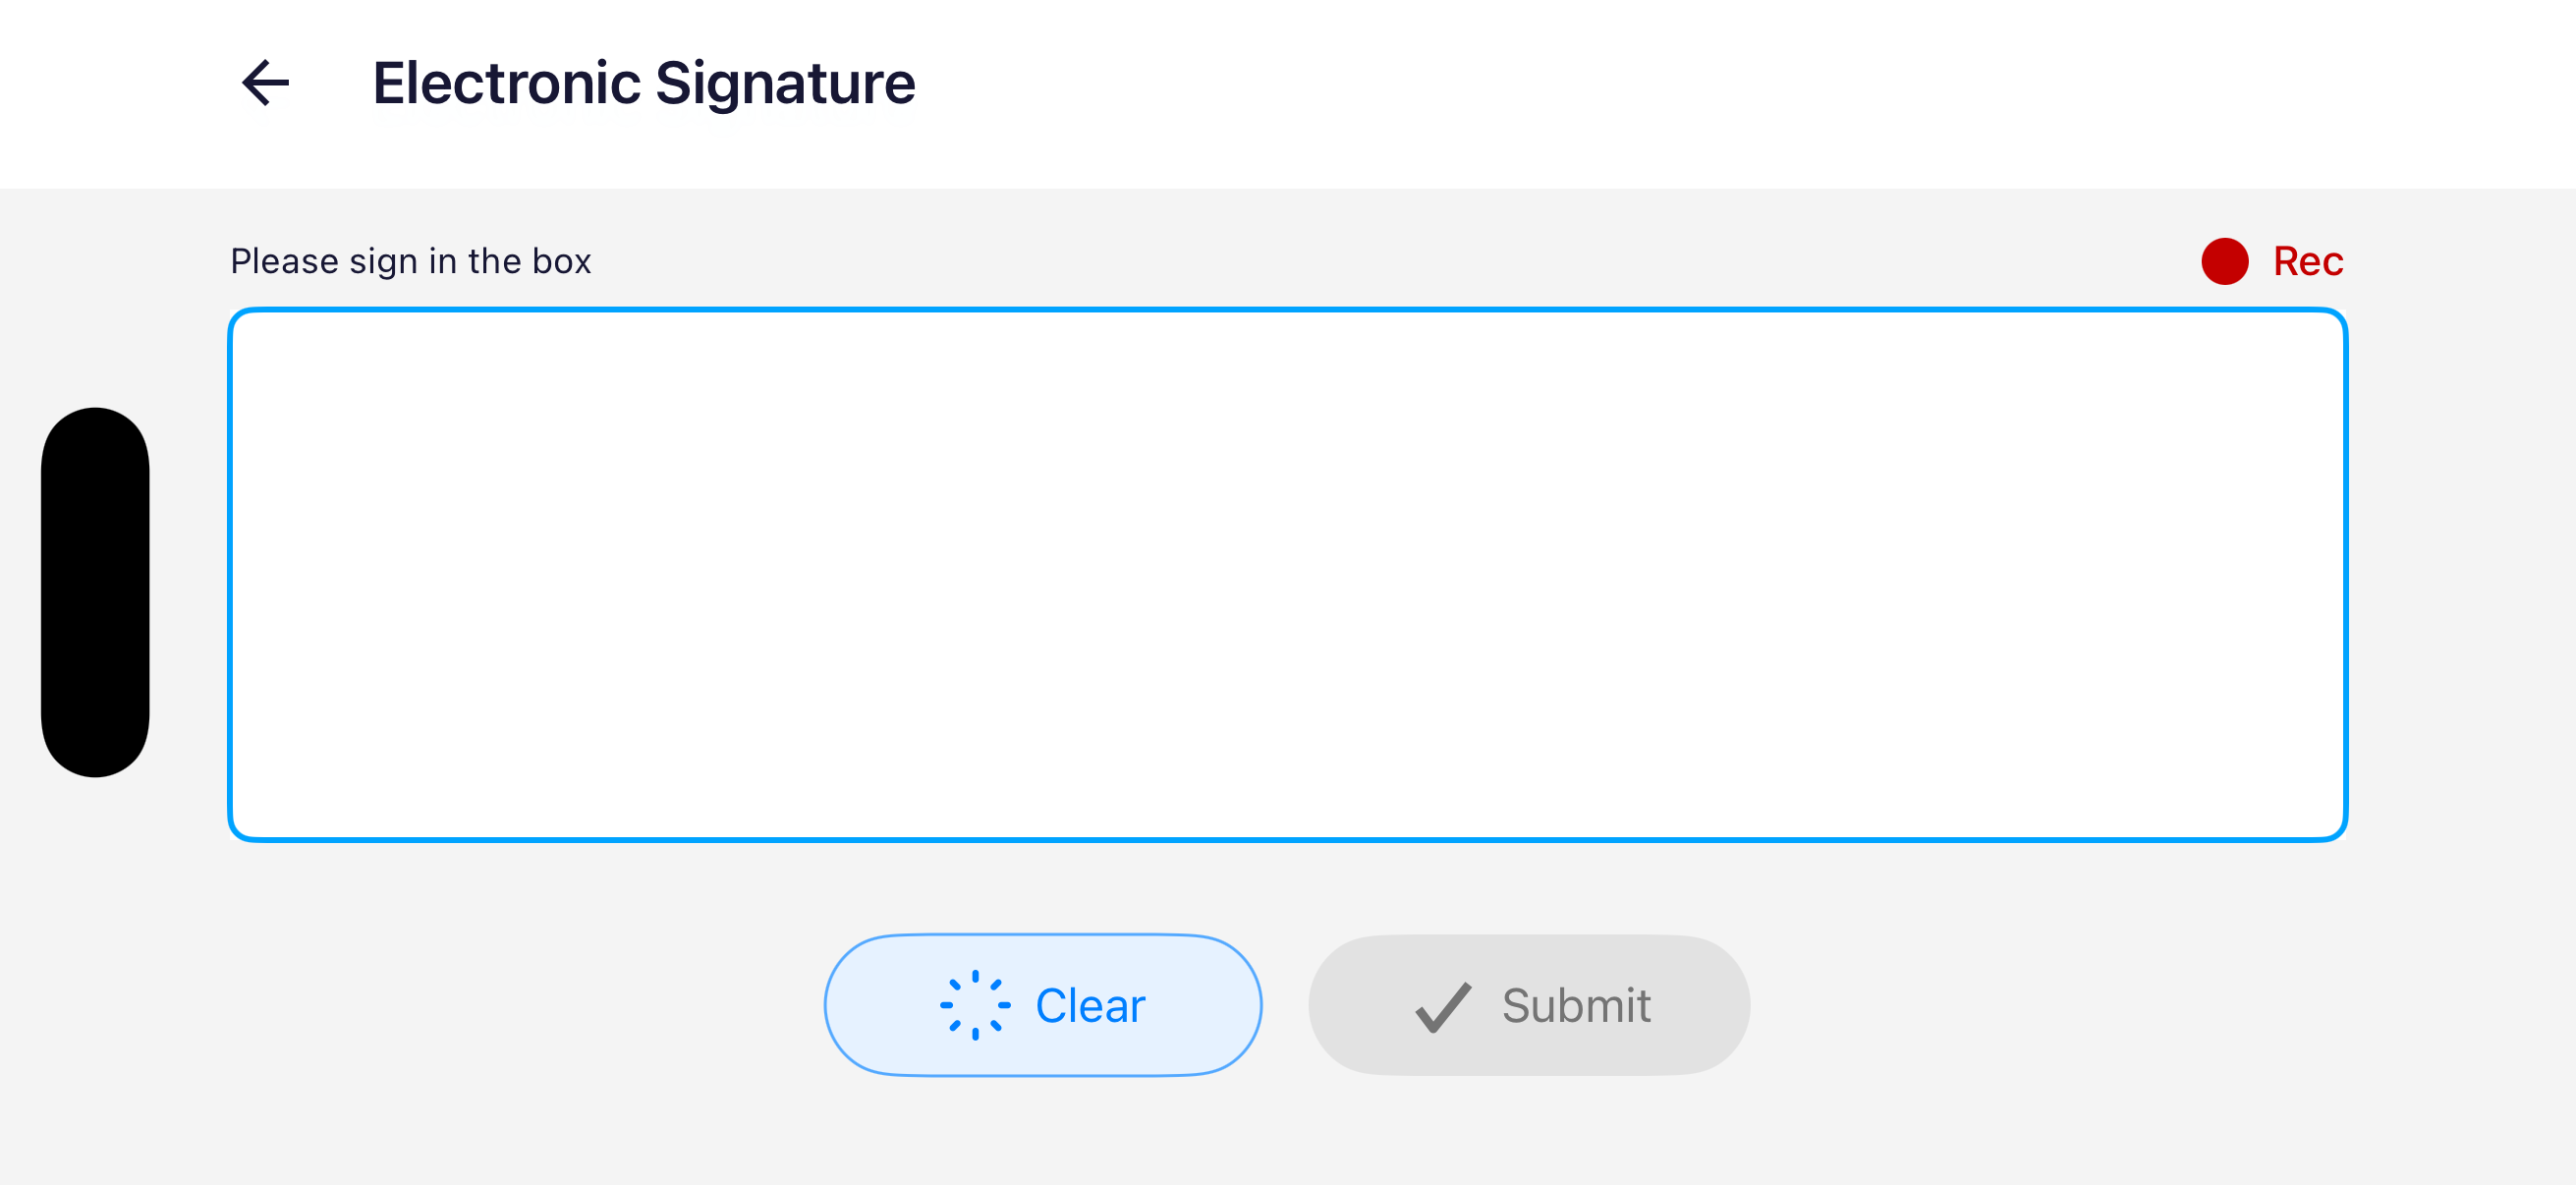
The exception goes on the record, and accepted proof moves the stop along.
5. Finish the route
Complete the required tasks and wait for Stop Complete!. Tap Go! or let the countdown finish to start the next stop. Tap Close before the countdown ends if you are not ready to leave. Repeat until Route Complete! appears. If another route is waiting, that screen can also start it after a countdown; use Close to pause.
If the route changes under you or the signal drops, keep the app installed and read Route updated while driving or Upload failed or no internet.
Next steps
You've done a full delivery, and the rest is just repetition. Here's where to go deeper.