Register a Driver
SET UP · CREATE
Add a new driver to your fleet, from their mobile number to their first shift.
Where to find it: Fleets › your fleet › Drivers › Register Driver.
What you need
The driver's mobile number, email, licence, vehicle photos, and insurance. A Warehouse for their home base.
1. Get ready – SET UP
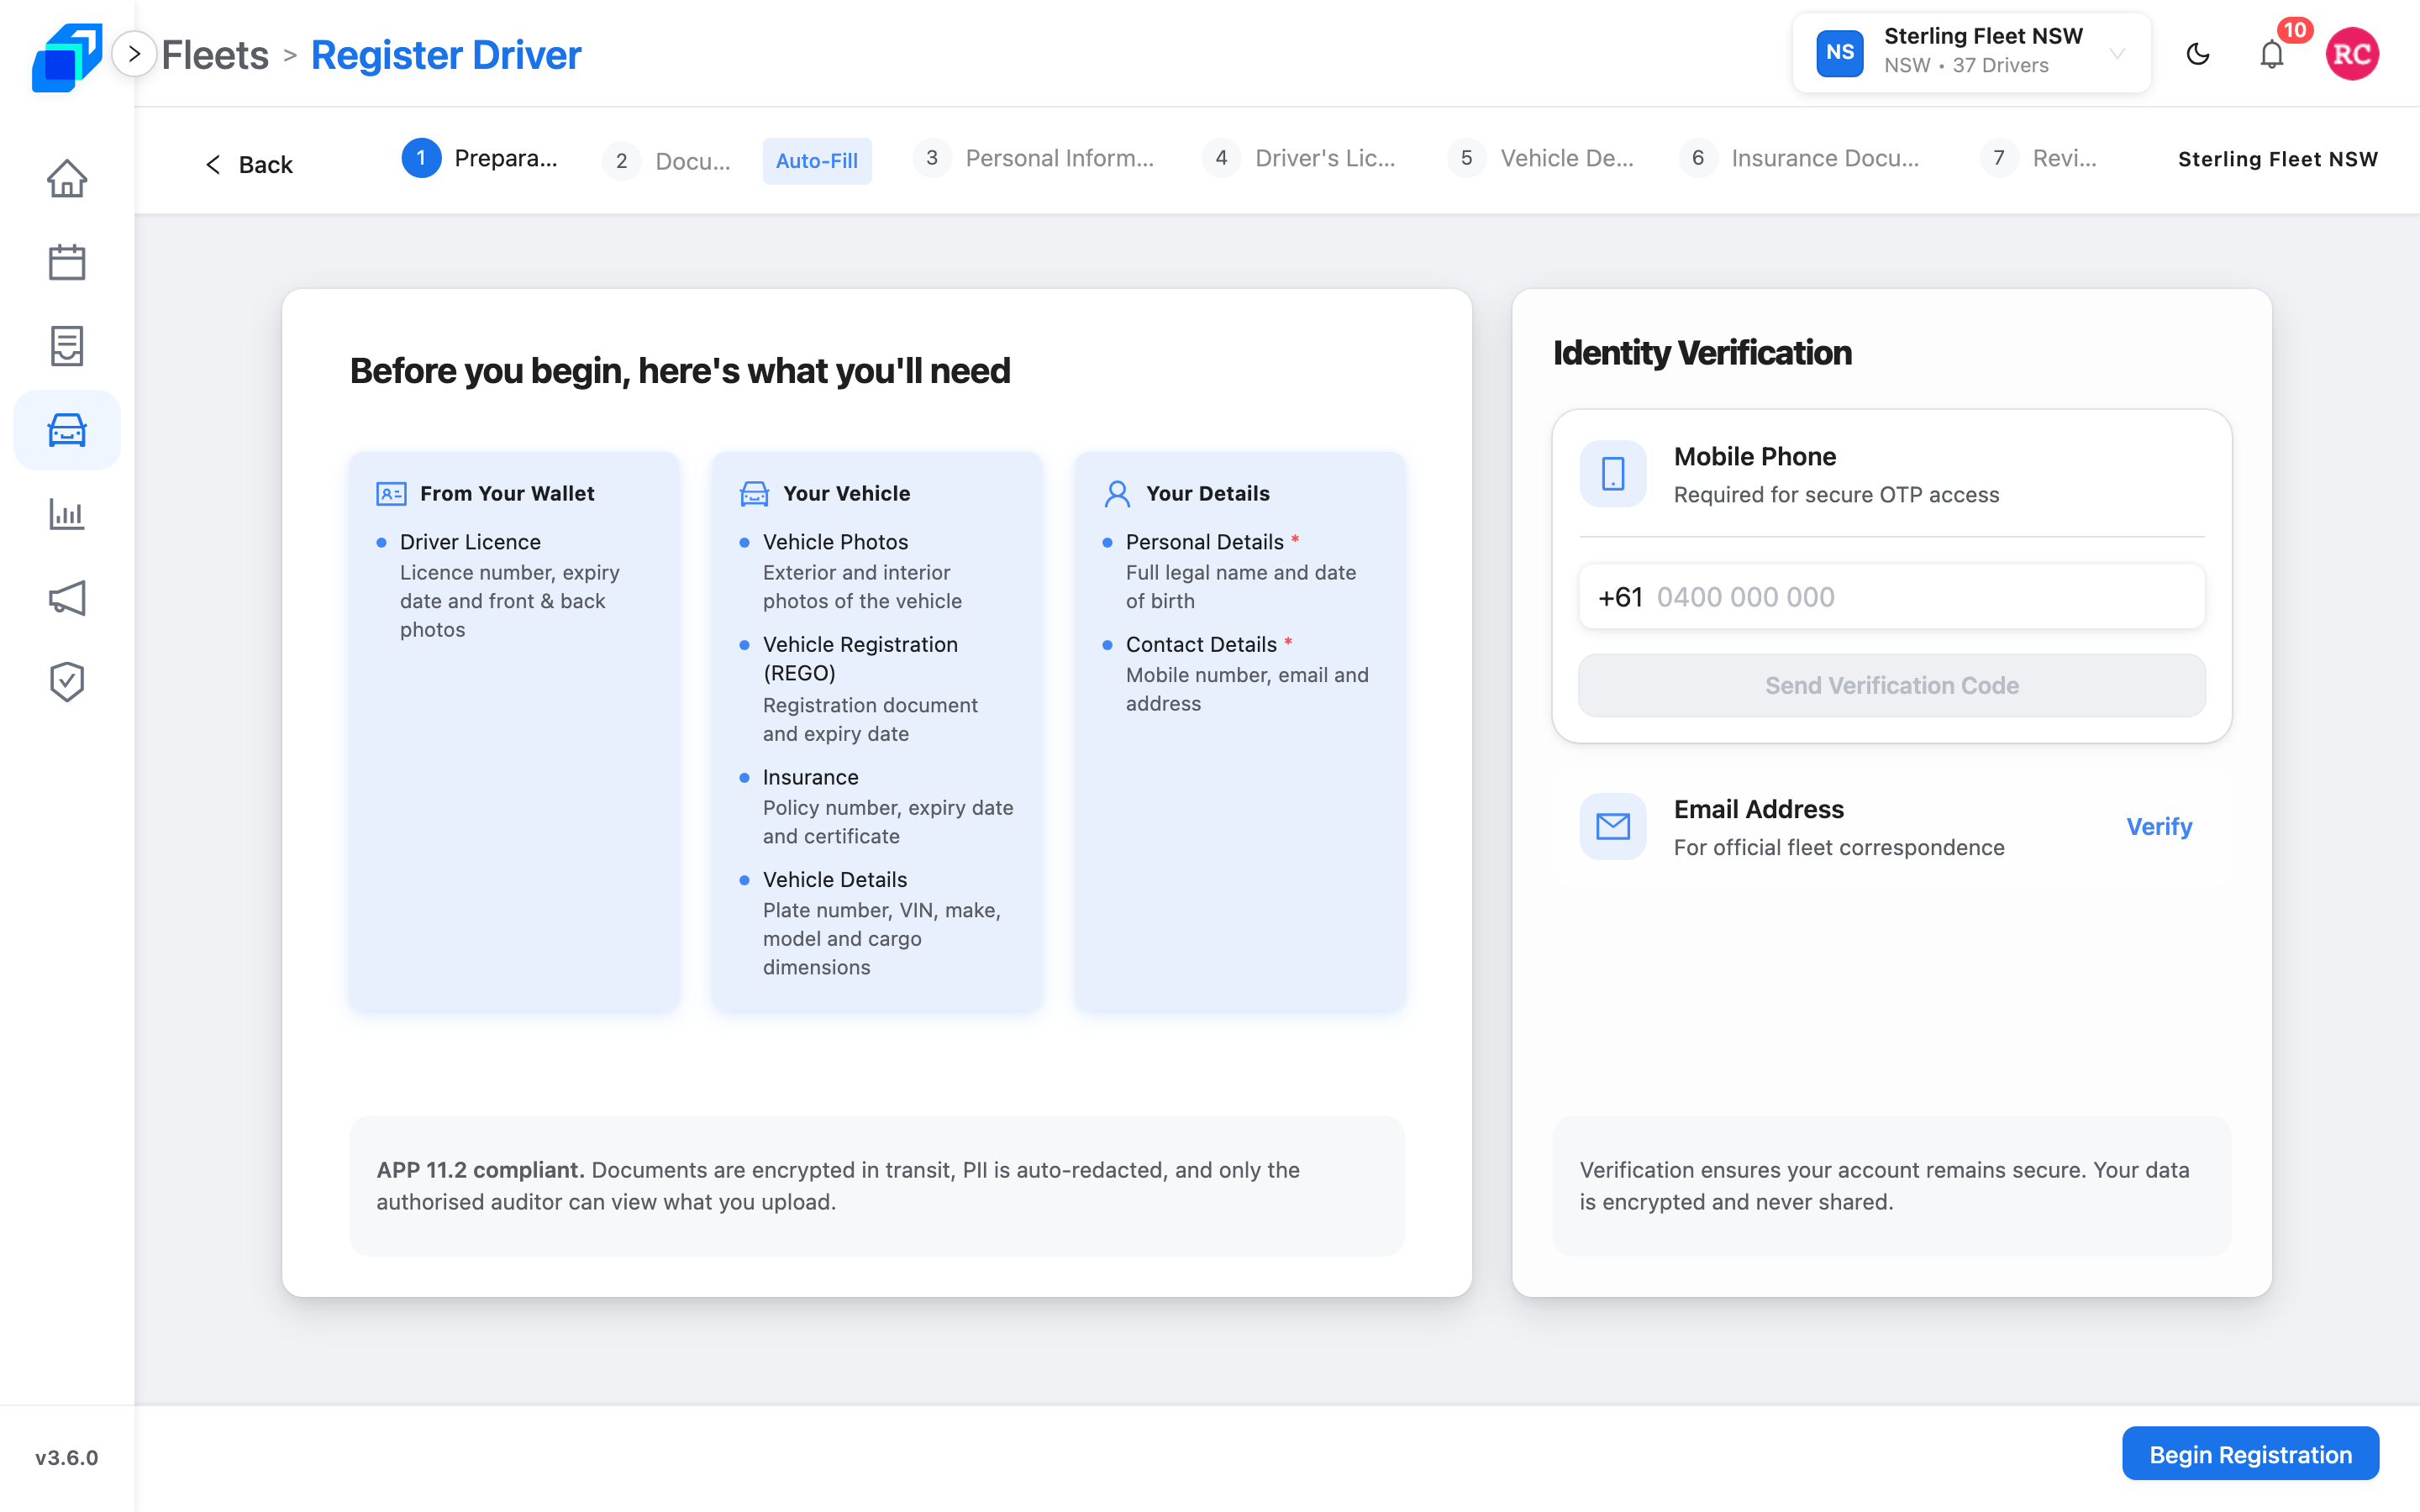
Click Register Driver. The first screen is Preparation. Verify the driver's phone and email before the rest of the form unlocks.
Each verification holds for 30 minutes. If it lapses, the panel reads Your verification expired after 30 minutes. Please verify again before submitting.
2. Upload documents – CREATE
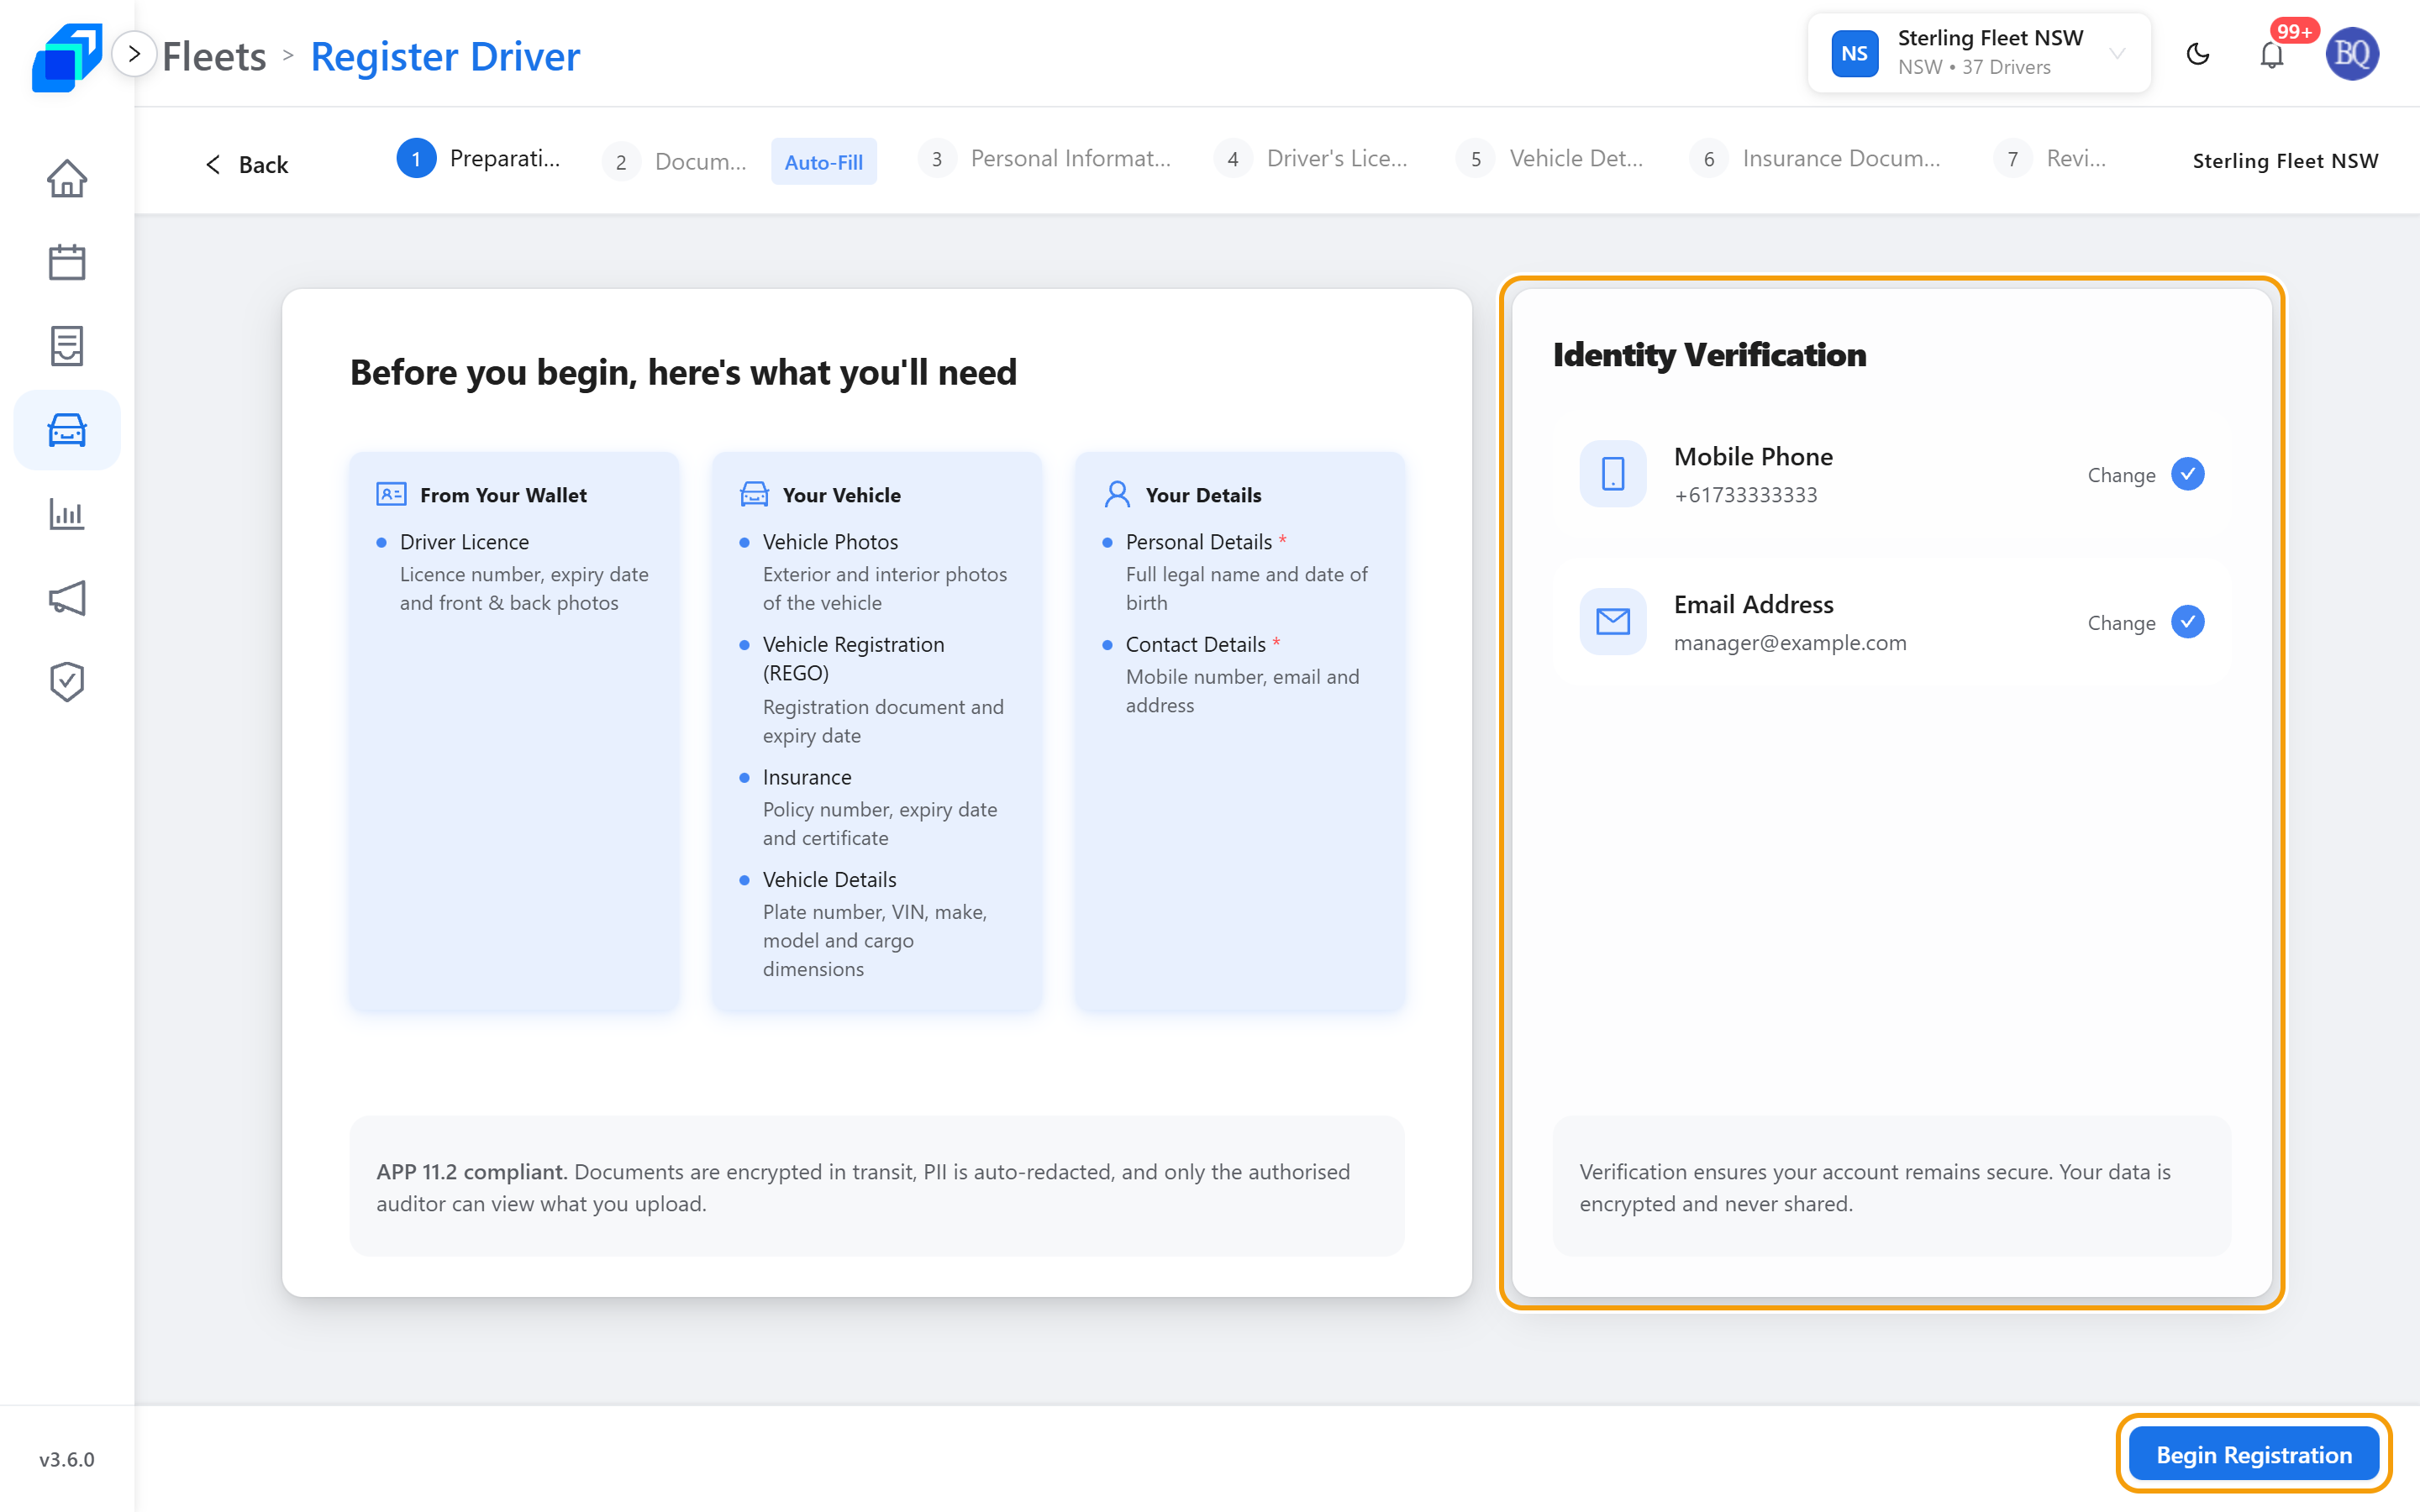
Open Documents. Add the licence (Front and Back), a Vehicle Photo, the Registration Document (REGO), and insurance. Each file is saved as soon as you add it and shows Valid when it is accepted.
Under Vehicle Registration, add Vehicle Inspection Photo 1 and Vehicle Inspection Photo 2 as well.
For insurance you need at least one of Third Party, CTP or Comprehensive.
The step opens with the line Save time with document auto-fill. Beside it, Learn more opens the Privacy Policy.
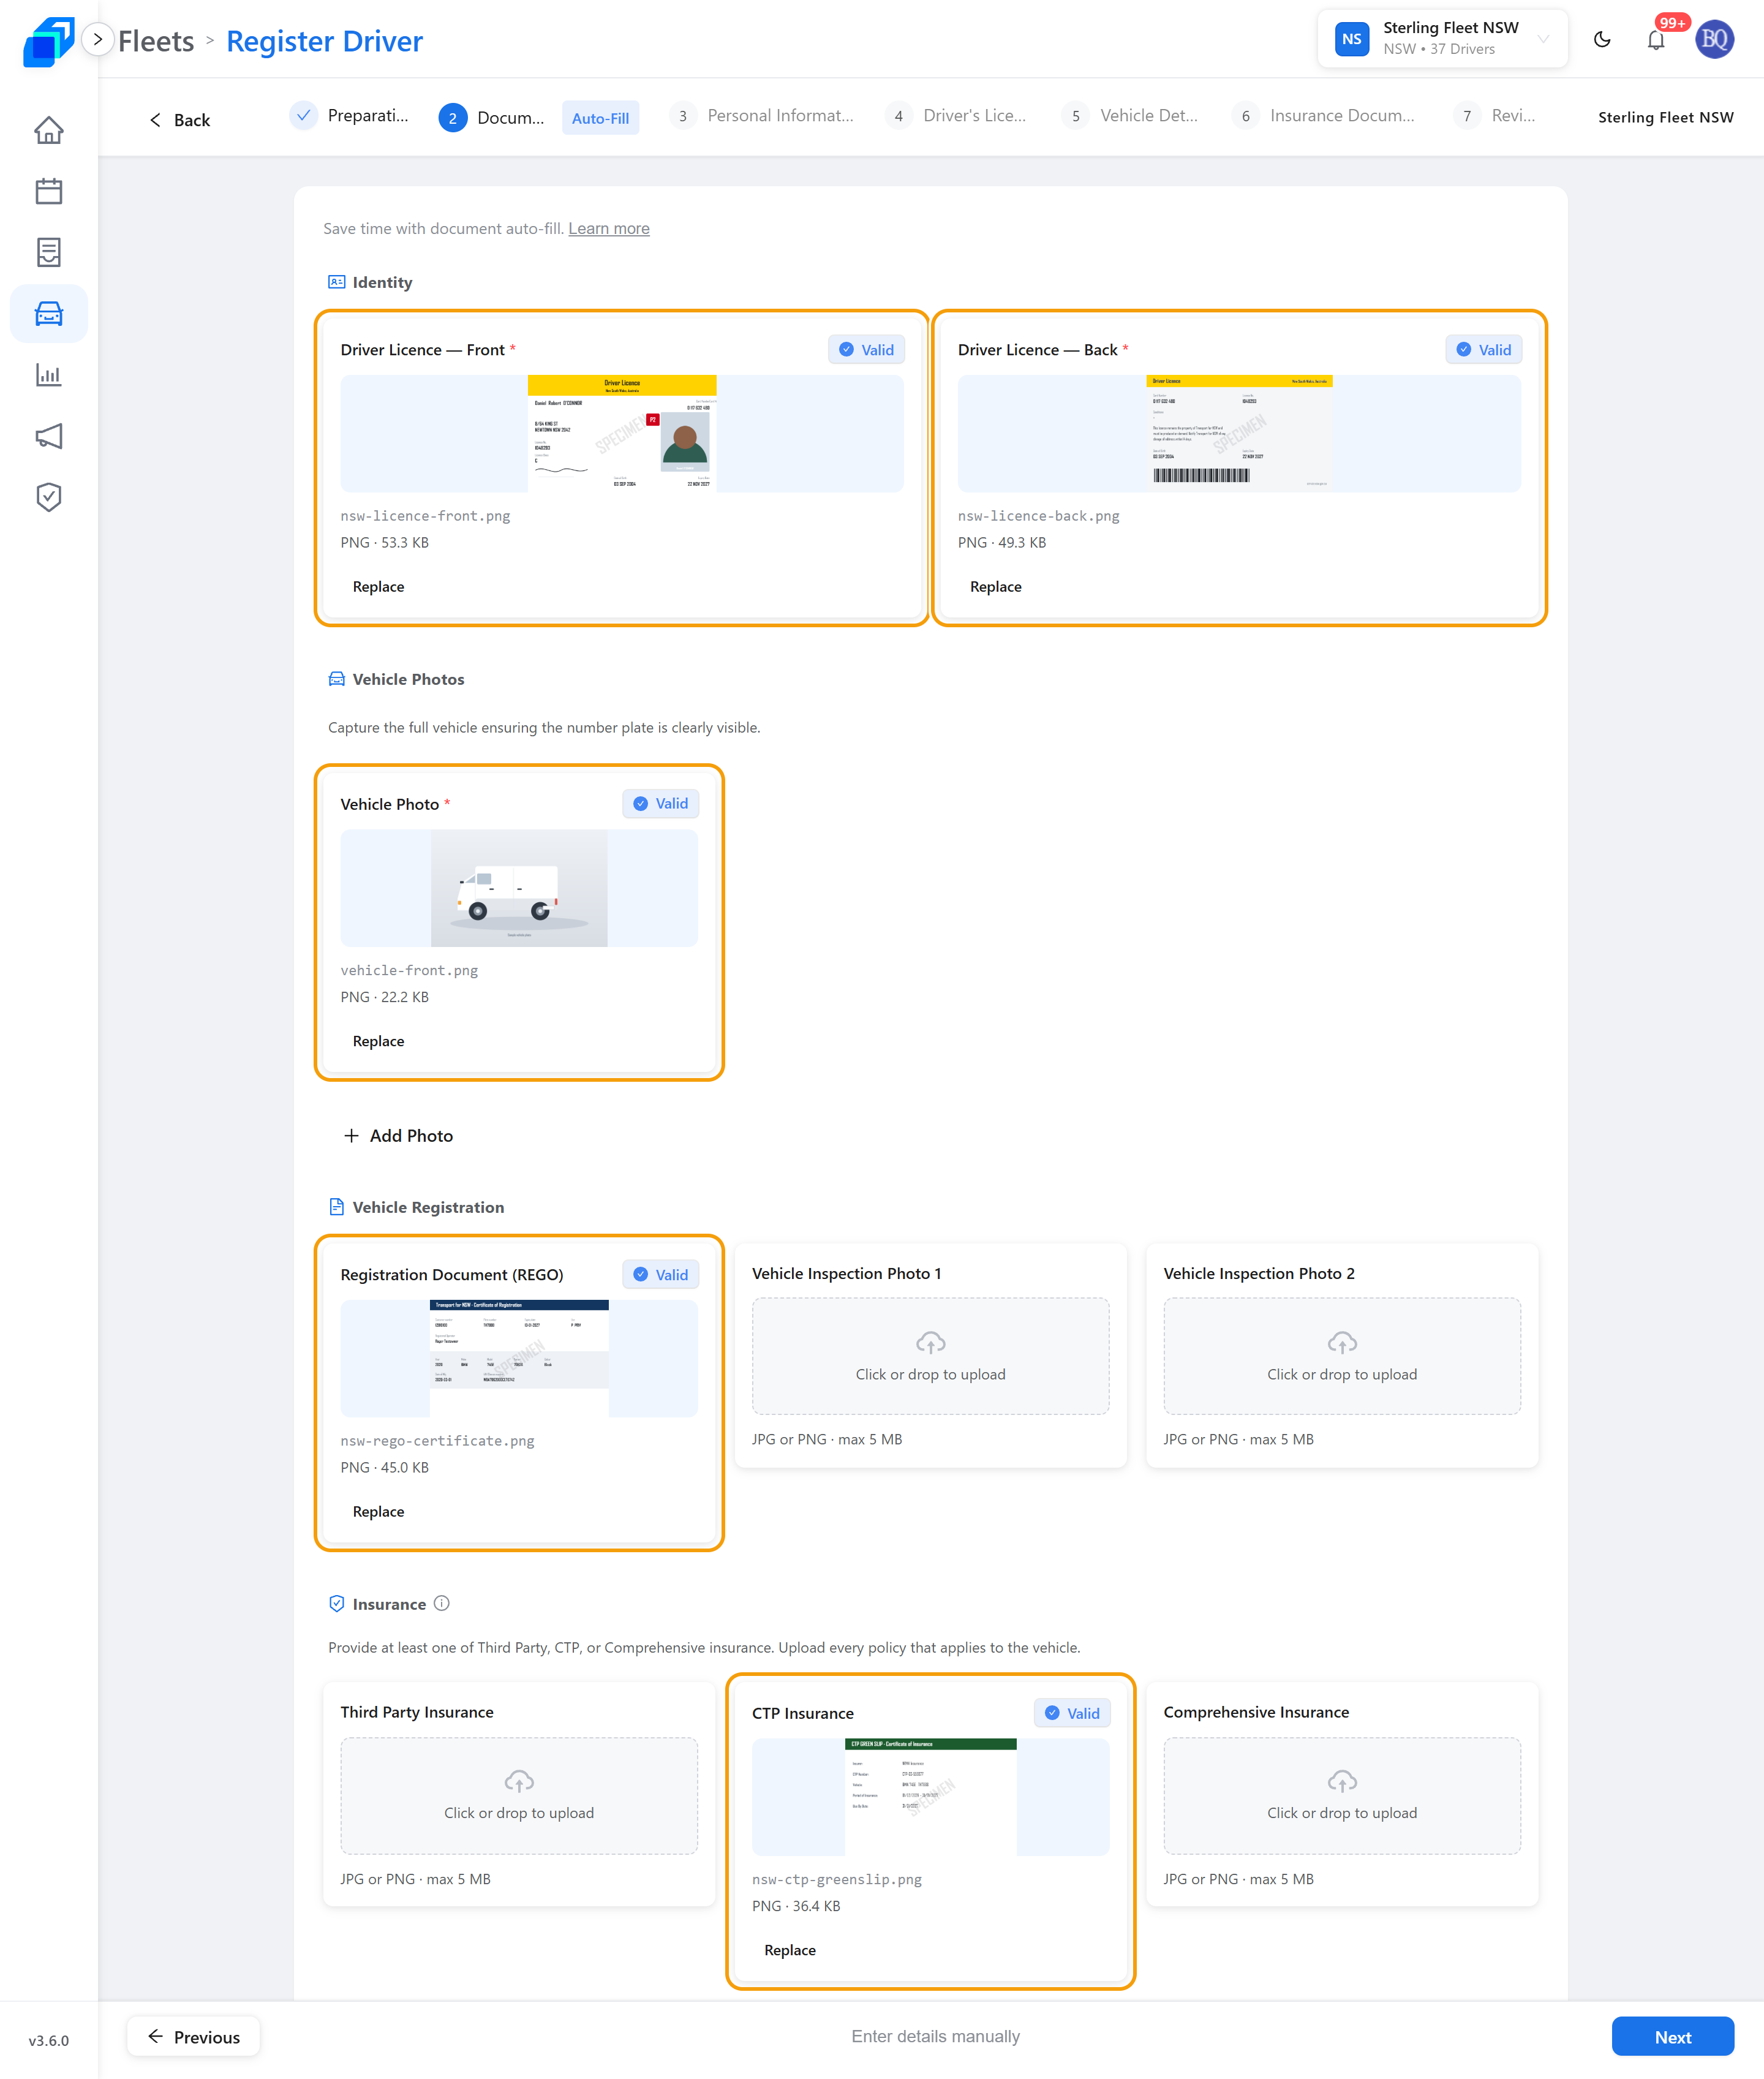
Auto-fill starts on. The Documents step in the bar at the top shows Auto-Fill, and the footer offers Enter details manually.
Click Enter details manually to turn it off. The chip then reads Manual Input, and the footer offers Use document auto-fill to turn it back on.
With auto-fill on, the licence, the Registration Document (REGO) and each insurance document fill in their own details. A message headed Details auto-filled from your document names what it read. It fills only fields you have left empty. The vehicle photos and the two inspection photos are kept as evidence and fill in nothing.
You check the filled values on step 4.
3. Personal information – CREATE
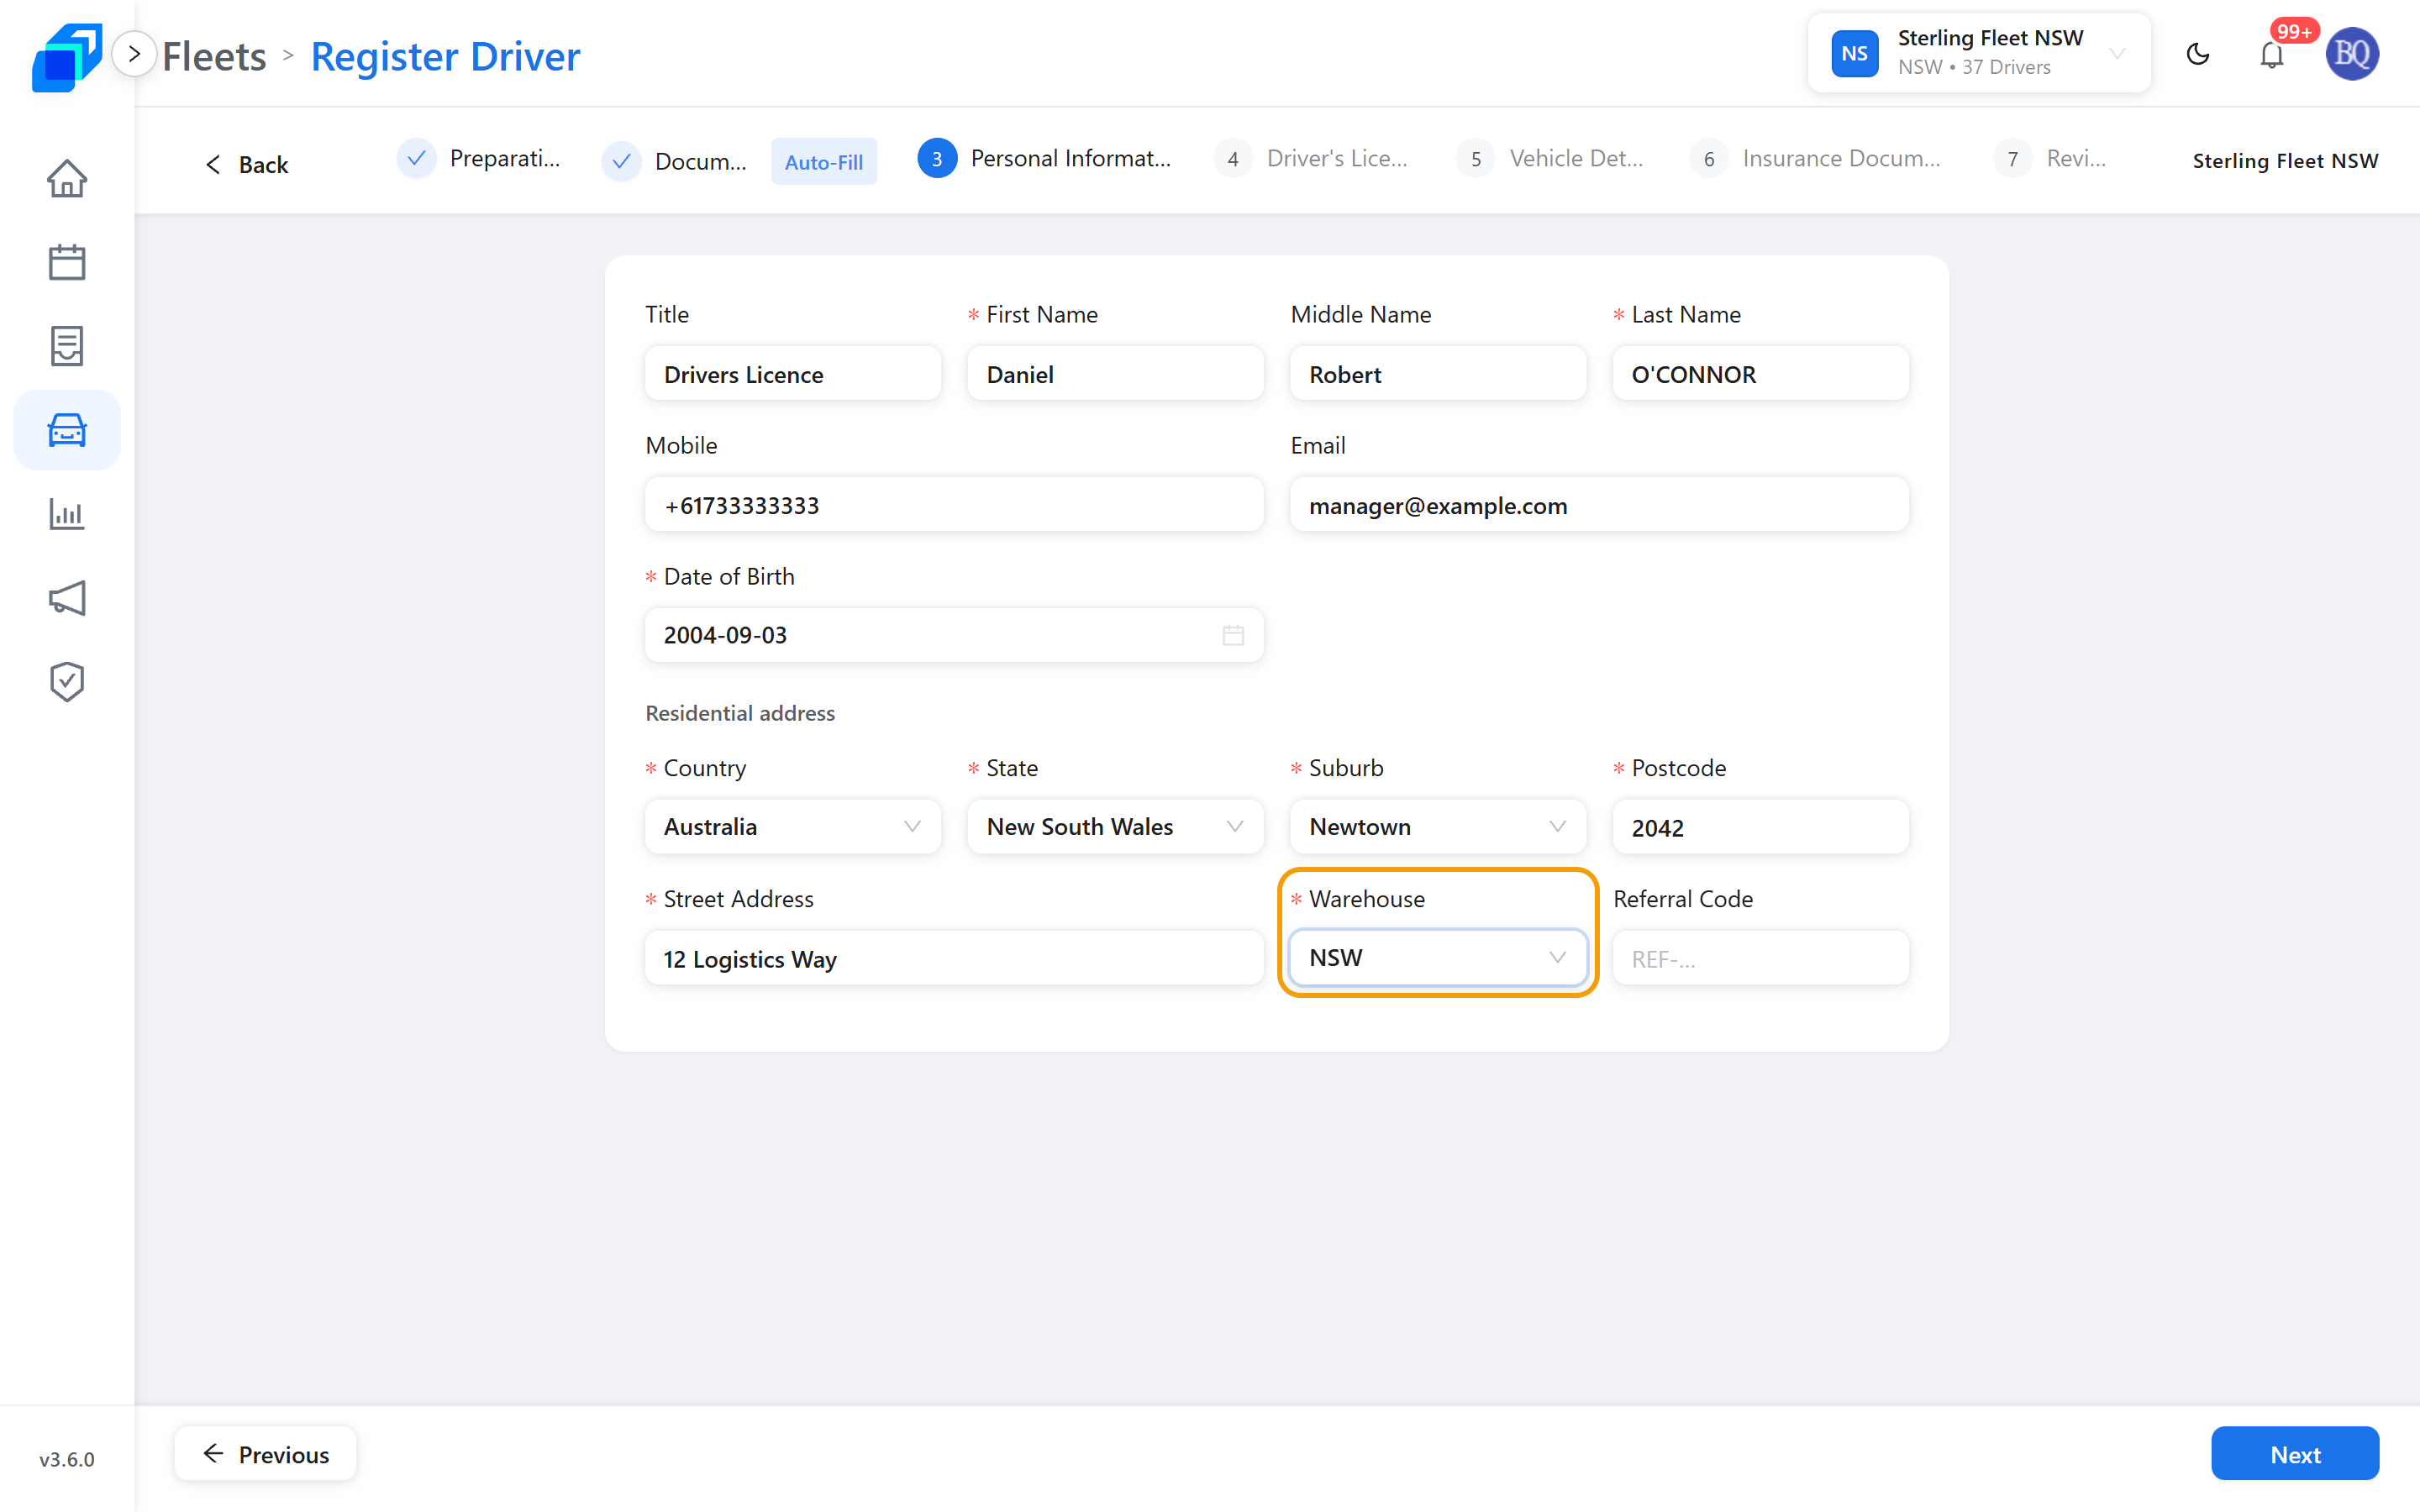
Open Personal Information. Fill legal name, date of birth, and home address. Pick a home Warehouse.
4. Licence, vehicle, insurance – CREATE
Walk Driver's Licence, Vehicle Details, then Insurance Documents. Some fields are already filled in from the documents you added – check those, and type the rest from the cards.
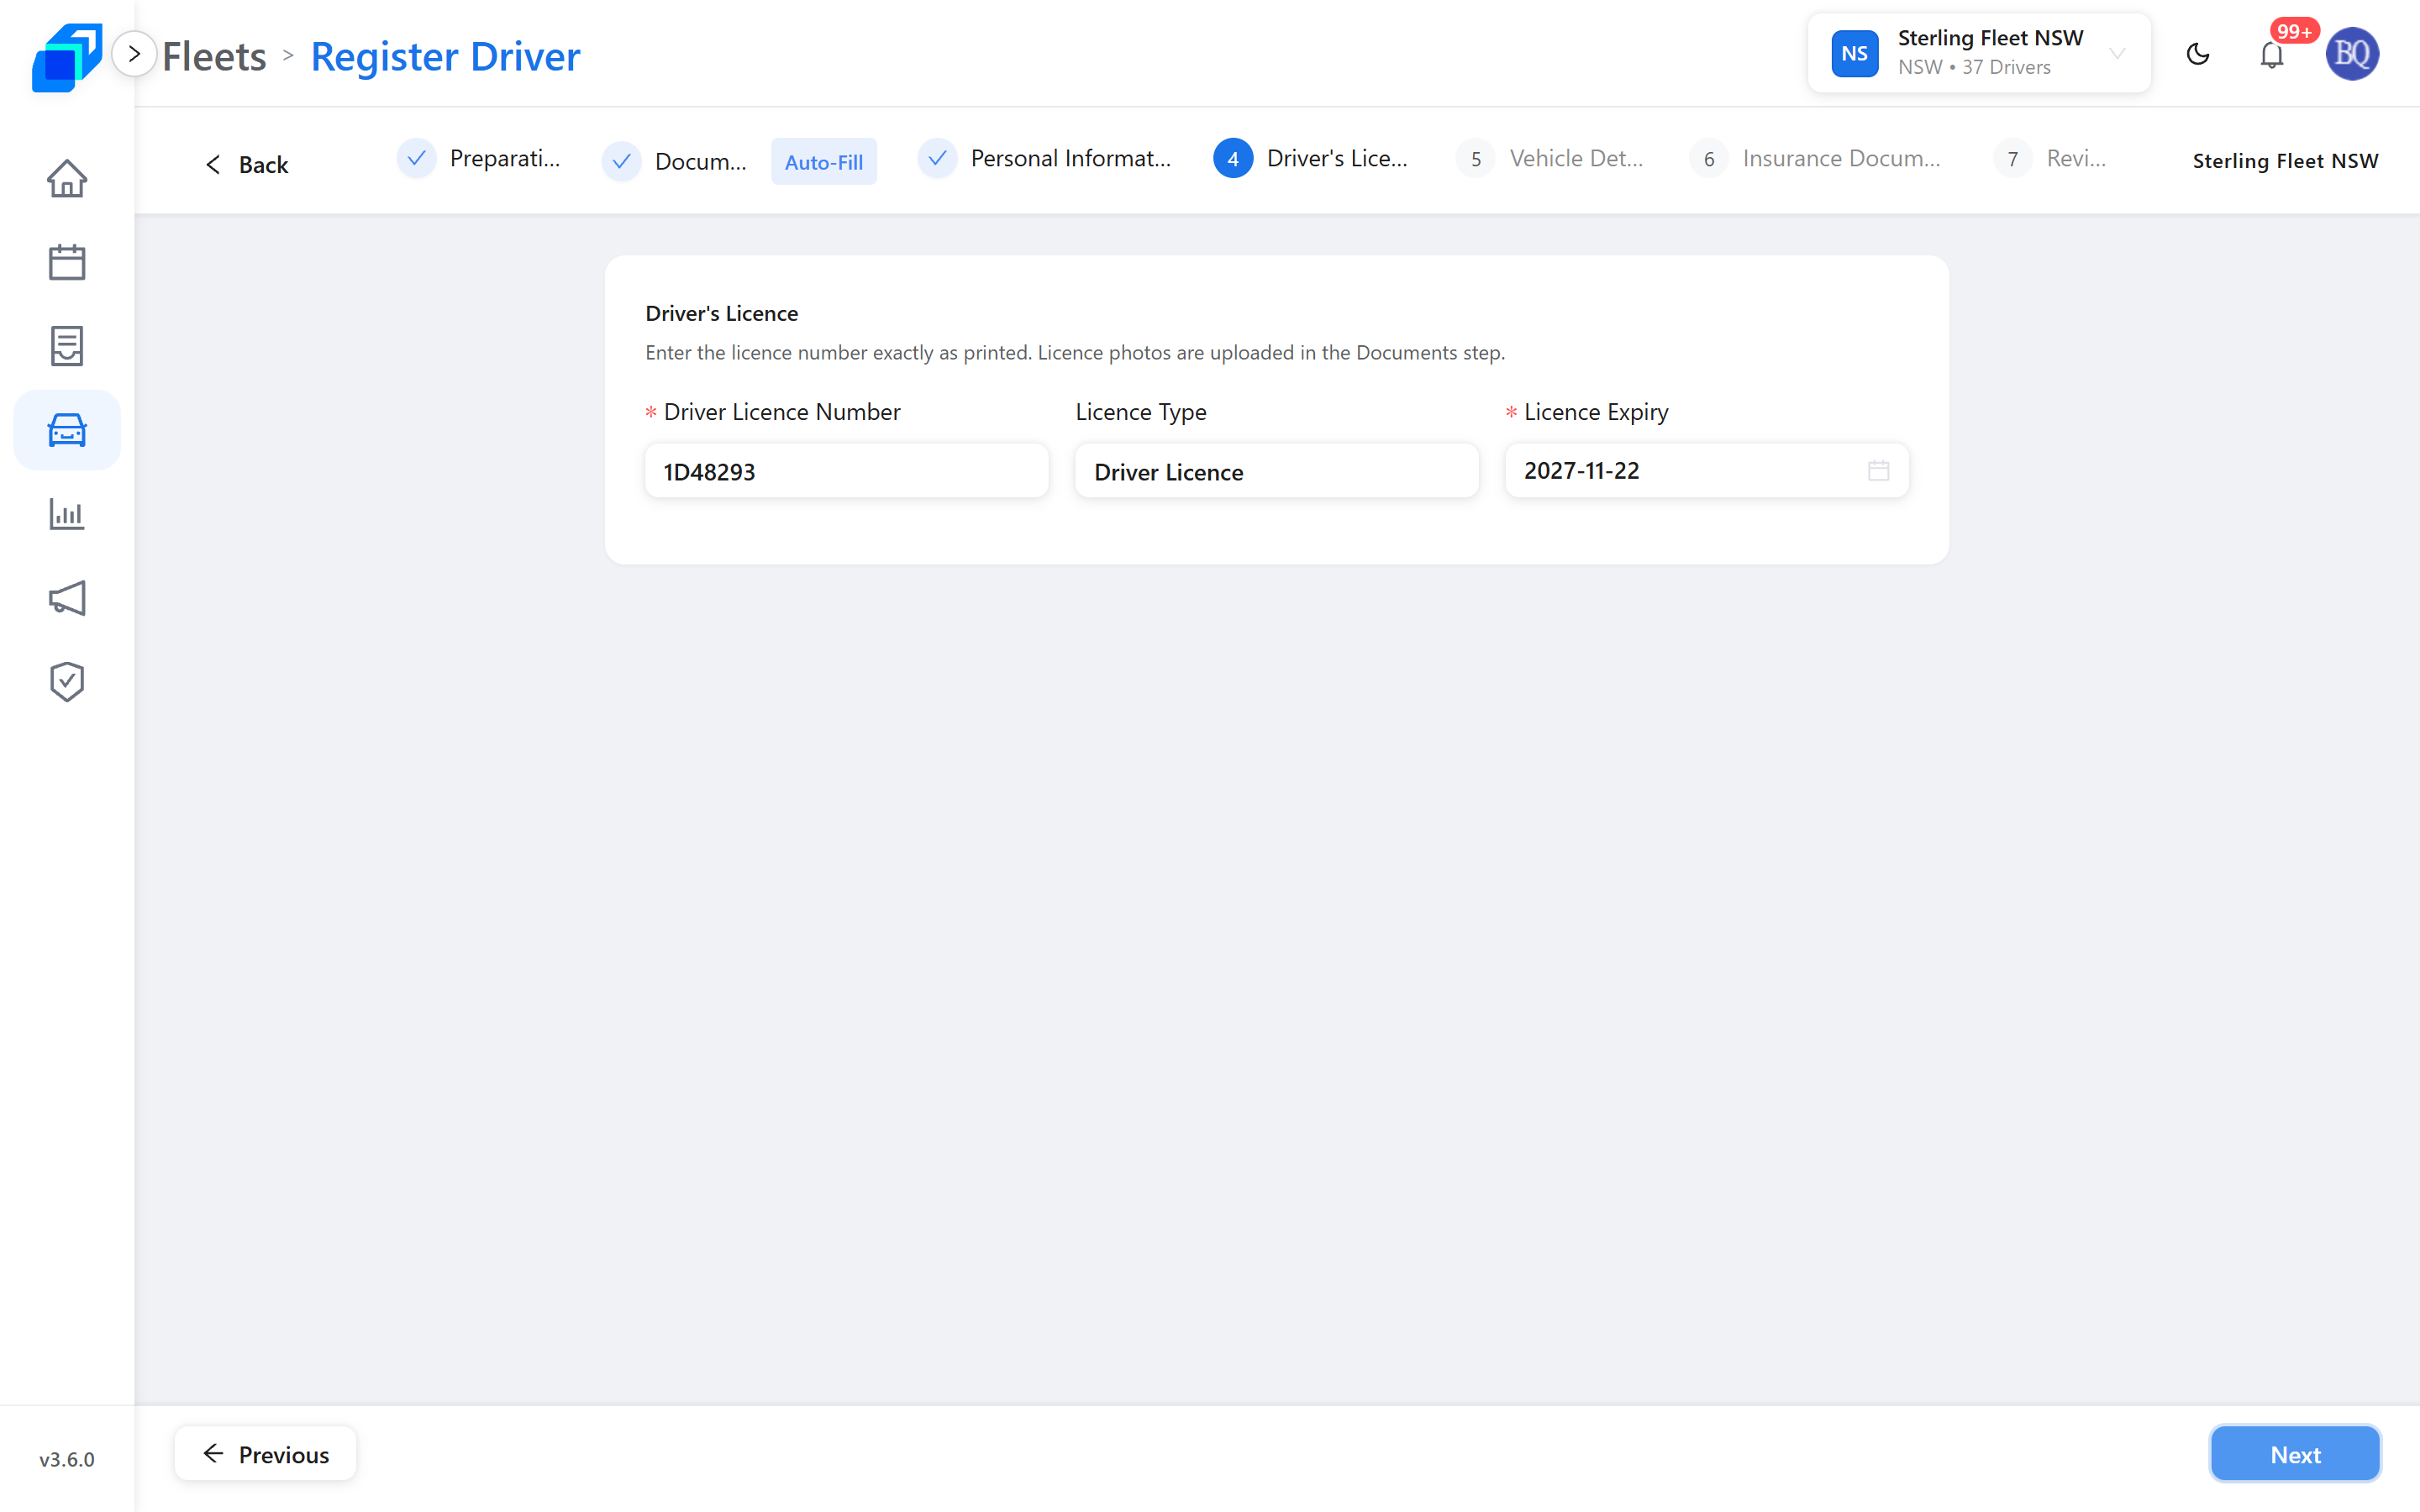
Driver's Licence takes Driver Licence Number and Licence Expiry from the licence you uploaded. Enter the number exactly as printed.
Licence Expiry opens a calendar. Dates are shown as YYYY-MM-DD.
Today and every past date are greyed out on that calendar. The earliest expiry you can pick is tomorrow.
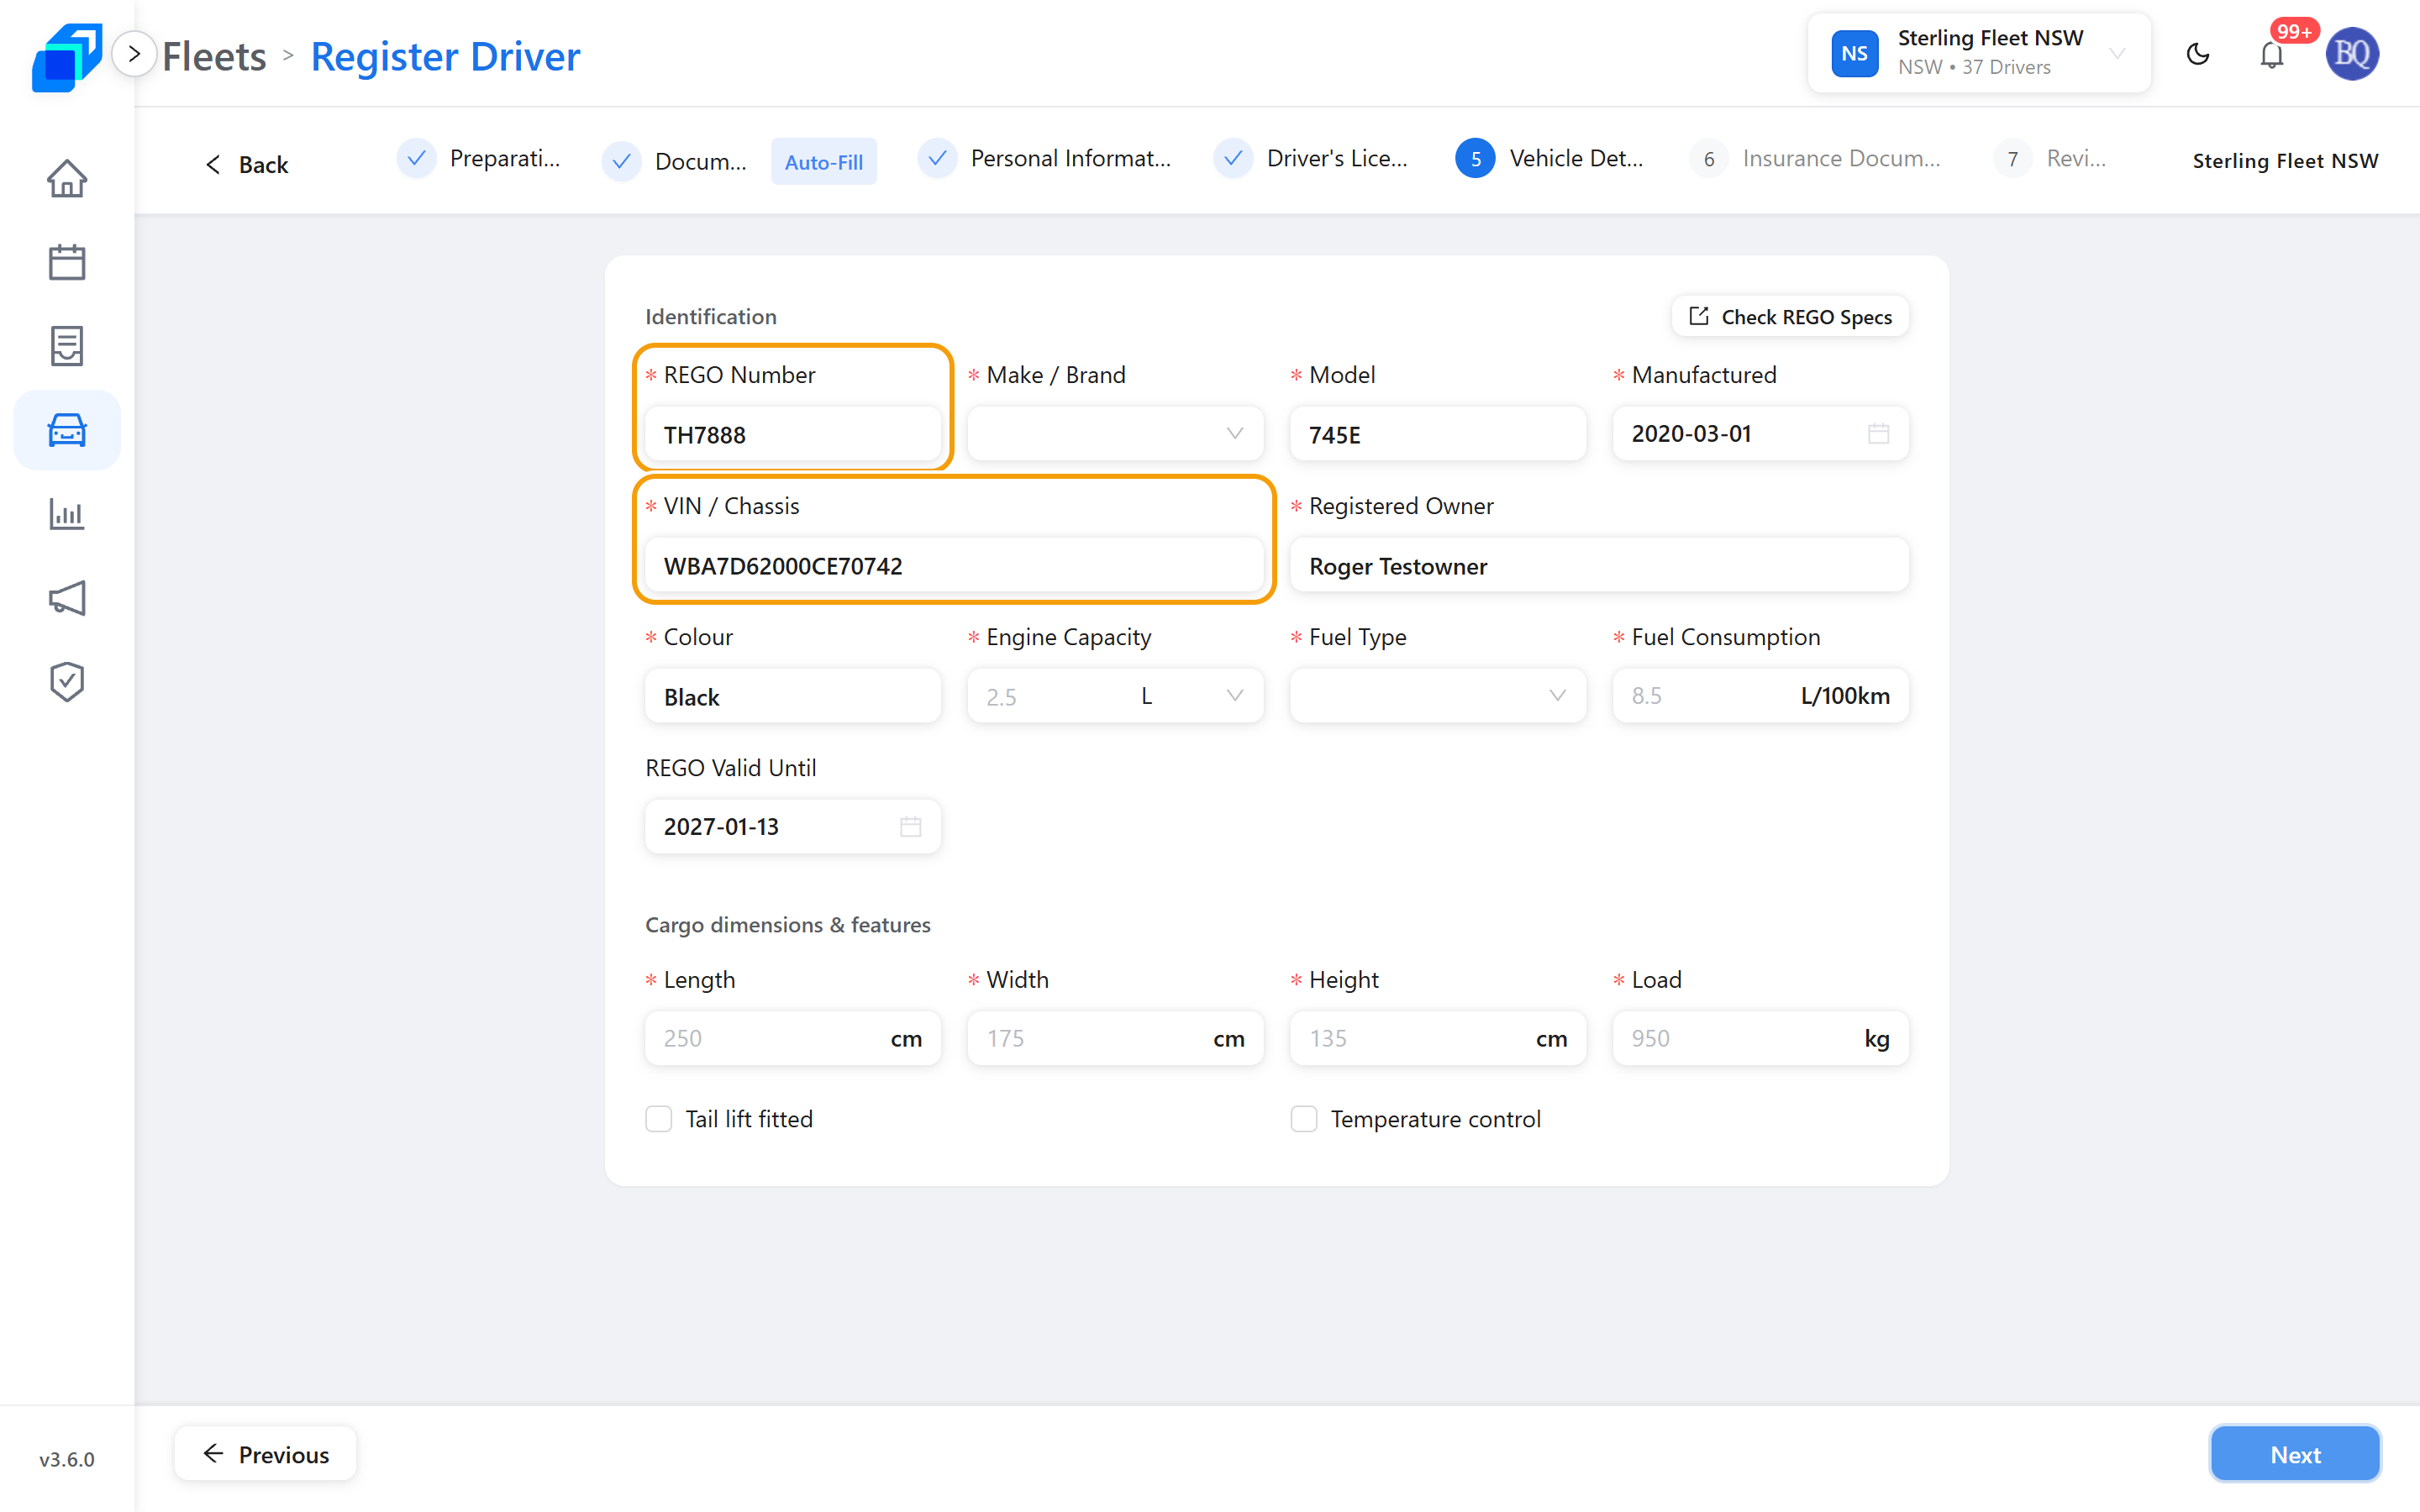
Vehicle Details takes its fields from the registration document. REGO Valid Until is the same kind of calendar as Licence Expiry, with the same rule.
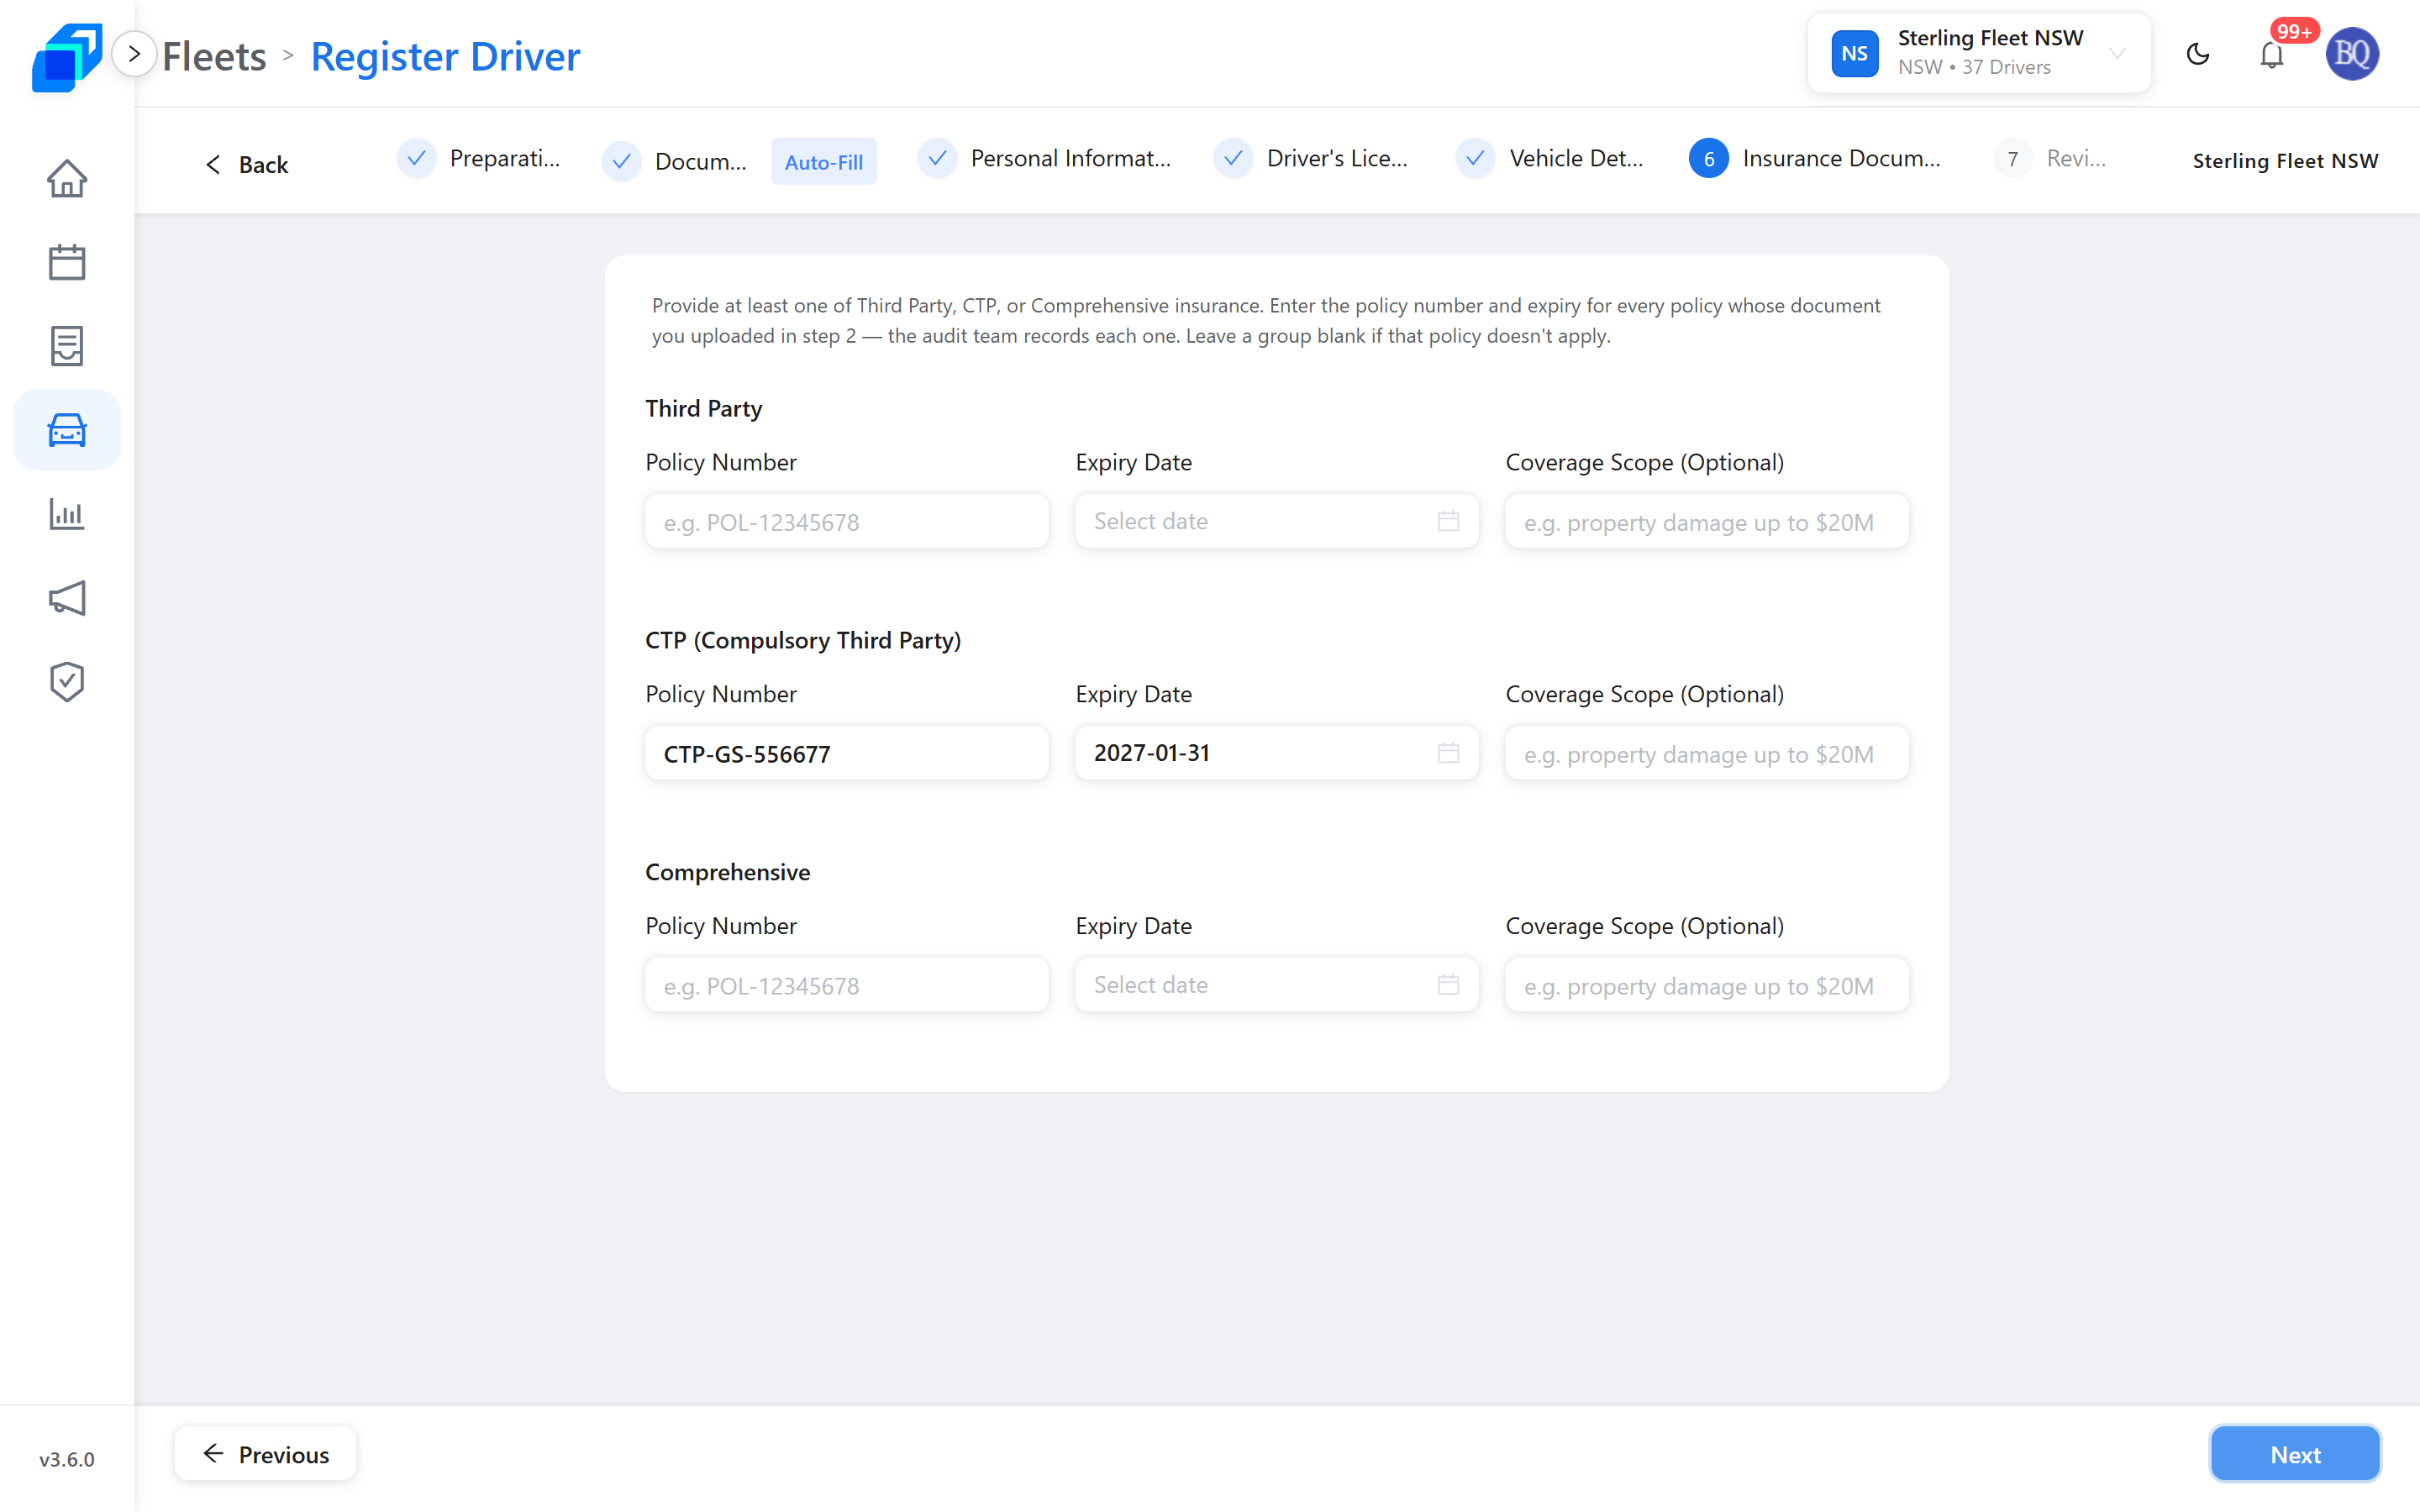
Insurance Documents holds the CTP and any other cover. Each cover takes Policy Number, Expiry Date and Coverage Scope (Optional).
The three groups are Third Party, CTP (Compulsory Third Party) and Comprehensive. Fill the ones whose document you added on step 2.
Expiry Date is a calendar too, and it will not take today or a past date.
5. Review and submit – CREATE
Open Review. Check every section – the page is longer than the screen, so scroll to the end.
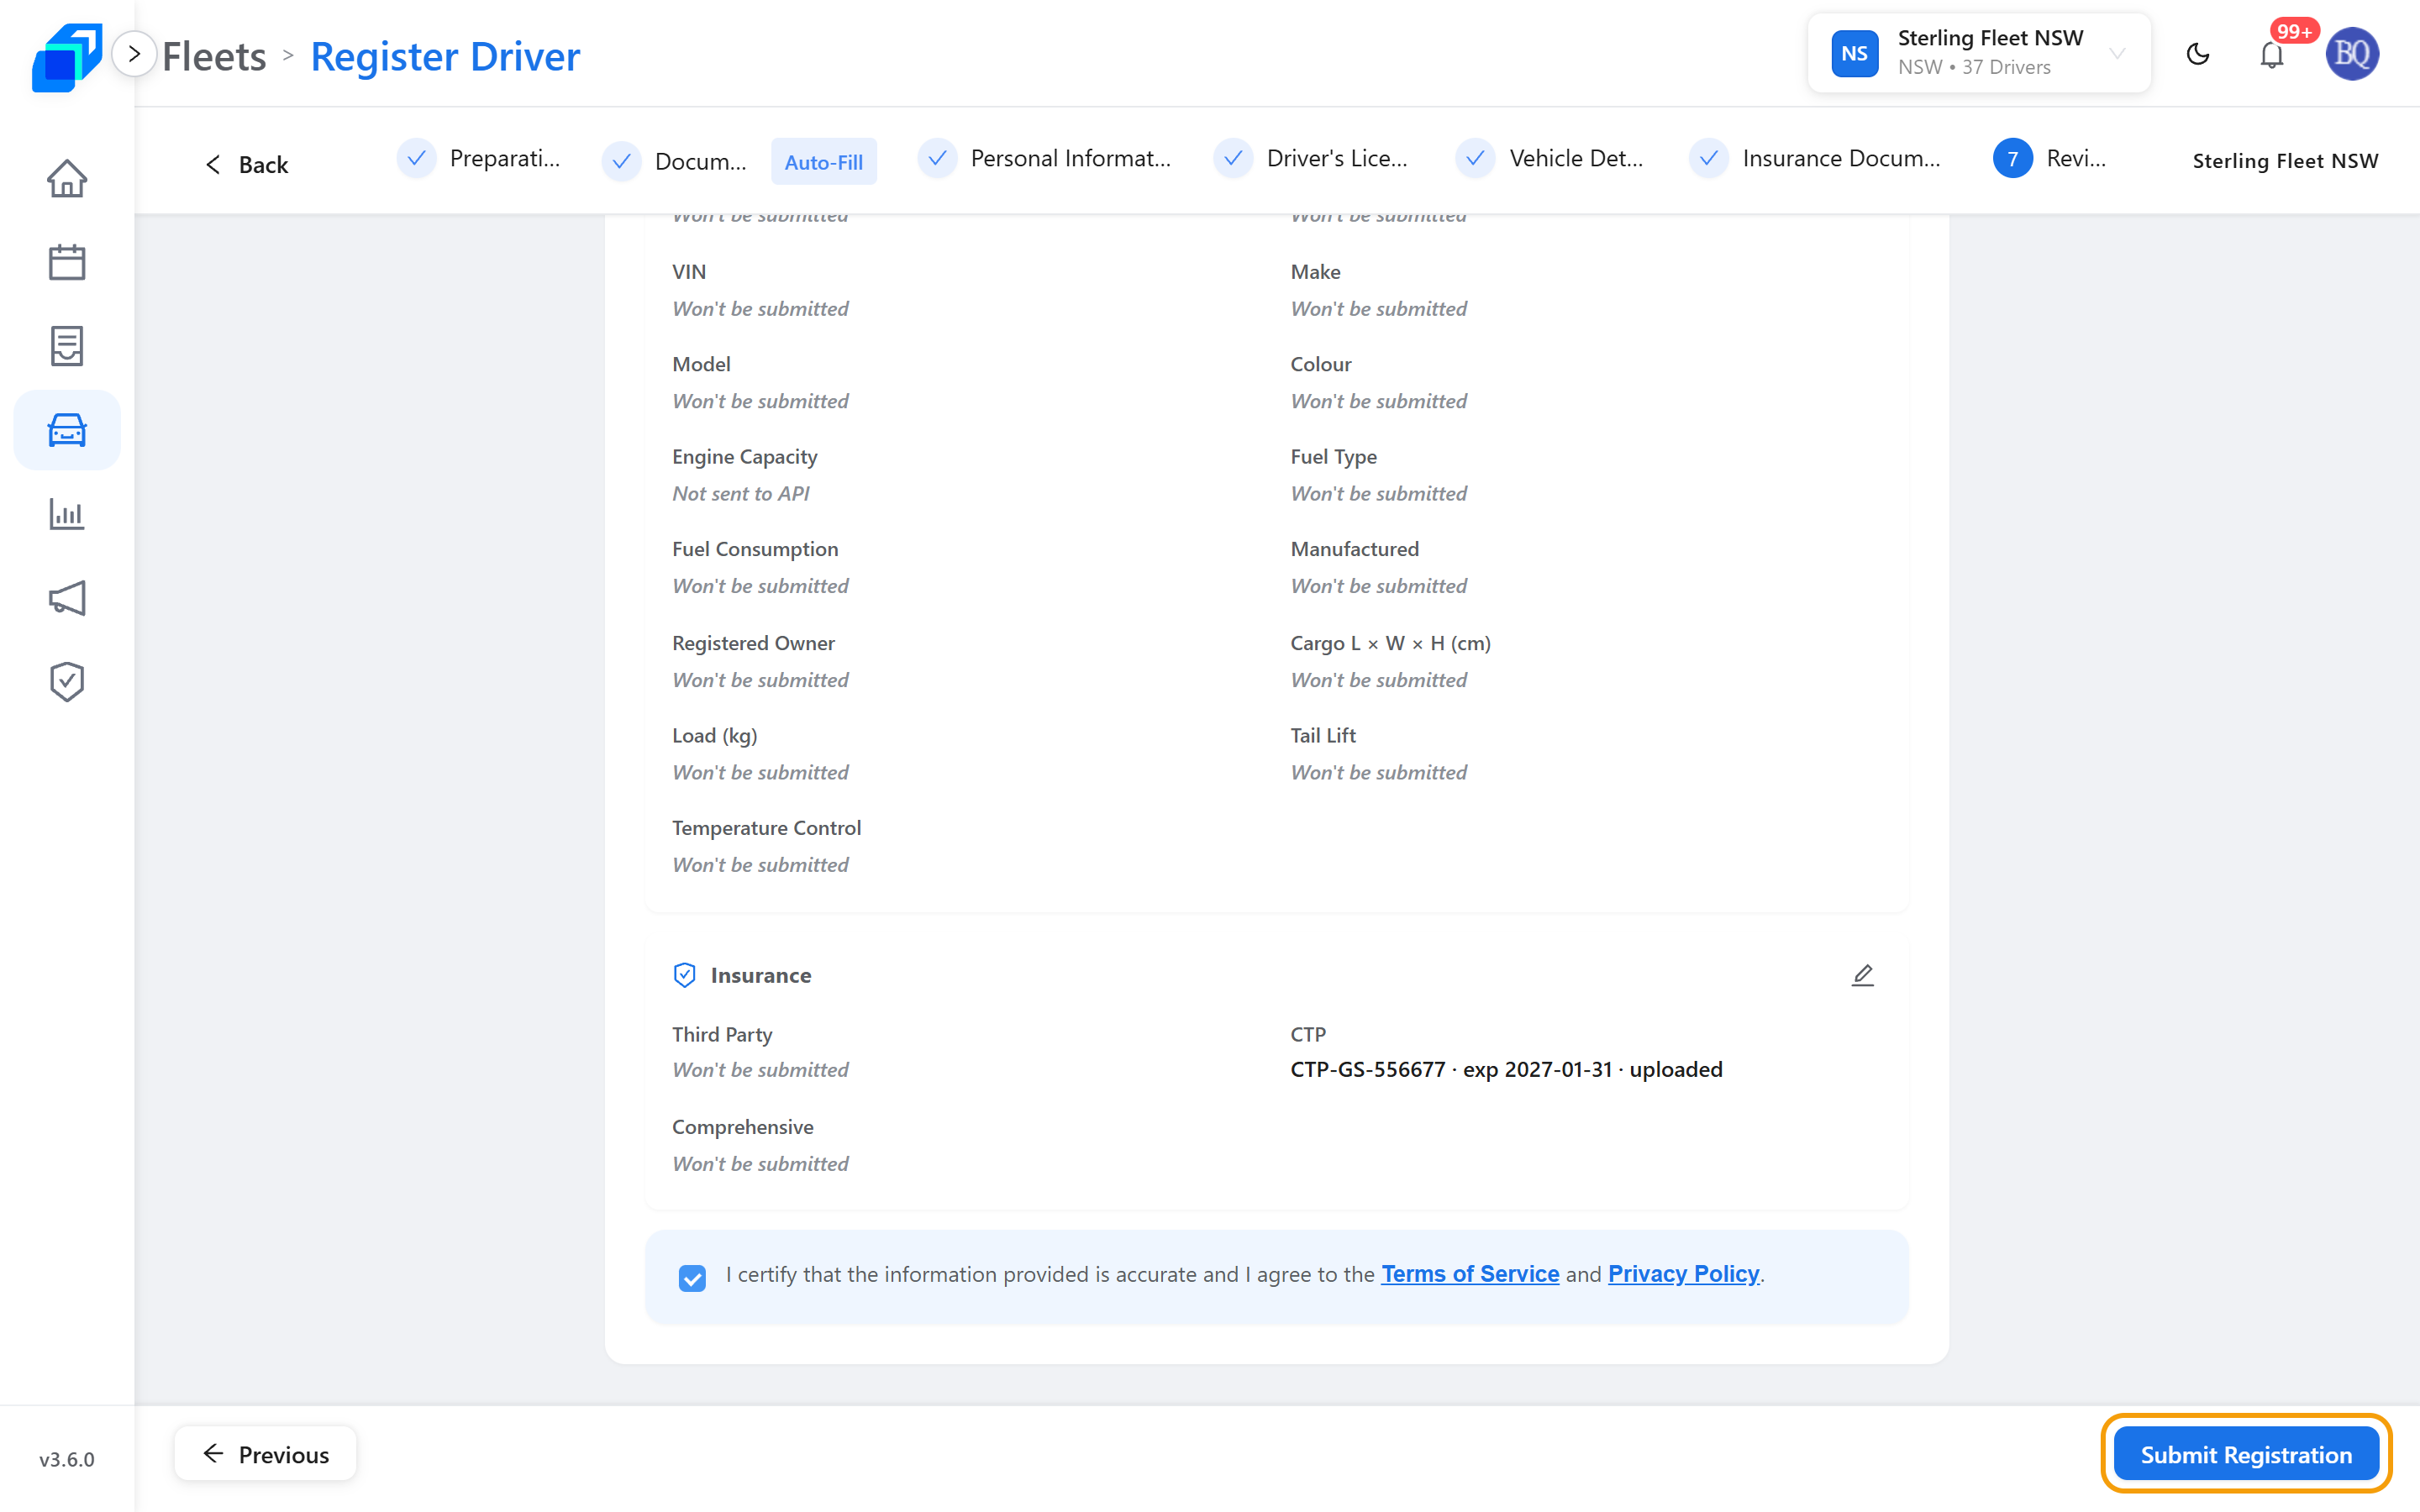
A row with nothing in it carries a badge in place of the value. Missing — required is the one to act on: go back and fill that field.
Not provided marks an optional field you left blank. Won't be submitted means a prerequisite is missing – rest the pointer on the badge for the reason.
Not sent to API marks a detail kept on the record only. Each section header carries an edit icon that takes you back to that step.
At the bottom, tick I certify that the information provided is accurate and I agree to the Terms of Service and Privacy Policy. Submit Registration stays greyed out until you do. Terms of Service and Privacy Policy are links – click either one to read it.
Driver registration submitted appears at the top of the screen, and the new driver's record opens.