Create a shift
CREATE · SET UP
Create a shift: name and times, draw the delivery area, save a draft, then Schedule or Publish when it should go live.
Where to find it: Roster › Roster Management. On the shift list, click Create – the button with the plus icon.
The shift is in Drafts after Save Draft, or it is Active after Publish, or Schedule Publish shows a Publish Date.
Set places first: Warehouses.
1. Basic Info – CREATE
Three steps: Basic Info, Shift Range, Assignment Rules.
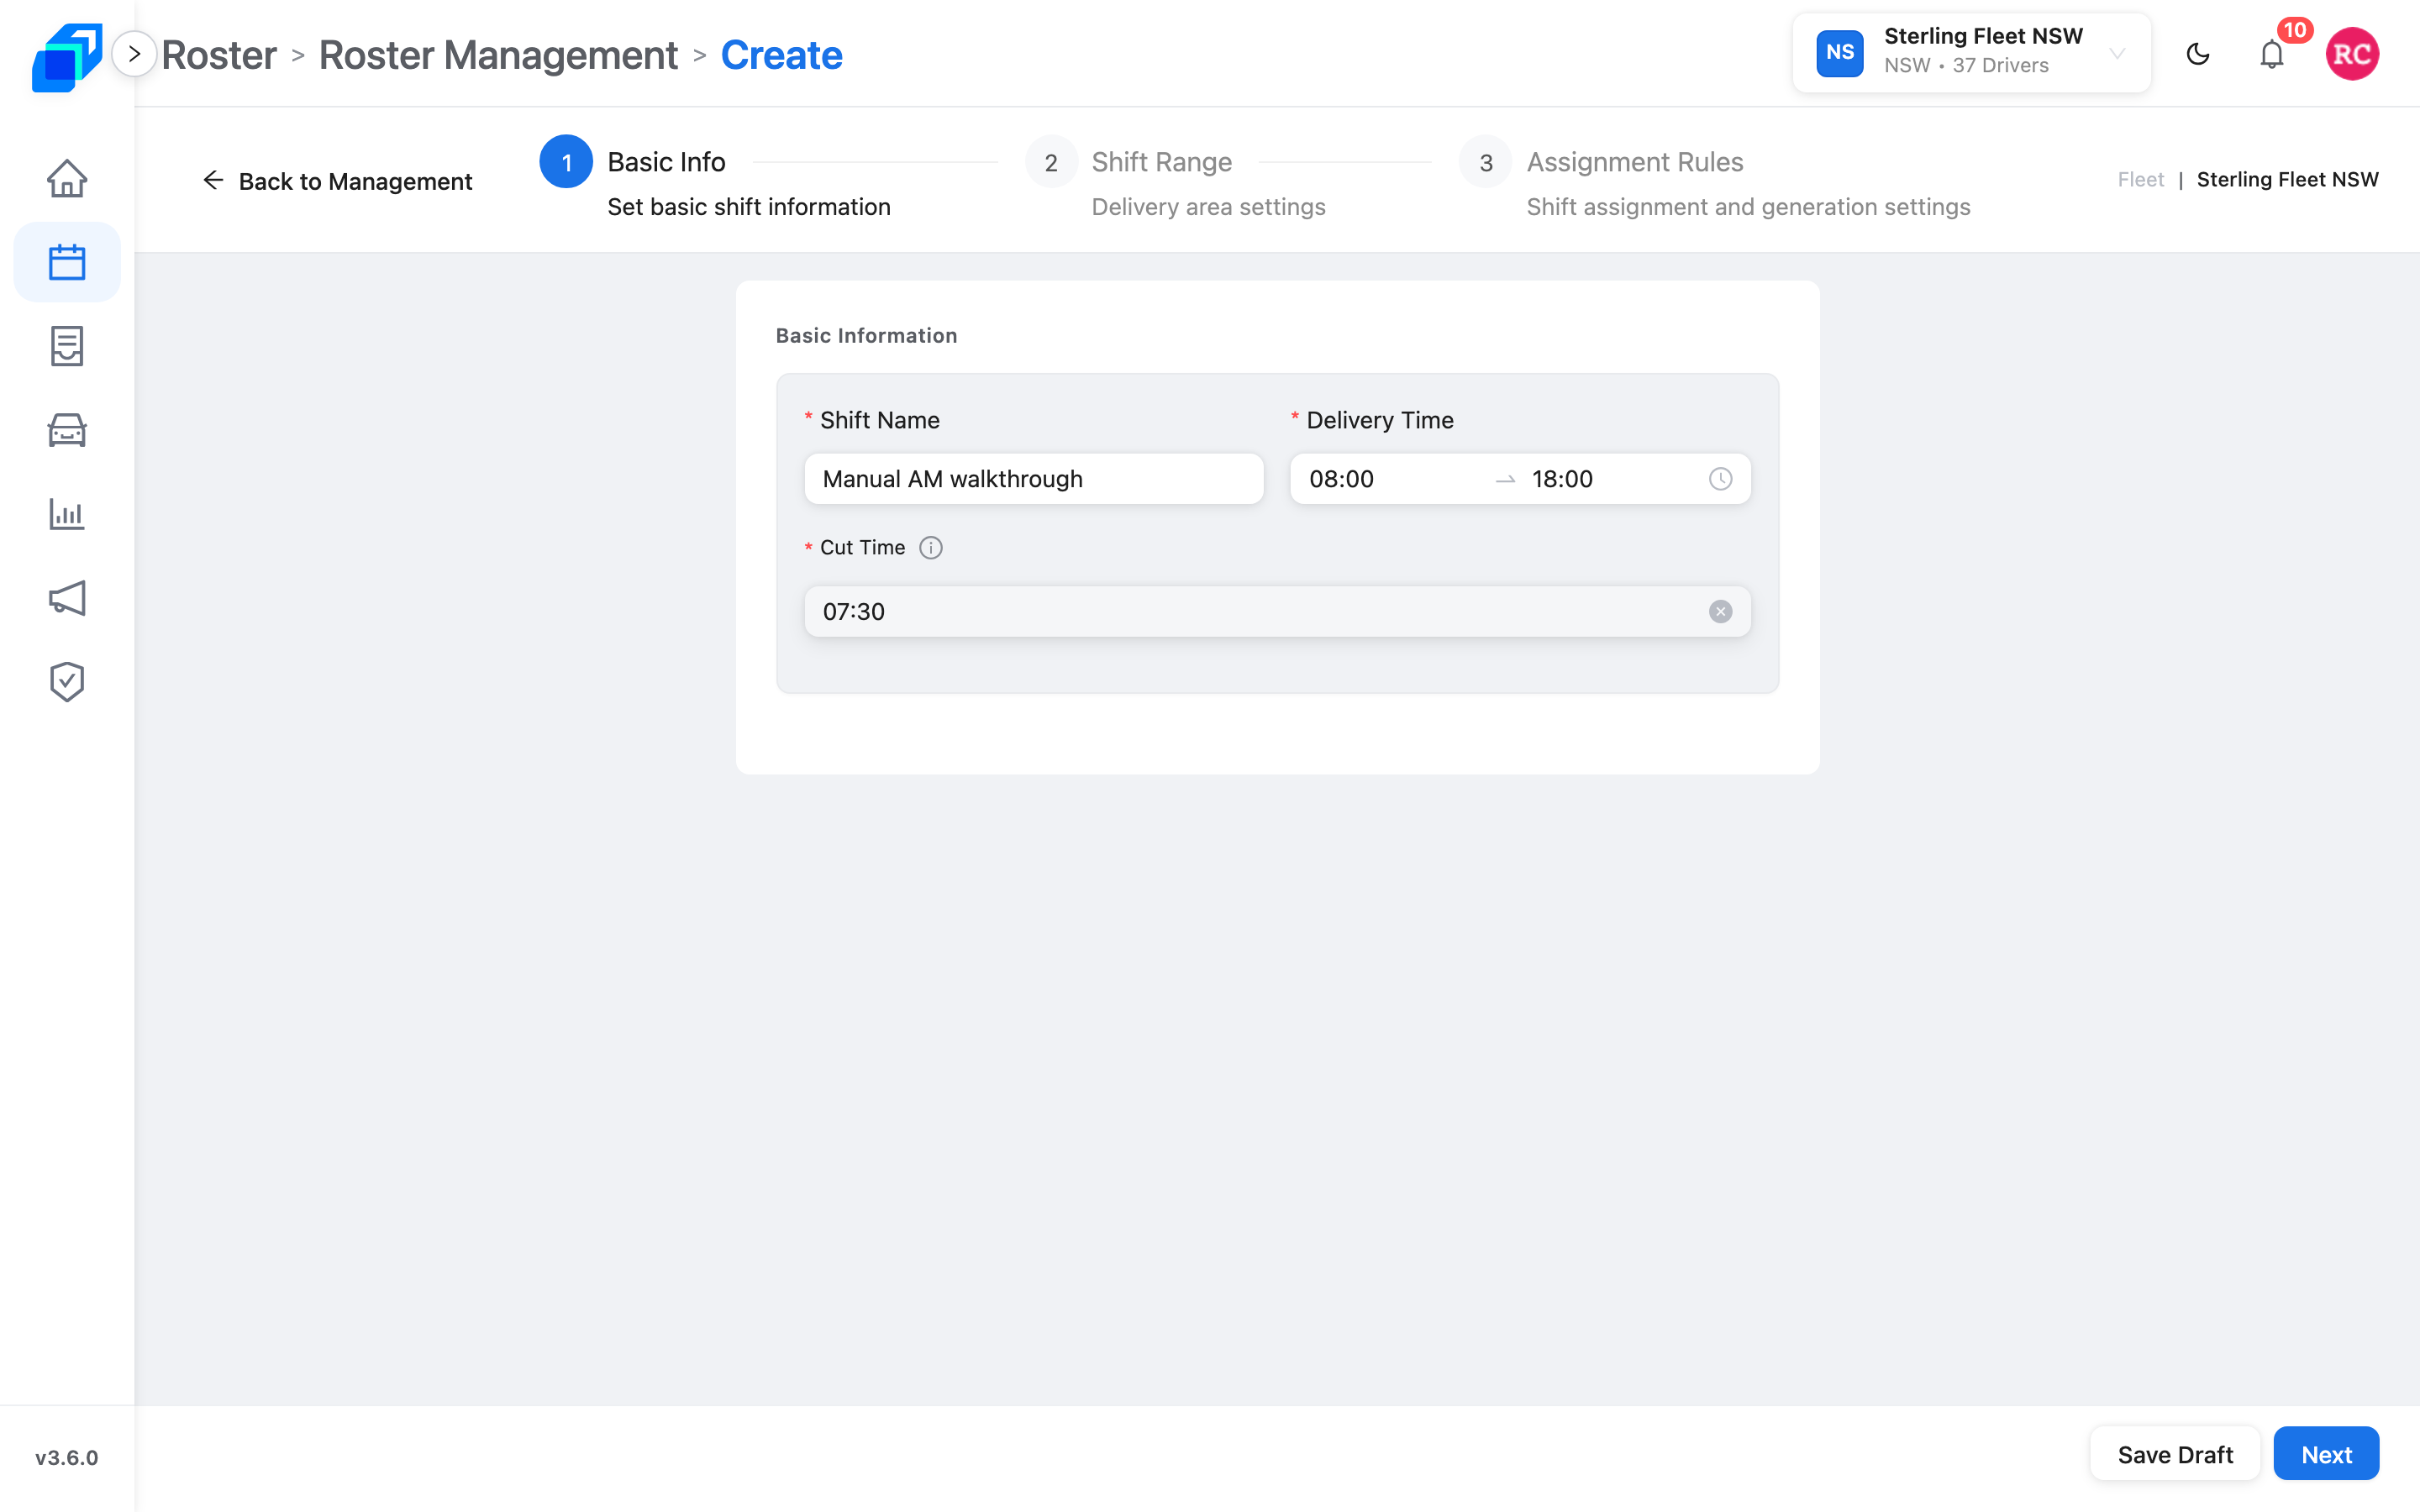
- Shift Name – required. Use a name the team already says, such as NSW AM1.
- Delivery Time – start and end. Orders join this shift only if their window sits inside this range, and the address is inside the area you draw in step 2.
- Cut Time – when orders are pulled into planning for this shift. Set it before the delivery start time. The field is disabled until Delivery Time is filled, and shows Set the delivery time first underneath.
- Click Next. Save Draft is on every step – use it if you must leave. A missing name, delivery time or cut time keeps you on this step, with a warning such as Please enter shift name.
2. Draw the delivery area – SET UP
Step 2 is Shift Range. Two views sit on the same page: Map Range and Covered Postcodes.
Until you draw, the map says No delivery area defined yet. Click "Edit" to draw your delivery zone on the map. Next stays disabled, and pointing to it shows Please draw at least one delivery zone.
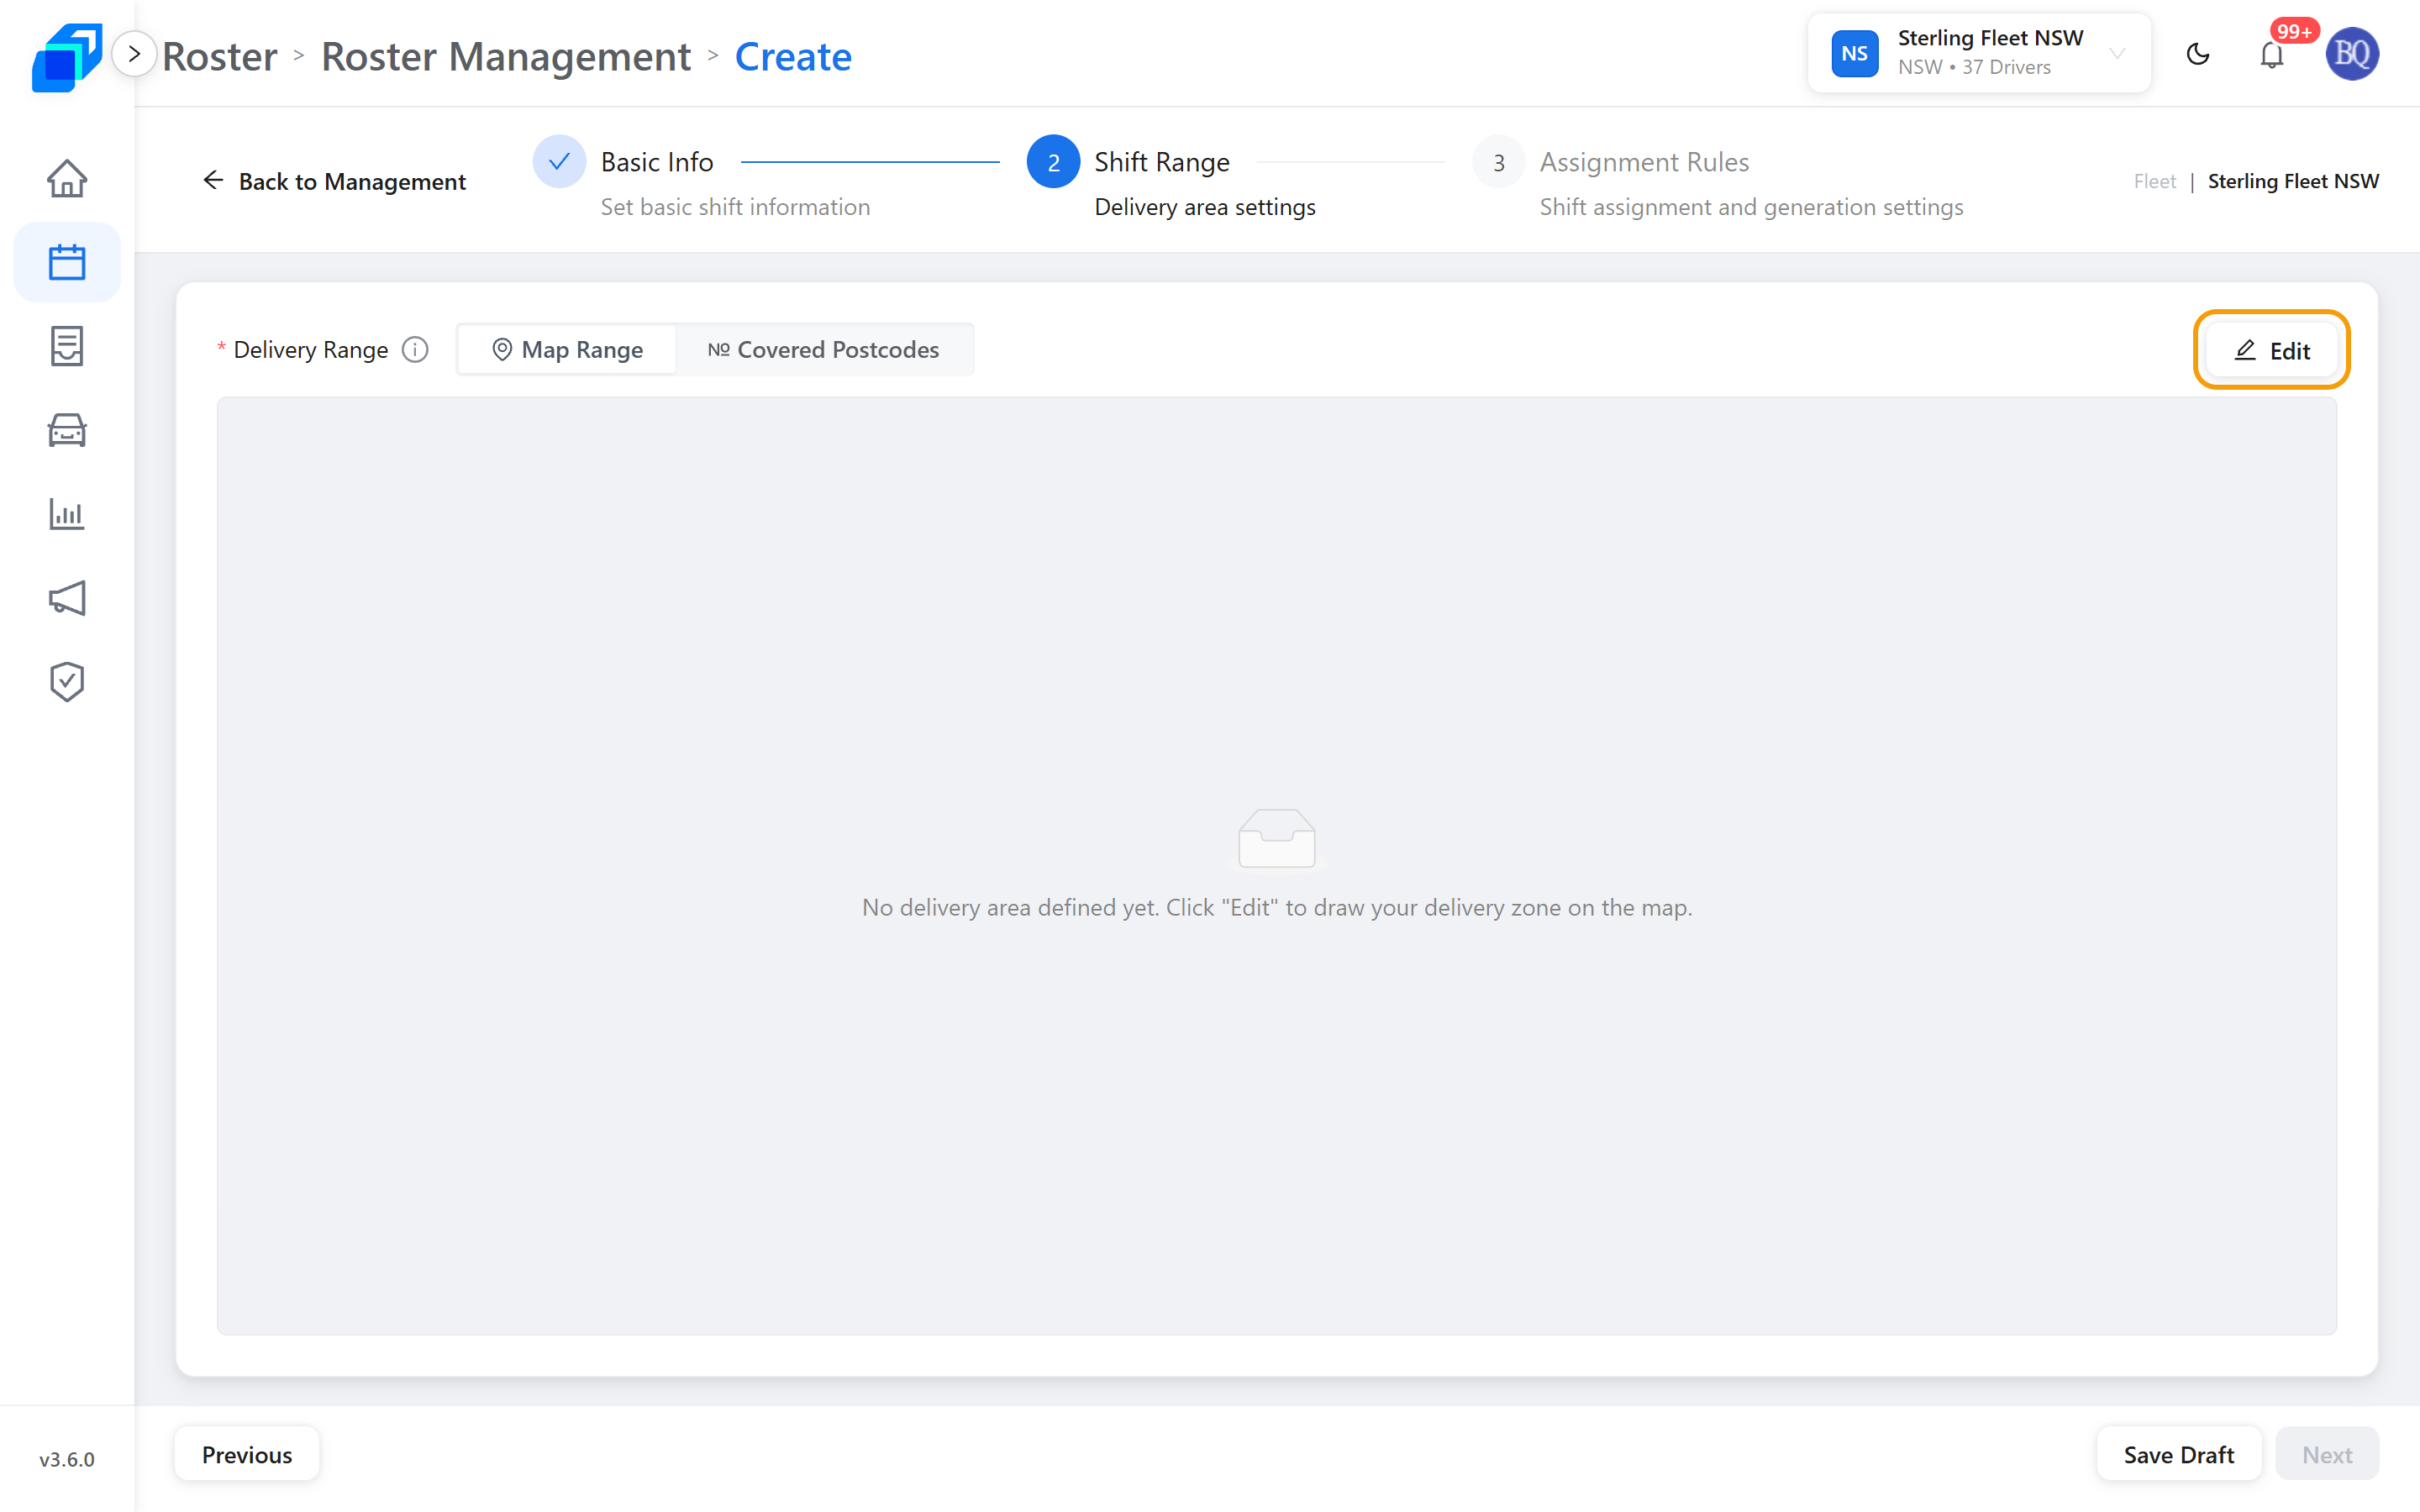
Click Edit to open the delivery-area editor, draw the zone, check the postcodes it covers, then Save. That is the same editor written up step by step in Plan the week – the only difference here is that a new shift has no area yet, so it opens on Select Delivery Range rather than Confirm Delivery Range.
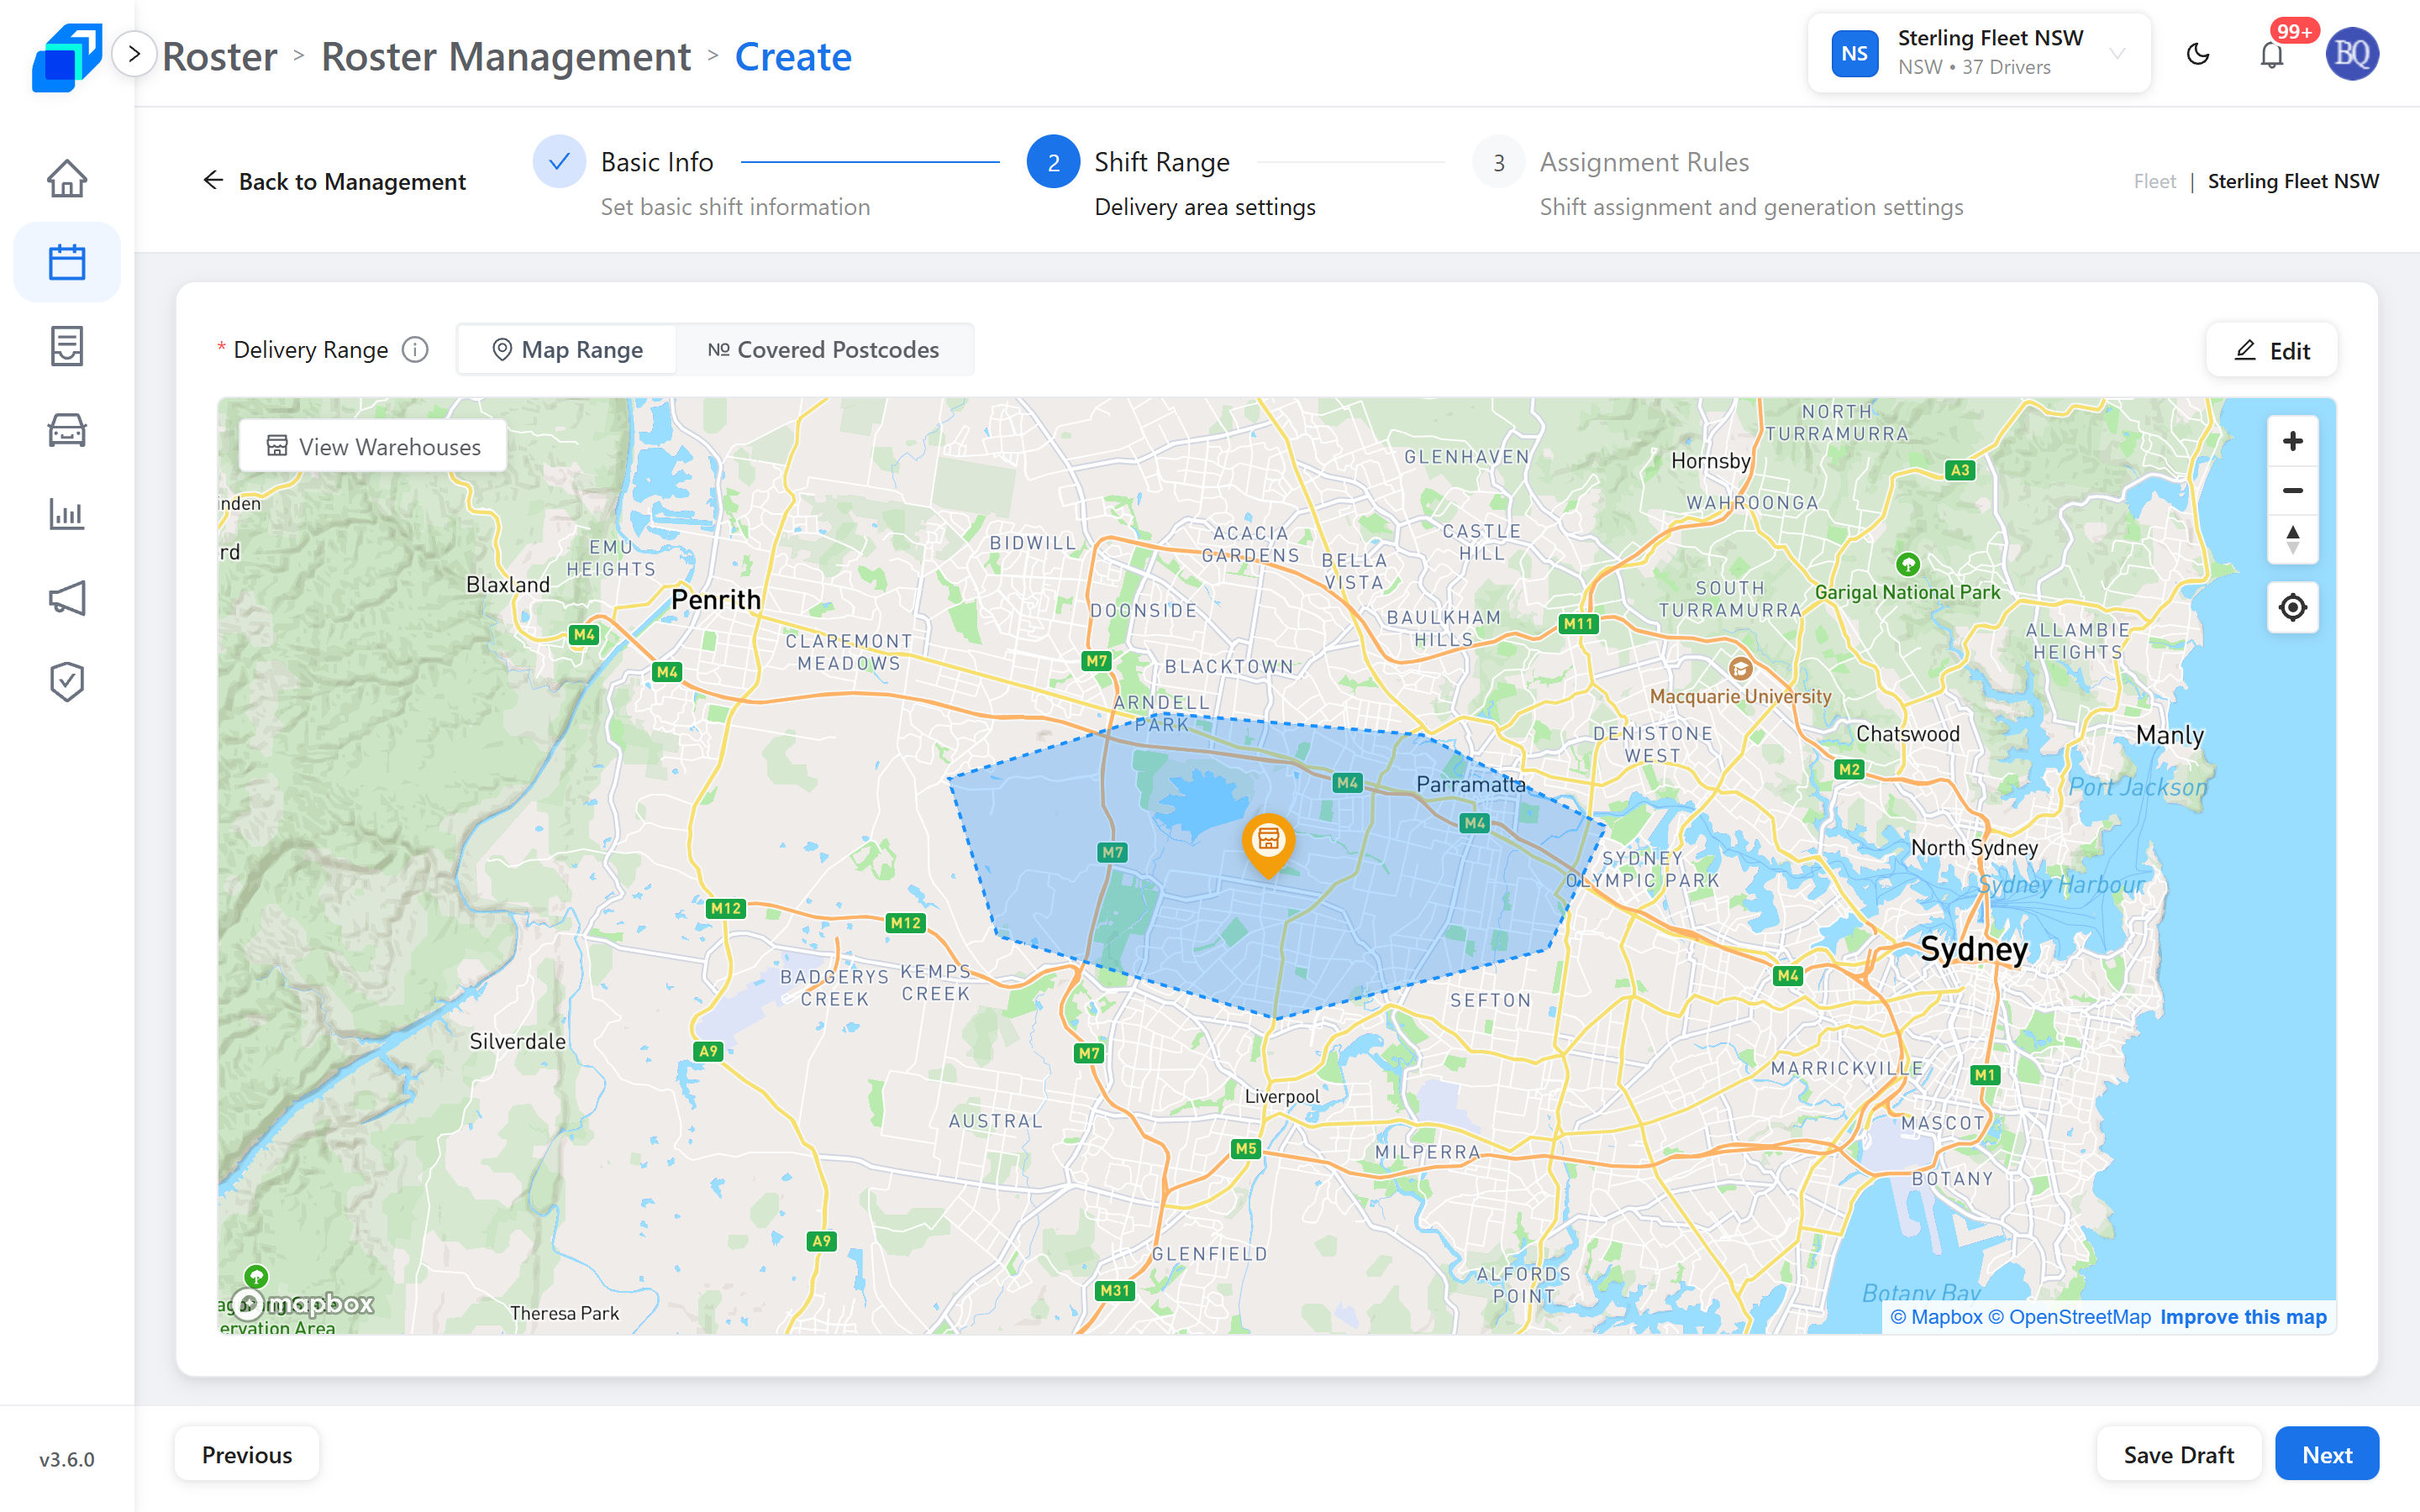
Back on step 2, Map Range shows the saved area and the warehouse inside it:
Covered Postcodes lists every suburb and postcode the area covers, and a search box appears beside Edit:
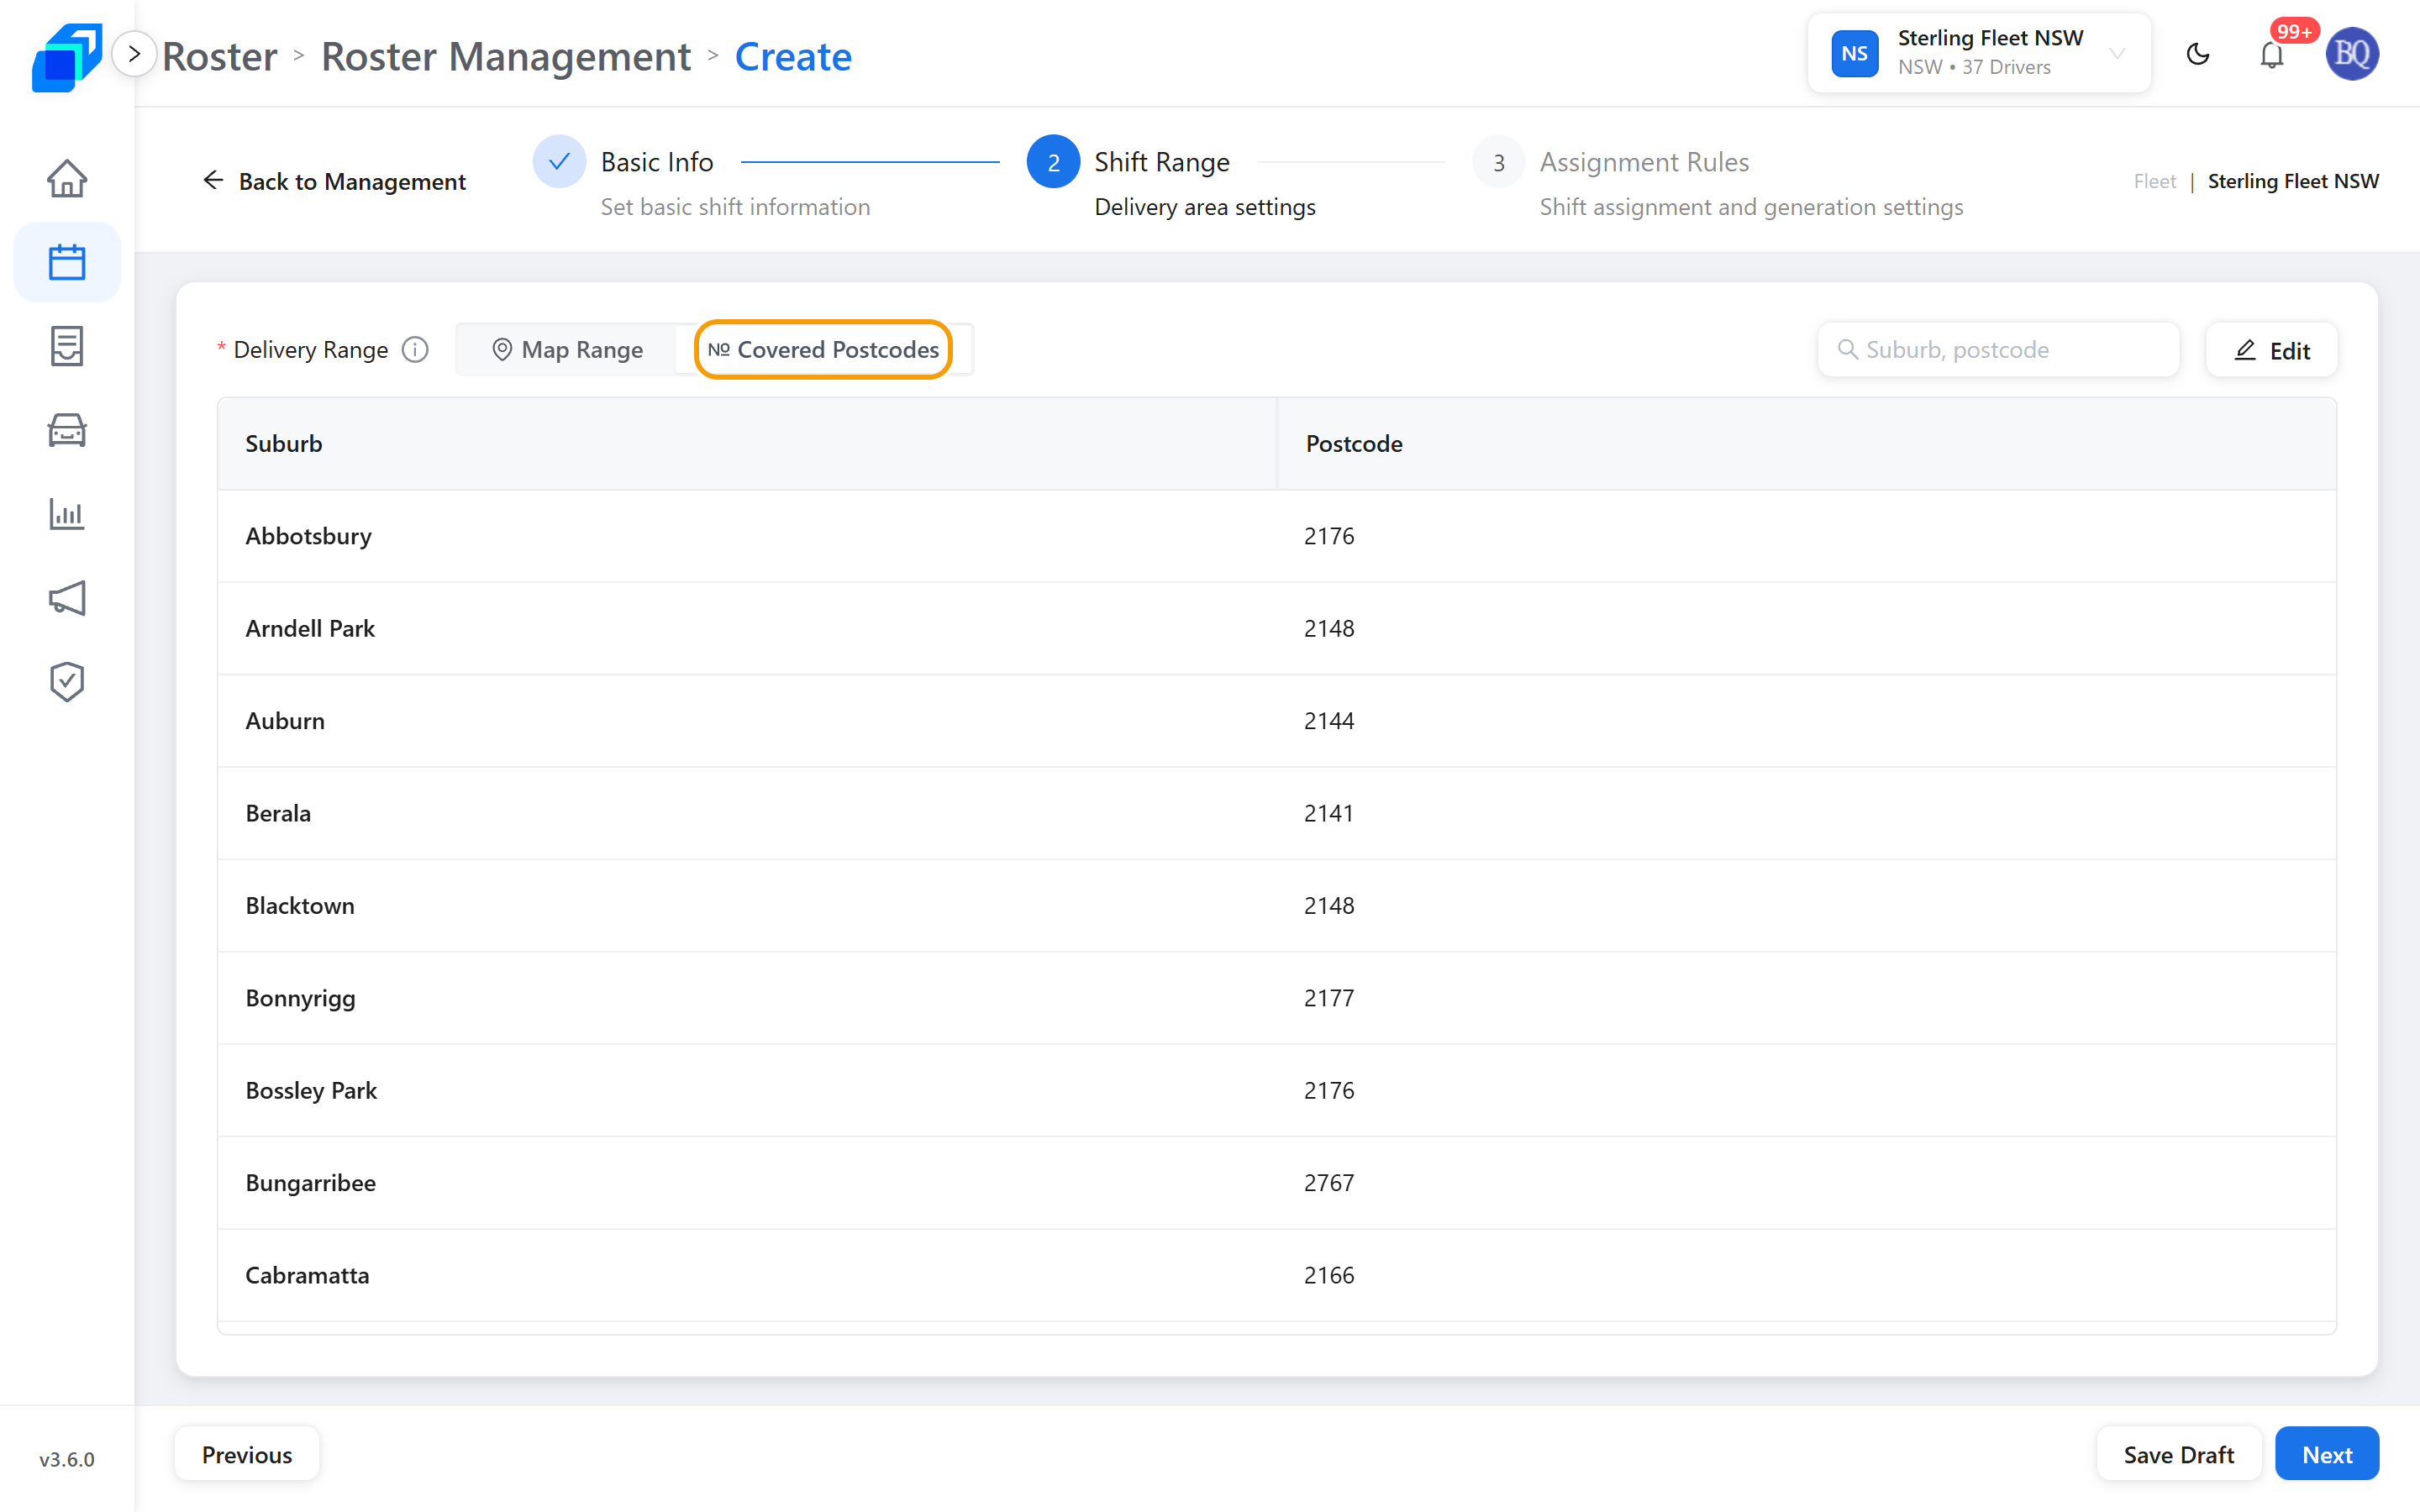
At least one Delivery Zone is required before Next turns on.
3. Assignment rules, then save – CREATE
Click Next after the area is saved. Step 3 is Assignment Rules.
- Assign Fleet – the warehouse fleet that runs this shift (the header already shows the fleet you are in).
- Applicable Weekdays – which days it runs (Mon–Sun).
- Driver Pool – who can take this shift. You can set a different pool per day (Set Up Driver Pool).
- Minimum Work Hours per Route, Driver Count Limit, Schedule Color.
- Rules: Include Public Holidays, Return to warehouse, Include Pickups.
Then pick how it goes live:
| Control | What it does |
|---|---|
| Save Draft | Only you see it. Open it later from Drafts. |
| Publish / Activate | Live now. The calendar and Order Management can use it. |
| Schedule (caret on Publish) | Opens Schedule Publish. Pick Publish Date, then Schedule. It stays a draft until that date. |
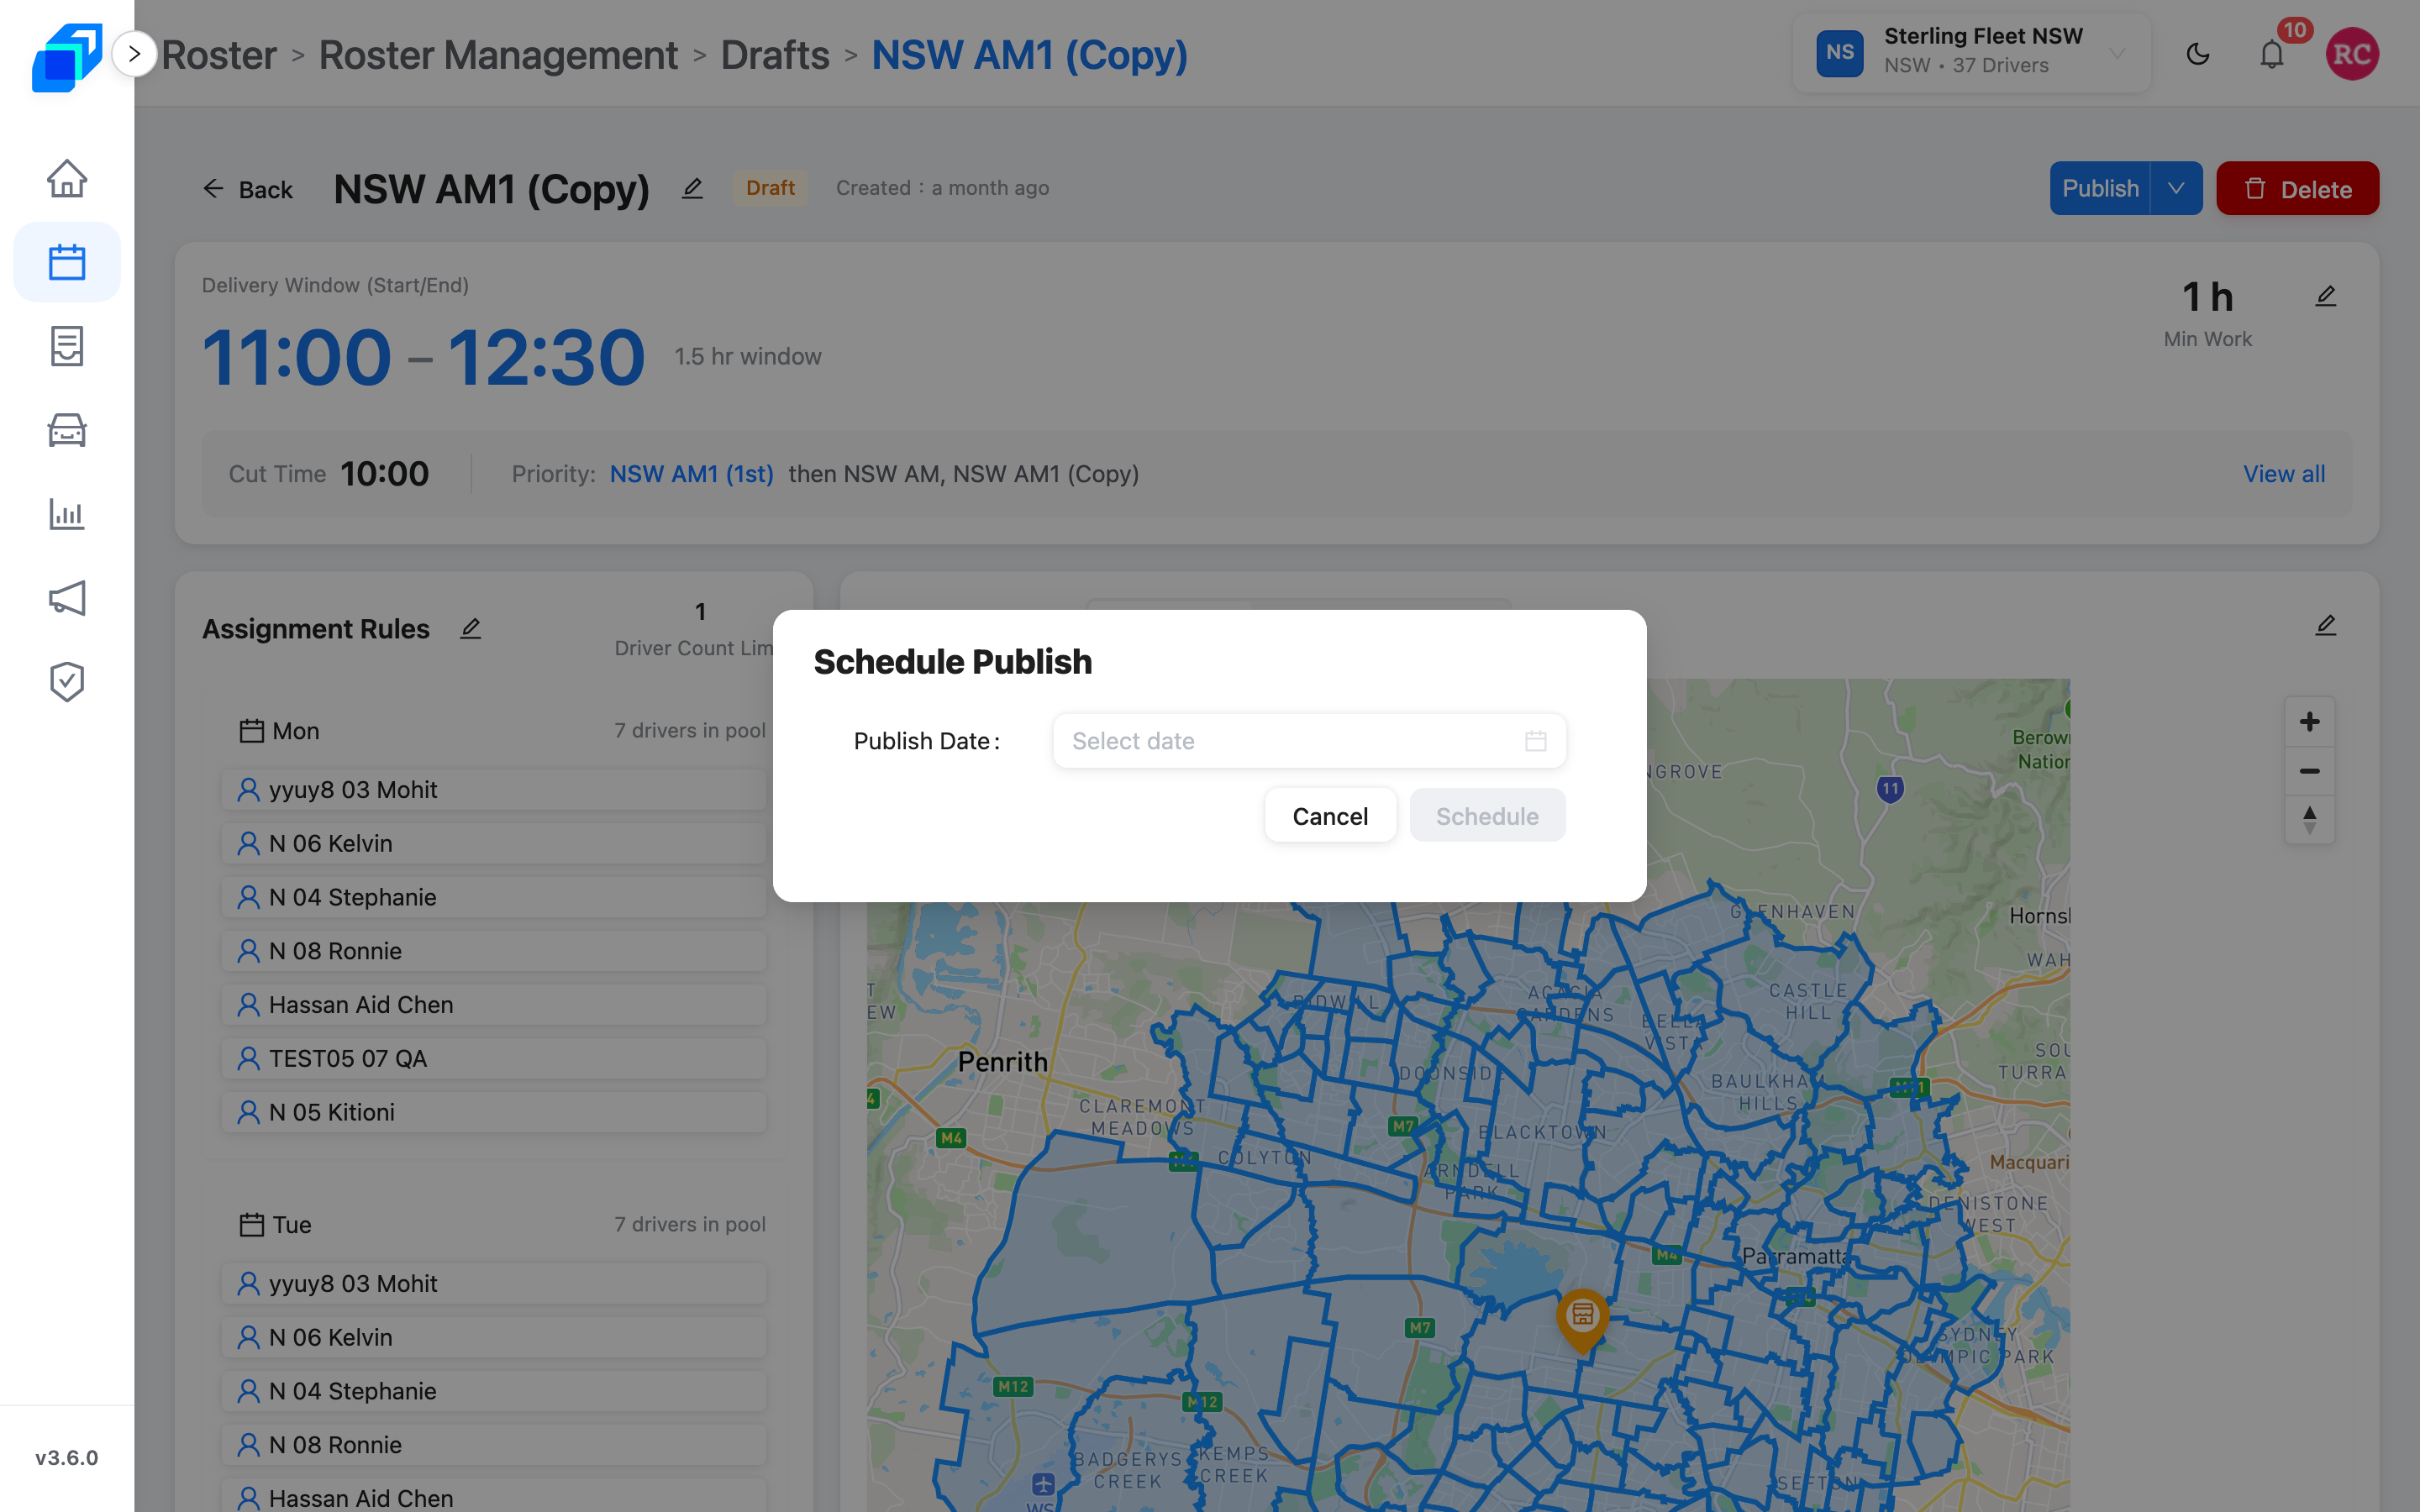
Schedule in the dialog is disabled until you pick a date. Cancel leaves the draft as it was.
Back to Management asks if you want to discard unfinished settings.
After it exists
Change times, priority, drivers, or redraw the area on the shift's own page – there is no separate edit screen. See Plan the week.
Next steps
- Plan the week – calendar, list, Copy to Draft, edit, priority, redraw
- Dispatch your first order